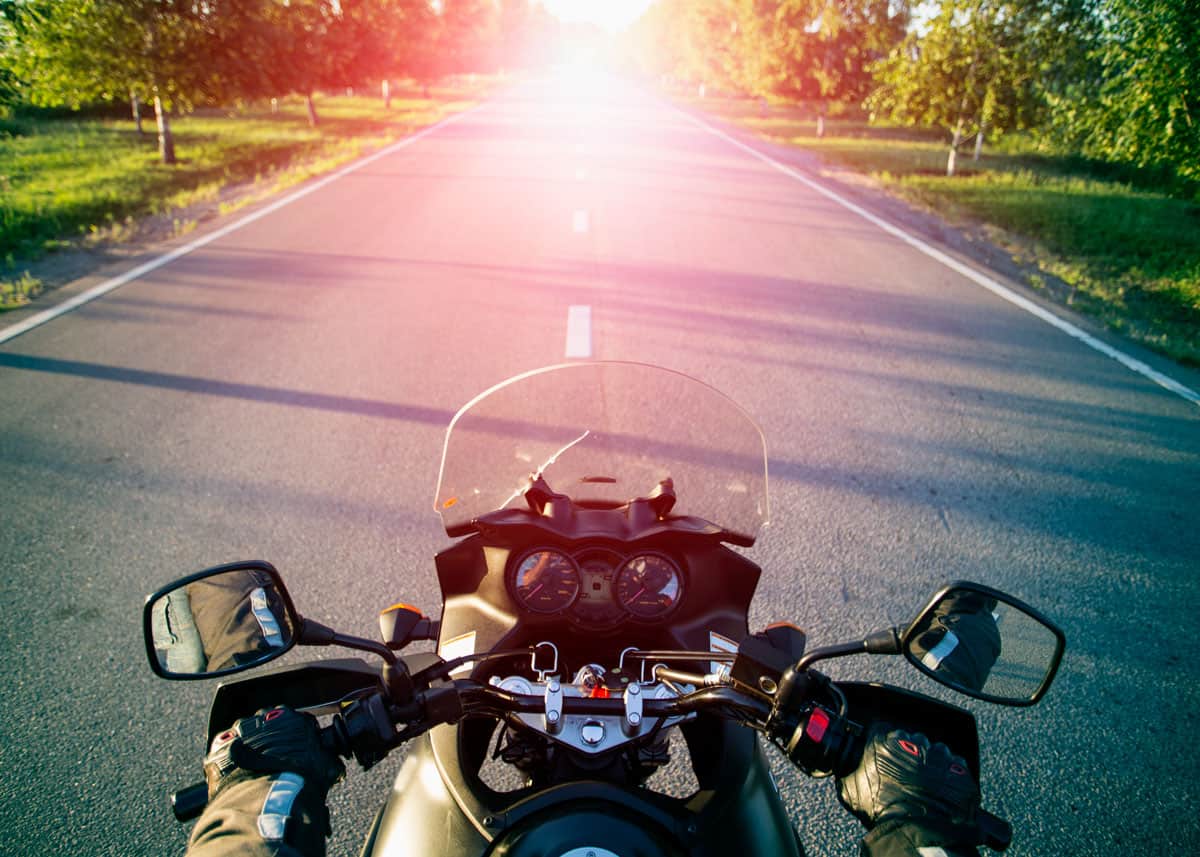
Do you want to film your ride with a GoPro camera? In this post, you’ll get 11 GoPro motorcycle tips, including settings, mounts, and accessories for shooting on your next ride. The four videos in this GoPro motorcycle guide will help you get set up and shooting.
Prefer bicycles? Check out our GoPro Biking Guide – it covers both road and mountain bikes.
The GoPro motorcycle settings include resolution, FOV, frame rate, Protune, white balance, and more.
11 GoPro Motorcycle Tips
Here are some tips and tricks for getting the best out of your GoPro while on your bike. Don’t waste time or money trying to figure this out alone. This guide will get you well on your way.
With these tips – and a bit of practice – you’ll be shooting ride videos like this in no time.
Okay, now on to the guide!
1. Best GoPro for Motorcycle Riding: Hero11 Black
There are a few different models of GoPro on the market and what you want to do is buy the one that will handle high speeds.
You may not want some of the fancier specs but want a great picture. Or you may not want a high-level image, but want something easier to carry and handle.
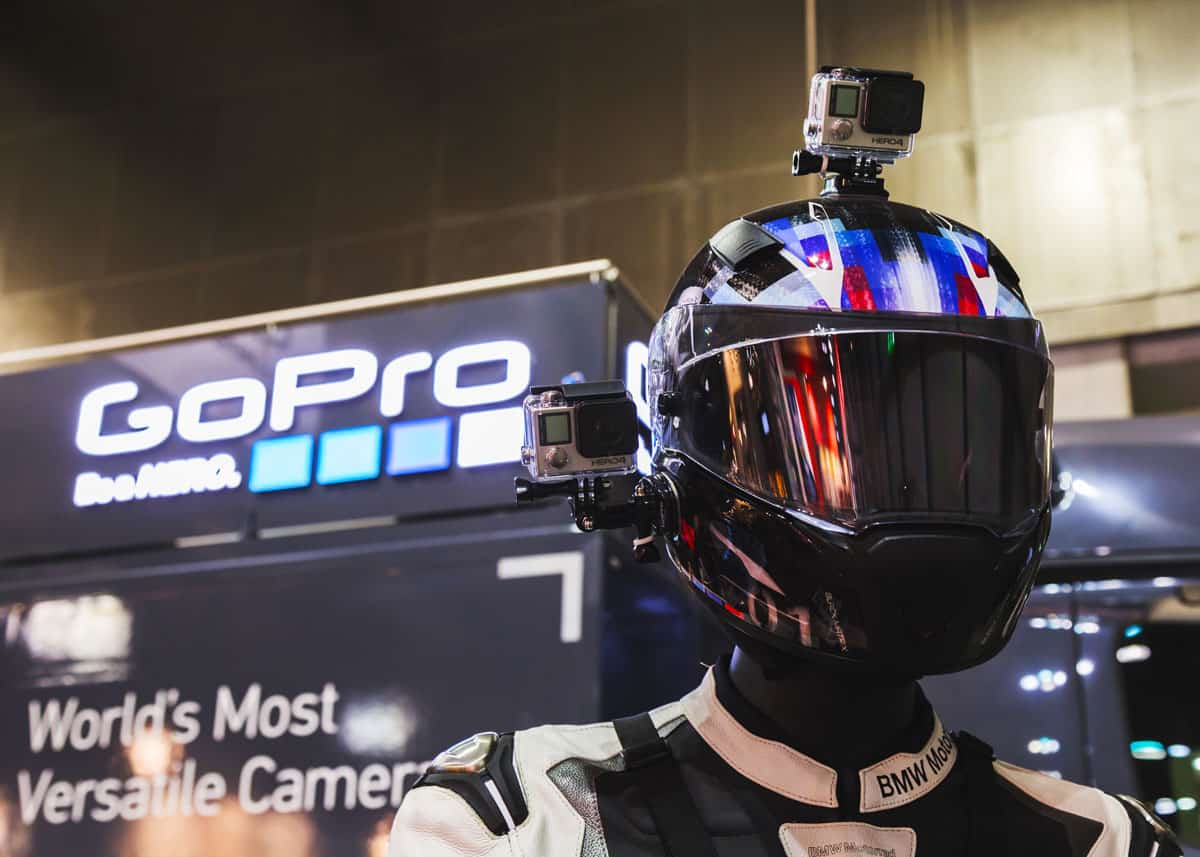
![]() The GoPro that offers the best frame rate is the GoPro Hero11 Black but it is bulkier than say the Hero11 Mini (or the vintage Hero5 Session) which is compact but still powerful.
The GoPro that offers the best frame rate is the GoPro Hero11 Black but it is bulkier than say the Hero11 Mini (or the vintage Hero5 Session) which is compact but still powerful.
This might not matter when you’re used to a helmet already, but it’s worth considering.
- Hero11 Black: It is my custom (and recommendation) to always buy the current model of camera.
Get your GoPro Hero11 Black on Amazon, B&H Photo, or Best Buy.
If you don’t, you’ll find that accessories and support might run out before the camera wears out. Plus, the current model takes the best images and footage – and isn’t that what you really want?
Do you need all the features these cameras have? For most riders, I doubt it.
But there is one feature you will want: Voice Activation. As you’ll see further down, that’s going to be an invaluable feature to have on the road.
And the new Hero10 Black has crazy good image stabilization (Hyper Smooth 4.0). And I don’t need to tell you that this matters in motorcycle footage.
More reading: The best GoPro handlebar mount
2. Plan your GoPro Motorcycle Videos
Just riding and filming is easy and can be fun – that’s pretty much all you need to do if your videos are just going to sit on your hard drive for you to watch.
But if you have ambitions of sharing videos of your rides on YouTube, you might want to consider exactly what you’ll be recording and the conditions.
To up your video game, I recommend How to Shoot Video That Doesn’t Suck. It will help you to think like a director and immediately improve your footage. It’s the best book I’ve read about improving your videos.
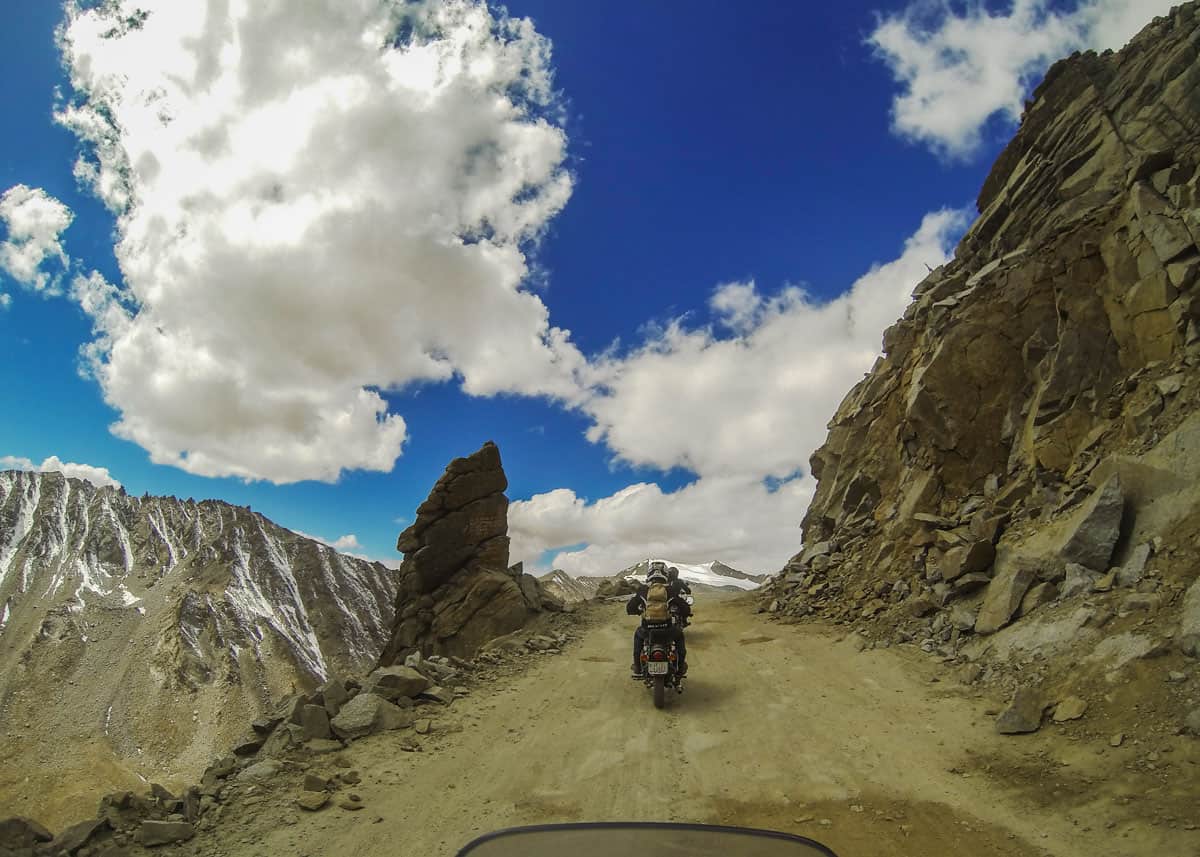
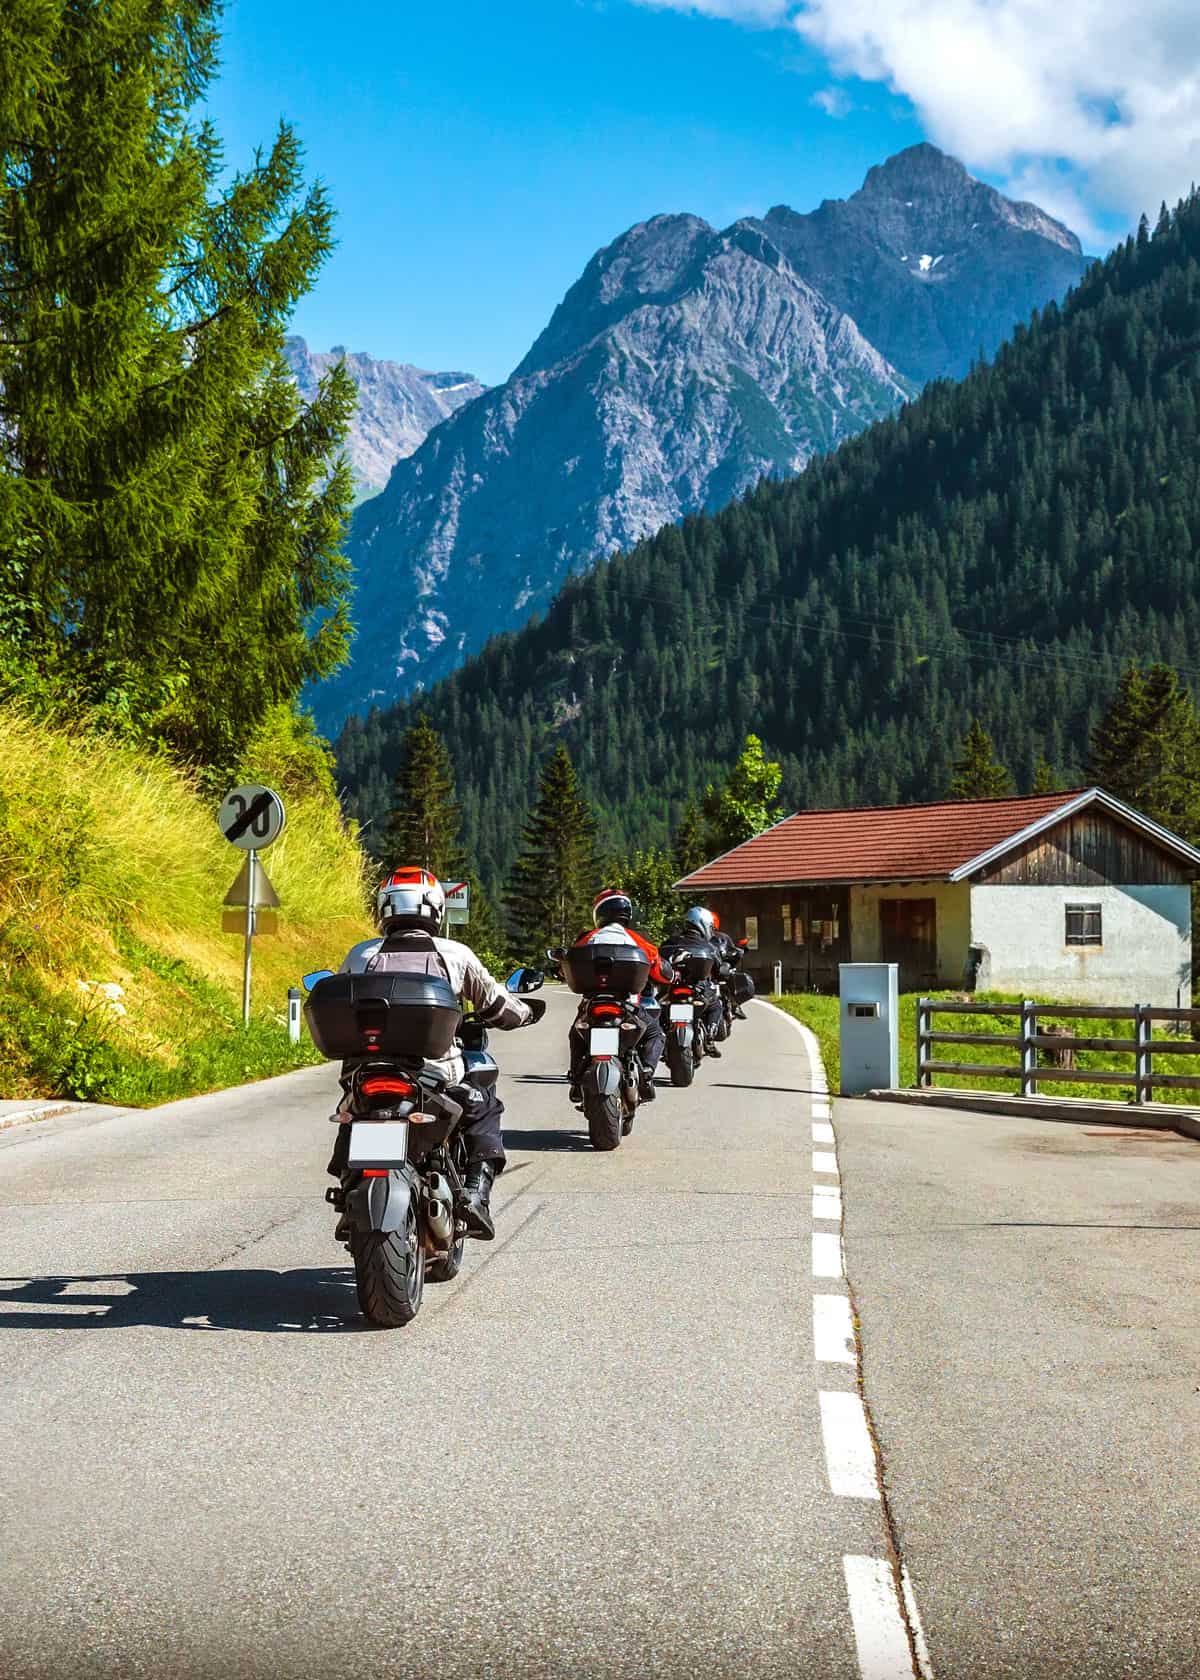
Think about the scenery and the route you’ll take and how this will be filmed. Take into consideration the lighting, weather, and even the purpose of your video.
Are you showcasing the scenery or the speed? Do you want people to focus on your ride or your bike?
These points will change everything from where you mount your camera to what settings you use.
If you’re telling a story you need a beginning, middle, and end. You should consider knowing why you are filming this, why you’re telling this story? Is your end goal to share your ride with friends or make some money on YouTube?
Thinking about these things beforehand can make a difference in the end result and how much editing you may need to put into it.
3. GoPro Motorcycle Settings: Frame rate (60fps vs 30fps)
Let’s talk about frame rate. When it comes to high speed captures more is more.
GoPro Motorcycle Frame Rate: For the best footage on your bike, you should shoot at 60 frames per second (60fps).
60 fps has less motion blur, and makes for better footage and special effects.
You want a high frame rate so you don’t incorrectly record the video and cause distortion in the image. This can be an excellent effect but isn’t something you want in every video. Here’s what the stroboscopic effect looks like.
For slow-motion edits, you need to remember that the slower you want the film to be, the higher your frame rate needs to be.
This means in editing when you slow down the play rate for film, images aren’t recycled – which gives you a proper slow-motion video.
4. GoPro Motorcycle Settings: Video Resolution and FOV
You can shoot 4K resolution with both Hero5 and Hero6. This will definitely capture the most detail of your ride.
You don’t always need to film at 4K though. 4K is great to film in if you’re going to watch it on a screen with that capability. However, if you don’t have a computer monitor or TV with 4K then this may not be important to you.
It’s also going to take up more space on your SD card, your computer, and need a little editing too.
But YouTube does have the option to upload and watch films in 4K so depending on what you’ve filmed it may be worth considering.
Best GoPro Motorcycle Settings: Video Resolution and Field of View
- 1080P Resolution: Good standard resolution. Anything less will likely be disappointing.
- 2.7K or 4K Resolution: Great for travel blogging, and shooting for commercial use. The higher resolution allows video to be cropped and still retain decent quality.
Shoot either Wide or SuperView Field of View: These will give you much more view of your surroundings. The narrower field of view options will not give much context as to where you are.
Remember: The higher the resolution and frame rate, the larger the video file – and the faster your sd card will fill up.
You will need to choose your resolution carefully – higher is not always better, but you want to film in at least 1080p if you want something to share online. 1080p is a good resolution for simple film and share videos.
The GoPro can film at a 1080p resolution at various frame rates, so you can record at high speed without distortion and even record slow-motion clips.
How do I turn off my GoPro? Check out our guide to all models
5. GoPro Motorcycle Settings: White Balance and Color Temperature
So what other settings should you consider while filming on the road?
Well, luckily the GoPro has great automatic white balancing so you don’t have to worry too much about the color of your video.
For those who want that control though it’s not hard to change the settings to suit the environment of your ride.
This video explains white balance and color temperature in more detail.
6. What about the weather?
![]() Don’t let the rain put you off filming. GoPros have automatic light balance, it can handle any type of lighting and still give you great shots.
Don’t let the rain put you off filming. GoPros have automatic light balance, it can handle any type of lighting and still give you great shots.
The Hero models come with Protune shooting mode which allows for significant editing (it’s like shooting in RAW with a DSLR).
With some of the features, you can set it to film perfectly in whatever lighting conditions and capture great color in every frame.
This is also where you can change those fps – frame rate and resolutions settings too.
![]() They’re rugged pieces of equipment and most are waterproof to 30-60 feet. Not that you’ll be riding in floodwaters, but you do need to think about raindrops and condensation on the lens.
They’re rugged pieces of equipment and most are waterproof to 30-60 feet. Not that you’ll be riding in floodwaters, but you do need to think about raindrops and condensation on the lens.
To avoid ruining your footage with water drops get a glass treatment spray that is water repellent such as Rain-X or something similar.
Some funny things can happen with water drops. Here’s how to prevent this water drop distortion.
It can get windy on the road. Here’s how to reduce GoPro wind noise while on your trip.
7. Mounting the GoPro on your Motorcycle
Mounting a camera on your bike might sound complicated but is actually very simple. There are a couple of ways you can mount a camera to your bike.
Each GoPro camera comes with mounts, including adhesive plastic mounts. While many riders use these, suction cups and clamps will offer more protection.
![]() Suction cups are easier to position correctly and you should always get mounts that have a 360-degree rotation so you don’t have to remove the mount to reposition the camera.
Suction cups are easier to position correctly and you should always get mounts that have a 360-degree rotation so you don’t have to remove the mount to reposition the camera.
Clamp mounts won’t all have this ability but may feel more secure than suction cups.
Delkin are well known for their mounts – the Fat Gecko Mount has a strange name but it’s an excellent product. I’ve used this mount many times and it is rigid.
It’s a good idea to test mount locations before heading out on a long trip. This can also help you find the best place on your bike to mount a camera – including your preferred perspective. Here are some more GoPro suction mounts.
One problem you will encounter while filming is bumps and vibrations. You want as much stability as you can get.
Any shaking of the camera is going to ruin footage by making everything shaky and distorted.
It would take more powerful editing software than the average rider might have at home to fix that sort of problem, so the best thing to do is stop the problem at the source.
Here are some other action camera brands to consider for your next ride: Guide to the Best Motorcyle Helmet Cameras
8. Mounting the GoPro on your Helmet
There are a couple of ways you can mount a camera to your helmet. You’ll get a few adhesive mounts with your camera.
Here’s how to mount your GoPro with the SoPro helmet mount – then you can check out this video:
You could also consider mounting the camera to your body with one of the accessories below.
9. Still Shots
The quality of the GoPro means that it can take some great photography too.
But how do you take photos while on the road? Easy. With voice activation. Since Hero5 (and up to the current Hero8) GoPro has several voice commands, including:
- GoPro, start recording
- GoPro, stop recording
- GoPro, take a photo
- GoPro, turn off
Here’s the full guide to GoPro voice commands.
So you can start recording at any point during the ride without having to stop. And even better you can take still shots on the move.
It’s a great feature to have – and again you don’t have to get off your bike and remove your GoPro to take the picture.
When taking pictures at speed you need to consider a few factors, images will come out blurry if you don’t have the settings right. It’s always best to experiment, and with some trial and error, you’ll find the settings that work for you.
As a guide, though, for high speed, the best shutter speed is around 1/1000 to 1/4000. These settings can be found in Protune which gives you the best way to play around with the settings.
The best thing to do when it comes to taking still shots is to experiment. Try it on corners, when you’re at the traffic lights, and while at top speeds.
Try different settings and different images. Some will be bad but there will be some gems – and you’ll learn what does and doesn’t work for you.
10. GoPro Power and Storage
If you’re going on long rides there are two vital components you need to consider – the battery life of your GoPro, and its storage capacity.
![]() You can buy extra batteries for the GoPro of course but a cheaper and more convenient solution is a power bank. You can charge on the go with these and they offer a lot of power for your money.
You can buy extra batteries for the GoPro of course but a cheaper and more convenient solution is a power bank. You can charge on the go with these and they offer a lot of power for your money.
Anker portable chargers are popular and can charge up big energy eaters like Macbooks. However, they do take a little while to charge themselves.
You probably already have an SD card. But you really should have at least two, more if you’re going on a longer trip or just want to take more footage.
SD Memory Cards for GoPro Filming: I suggest getting a few 32gb cards rather than ones with larger capacity. Better to stop and change the card than lose everything you’ve filmed.
11. Cleaning your equipment
It’s important to keep your camera and mount clean, and worth doing so both before and after a ride.
Everything is going to get dirty on a ride, and when you’re cleaning your bike and equipment you should consider the GoPro as part of that routine.
![]() It can get dusty just sitting around your house too. Even in the cleanest homes without any pets, there is going to be a little dust. Any dust on the lens is going to compromise the quality of your video.
It can get dusty just sitting around your house too. Even in the cleanest homes without any pets, there is going to be a little dust. Any dust on the lens is going to compromise the quality of your video.
Take care when cleaning the lens as they can scratch easily. A microfiber cloth or a lens cleaning solution is usually your best bet.
Your mount needs cleaning and storing too, to make sure it’s always in top condition and so no dirt or dust transfers to the camera lens. If you’re serious about your videos a lens cleaning kit will contain everything you need.
GoPro Motorcycle Accessories
Along with mounts, there are some great accessories that can really make your filming easier and a more enjoyable experience.
 The GoPro Remote – is definitely something you’re going to want to invest in if you’re serious about filming on your bike. This improves the voice recognition of the GoPro Heros while in noisy conditions and works as a single-button remote.
- There is also a great chest strap and mount made by GoPro – which is worth considering if you don’t want a helmet or bike mount. It’s completely adjustable in size and offers a unique angle from which to take your video, and it will reduce any engine vibration hitting the camera.
- If you wear a backpack, you might consider mounting your GoPro directly to your strap.
Learn more differences between GoPro cameras in the GoPro Comparison Guide.
Get Filming
With these eleven tips you’ll be making spectacular videos in no time, and getting the best out of your GoPro on every ride. Share your own tips with us below!
- About the Author
- Latest Posts
Hey, I’m Bryan! I’m a content creator and co-founder of Storyteller Tech.
Experienced GoPro Videographer: I’ve been shooting with GoPro cameras for over 11 years. My first GoPro was the Hero3 Silver, bought for a Galapagos work trip in 2012. Today I own 20+ action cameras, including GoPro, DJI, and Insta360 cameras.
Professional Creator: Dena and I have developed video and content marketing plans for numerous international travel brands. And we also run several content businesses.
Bryan also creates at Storyteller.Travel and is co-founder of Storyteller Media, a Canadian-based publishing company.
AdalfredoAngelo
Wednesday 9th of December 2020
Hello,
I loved the article "GoPro Motorcycle Guide: 11 GoPro Tips, Plus Settings, Mounts, Composition…". You present a informative and well decorated post. Thanks for helping us! Keep up your good job.
Cheers
Jörgen
Sunday 13th of September 2020
Hi Bryan, great info you share here, thanks. I want to use Hero 7 White on my motorcycle and wonder if the voice control is working through an external mic placed inside my helmet.
Darryl
Tuesday 5th of May 2020
Hello I hope you can answer this. I am filming some rides on my motorbike and they look fine when I edit them (and when I watch them play back on my GoPro Hero 7 Black) but when I upload them to YouTube, they look choppy and pixelated. Any suggestions? Thanks
Joshua D. Mattie
Sunday 24th of November 2019
A well-described post. Thanks for sharing all these amazing tips.
Gary Hildenbrandt
Thursday 11th of April 2019
Useful info Bryan. I have some questions though. 1: how many video minutes does the GoPro7 Black store on the internal memory? 2: Should I get more memory with an SDHC card? If so what kind of card do you recommend? I will be using this for dirt bike riding. I appreciate your feedback.
Rob
Thursday 30th of May 2019
Gary I just did 3 days in Vermont filming with 3 hero 7 blacks and a hero 6 black. I have a 128gb in 6 and 64gb cards in the 7’s and never filled them filming on and off all day. Beware however I did tons of filming and edited it down to about 3 minutes of finished film so you’ll be filming a lot to turn out a decent project Rob