Ready to film your next ride? In this guide to GoPro biking, you’ll learn the tips, settings, and gear you’ll need to capture your full adventure. We also cover the best GoPro for mountain and road biking – and the best GoPro mounts for each sport. Let’s do this!
Are you more of a motorcycle person? Check out our GoPro motorcycle guide.
GoPro Biking Guide: Tips, Settings, Gear
Whether you’re into mountain biking or road biking, throwing a GoPro into the mix can make the experience that bit more enjoyable.
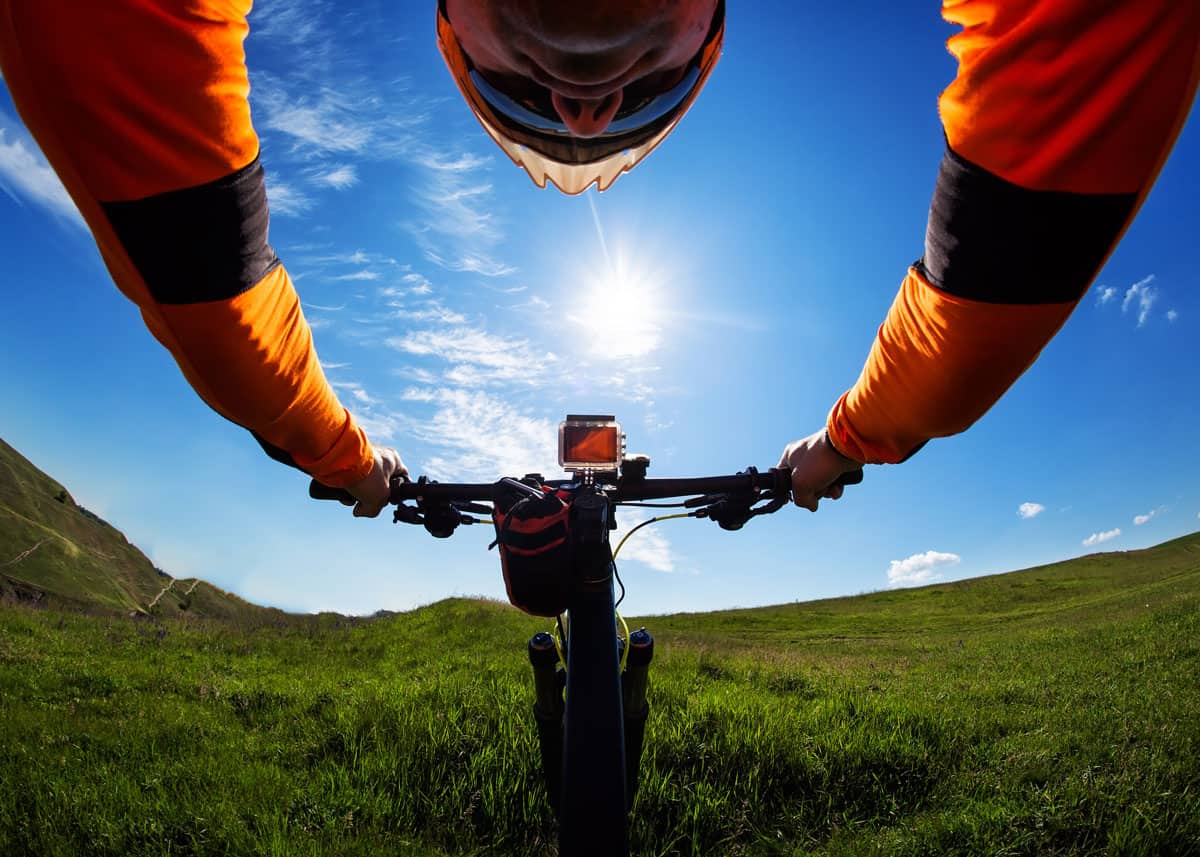
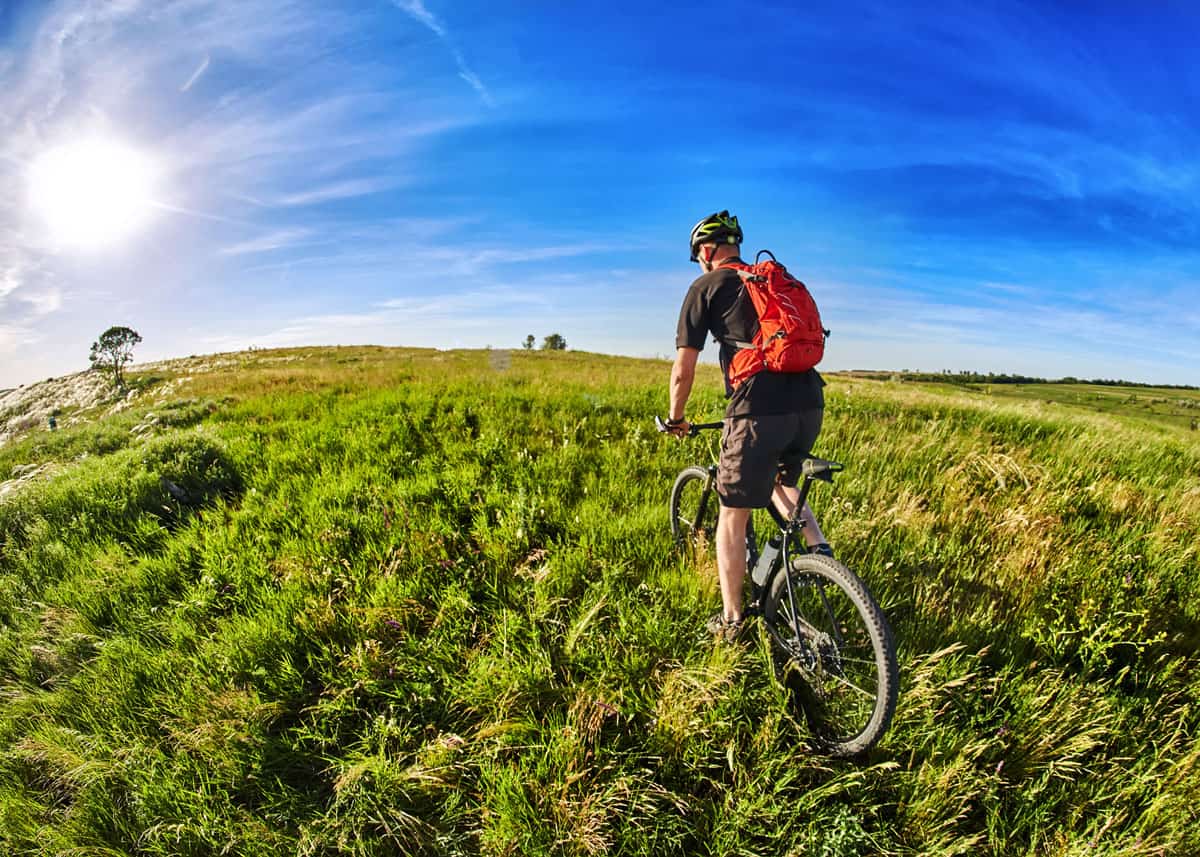
You can capture all the excitement and incredible views while mountain biking and relive the adventure all over again just by watching back over your footage.
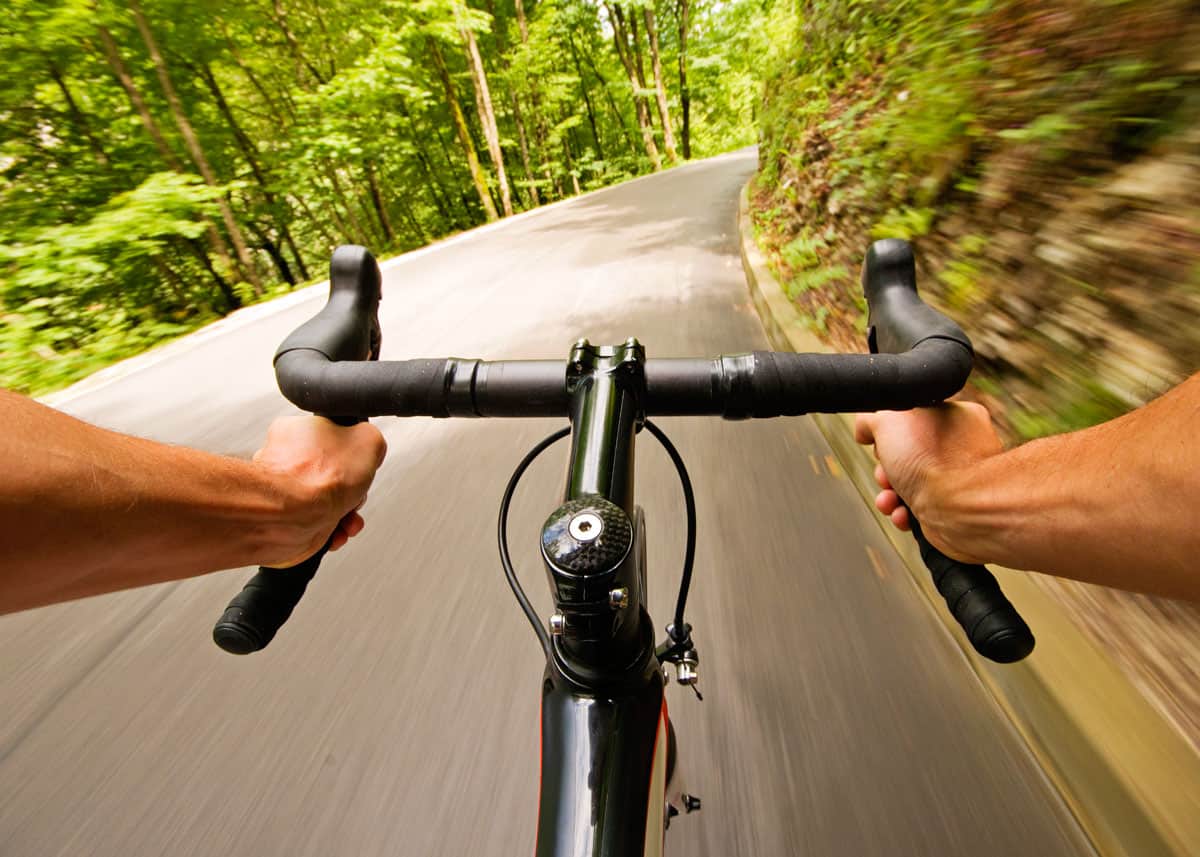
And if you’re road biking, it’s the perfect chance to use your GoPro and shoot some blissfully smooth cycling footage.
This post is divided into three sections:
- Best GoPro for biking: mountain and road
- 12 GoPro biking tips
- 7 GoPro bike mounts and accessories
But first, here’s a taste of the type of GoPro footage you can get on your bike.
Watch Danny MacAskill on an insane journey across the rooftops of Gran Canaria (mountain bike).
And here’s a great video showing the full descent of Sa Calobra in Mallorca, Spain (road bike).
Amazing videos, right?
But if you need some advice on how best to capture quality biking footage with your GoPro, here are 13 GoPro biking tips.
Choose the Best GoPro for Biking
There are so many different GoPros out there now, so it can be hard to know which one to go for.
But for road cycling or mountain biking, you ideally want one that has a great battery life, is easy to mount in lots of different places, and can shoot in high resolution at a good frame rate.
So which GoPro ticks all those boxes?
Best GoPro for Mountain Biking: Hero11 Black
![]() If you’re planning on filming some fast-paced mountain biking action, the GoPro Hero11 Black is the best one for the job.
If you’re planning on filming some fast-paced mountain biking action, the GoPro Hero11 Black is the best one for the job.
This is because it shoots 5.3K video at 60fps. Add in GoPro’s HyperSmooth 5.0 – and you’ll end up with super stable, high-resolution footage.
Get your GoPro Hero11 Black on Amazon, B&H Photo, or Best Buy.
So if you want smooth footage that you can slow down, without losing quality, then the Hero10 is your best bet.
Best GoPro for Road Biking
The Hero11 Black is also a good choice for road cyclists because of its impressive image stabilization. The less shake in your video, the more professional it will look.
Even if you’re not going to be cycling on particularly bumpy roads, you’d be surprised at how much even the slightest shake can affect your video.
Curious if the image stabilization makes a difference? Check out this butter-smooth footage of a downhill ride at Whistler Bike Park. Shot with a Hero7 Black.
Here’s a video showing just how much difference the image stabilization between Hero10 (HyperSmooth 4.0) and Hero9 (HyperSmooth 3.0).
13 GoPro Biking Tips (Road and Mountain)
1. Make use of a few different mounts
When it comes to biking, there’s no one mount that you should be using. There are so many different mounts and angles that make for great biking footage, so why stick to only one mount?
My advice is to make use of a few different mounts so that you capture your journey from a few different perspectives.
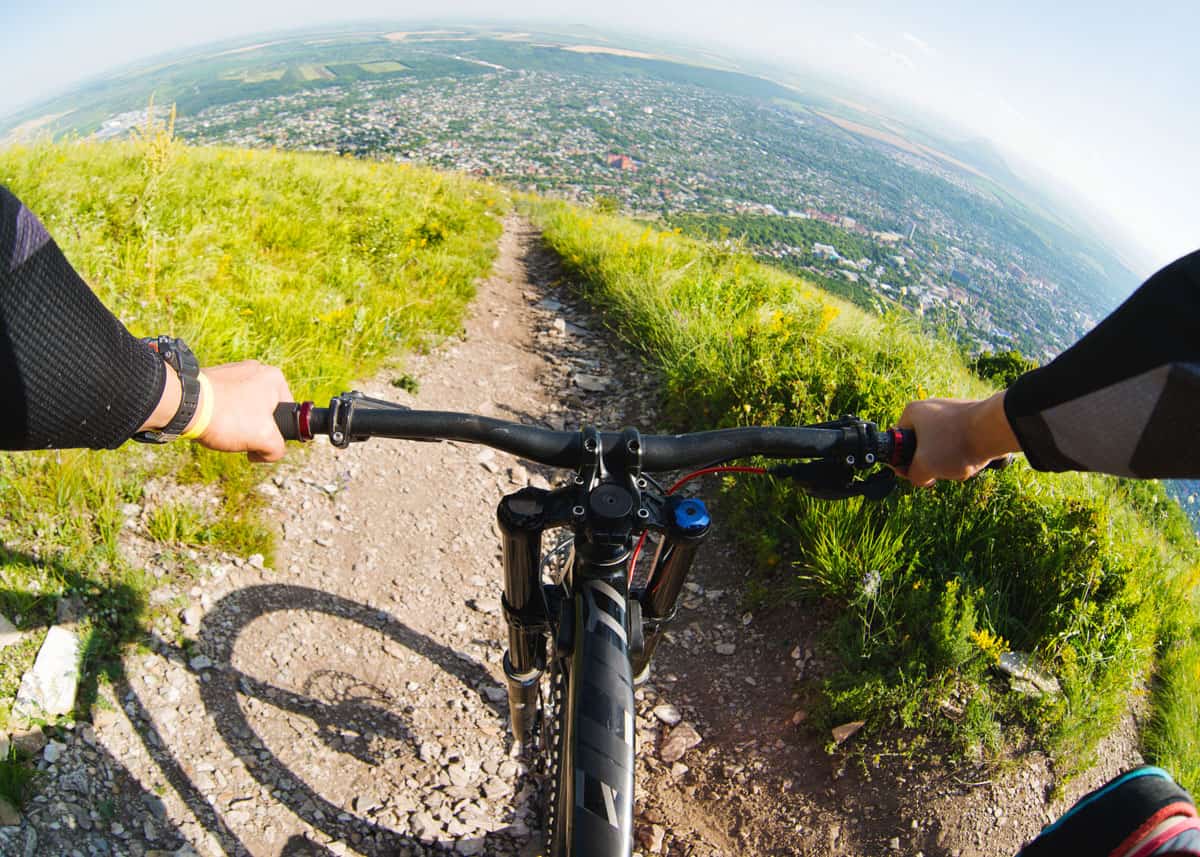
Head and chest mounts are great for capturing point-of-view shots, but on-bike mounts like the handlebar or seat post mount are great for getting unique angles.
You can also angle the GoPro so that you capture the movement of your bike’s parts. Mixing it up with shots like this will make your overall cycle video a little more interesting.
If you’re mountain biking, mounting your GoPro on a tripod on the ground can also make for some interesting footage. You’ll get to zip past your GoPro and capture your journey from a distanced perspective. Just remember to go back for it!
2. Mount your GoPro upside down when using a chest mount
The chesty is a great mount if you’re looking for that classic point-of-view angle, with the handlebars framing the picture.
But any regular biker will know the struggle of accidental crotch shots when the GoPro inevitably falls forwards.
No matter how tightly you secure it in place, any big bump or jolt has the potential to send your GoPro flopping downwards.
A simple solution to this particularly annoying problem, mount your GoPro upside down! This way your GoPro doesn’t fight against gravity, and you shouldn’t have to adjust it after every little bump.
Don’t worry; this doesn’t mean your footage will all be upside down. Before you start your GoPro rolling, adjust the orientation in settings, or flip it while editing.
3. Go biking with a friend, rather than alone
Biking with a friend is always safer, especially if you’re taking on tricky trails, but it will also give you more filming options.
Rather than juggling mounts and GoPros on your own, and trying to capture decent footage of yourself, you can take turns filming and capturing footage from different angles.
Get your friend to wear a head or chest mount backward and cycle in front of you. This way you’ll get footage of you cycling towards the camera.
Shots like this will make your videos look truly impressive and professional.
Even straightforward shots often look more interesting when there’s more than one subject.
It can get windy on the trail. Here are 9 tips to reduce GoPro wind noise while on your adventure.
4. Keep your GoPro filming
Biking is fast-paced, whether you’re cycling on the road or racing through mountain bike trails, so if you want to capture all the best bits, keep your GoPro filming.
You never know when you might come across a path, jump or sight that would make a great video, so to avoid missing anything, keep your GoPro rolling constantly.
If you plan on being out and about on your bike for a while, you’ll need to make sure you’ve got plenty of spare batteries.
If you’re using a Hero Session camera, you won’t be able to replace the battery, but you can always take a power pack, or a car charger so that you can film more than one battery’s worth of footage.
5. Use stabilizing accessories
Ideally, you want your footage to look as smooth and stable as possible, but if you plan on cycling down any bumpy path or road, you’re probably going to have some issues with shake.
But believe it or not, with the right accessories it’s possible to get the smoothest video on even the bumpiest of cycle paths.
The Hero6 advanced image stabilization is good for combatting shake, but sometimes your GoPro needs a little extra help creating smooth footage. This is where stabilizing accessories come in.
Handheld stabilizing gimbal grips are great tools for anyone serious about capturing smooth action videos.
6. Try capturing some aerial shots
Drones are a great way to add variety to your biking videos.
When biking a tricky route, you need to have both hands on the handlebars, and you don’t have time to worry about angling your GoPro properly.
So sending your GoPro up into the skies on a trusty Karma drone is one of the best ways to get incredible footage with minimal effort.
With smart features like the ‘follow me’ mode, you can film hands-free from above. The drone will follow you, keeping the camera locked on you as you bike over mountain biking paths.
The Karma drone also comes with the Karma stabilizer grip, so even on a breezy day, your aerial footage is going to be smooth and silky.
In the following video, you’ll see just how incredible drone footage of mountain biking can be:
7. Always have duct tape (and zip ties) handy
Even if you’ve got a whole range of mounts to try out, duct tape is always good to take along on your GoPro adventures.
If you forget your GoPro screws or want to try attaching your GoPro somewhere without a mount, duct tape can be the perfect solution to a lot of common problems. Think of it as an unofficial GoPro mount that can stick your GoPro to almost anything.
Duct tape can even be used in addition to your other GoPro mounts to dampen the vibrations and reduce shake.
Zip ties are equally as versatile – they can mount a camera to a branch, signpost, railing or even back onto you handlebar (if your original mount breaks).
8. Use a GoPro Smart Remote
The GoPro Smart Remote is perfect for filming while biking. You can attach it easily to your handlebars or your wrist, and control your GoPro without having to fiddle with the screen.
It’s ideal for those times when you’ve mounted your GoPro out of reach, or duct-taped it solidly in place, as you’ll have all the controls you need right at your fingertips.
You’ll be able to start and stop recording, turn the camera on or off, and even adjust the settings, all without actually touching or even seeing your GoPro.
And if you’re shooting some serious footage, using more than one GoPro, you can use the Smart Remote to control up to 50 cameras!

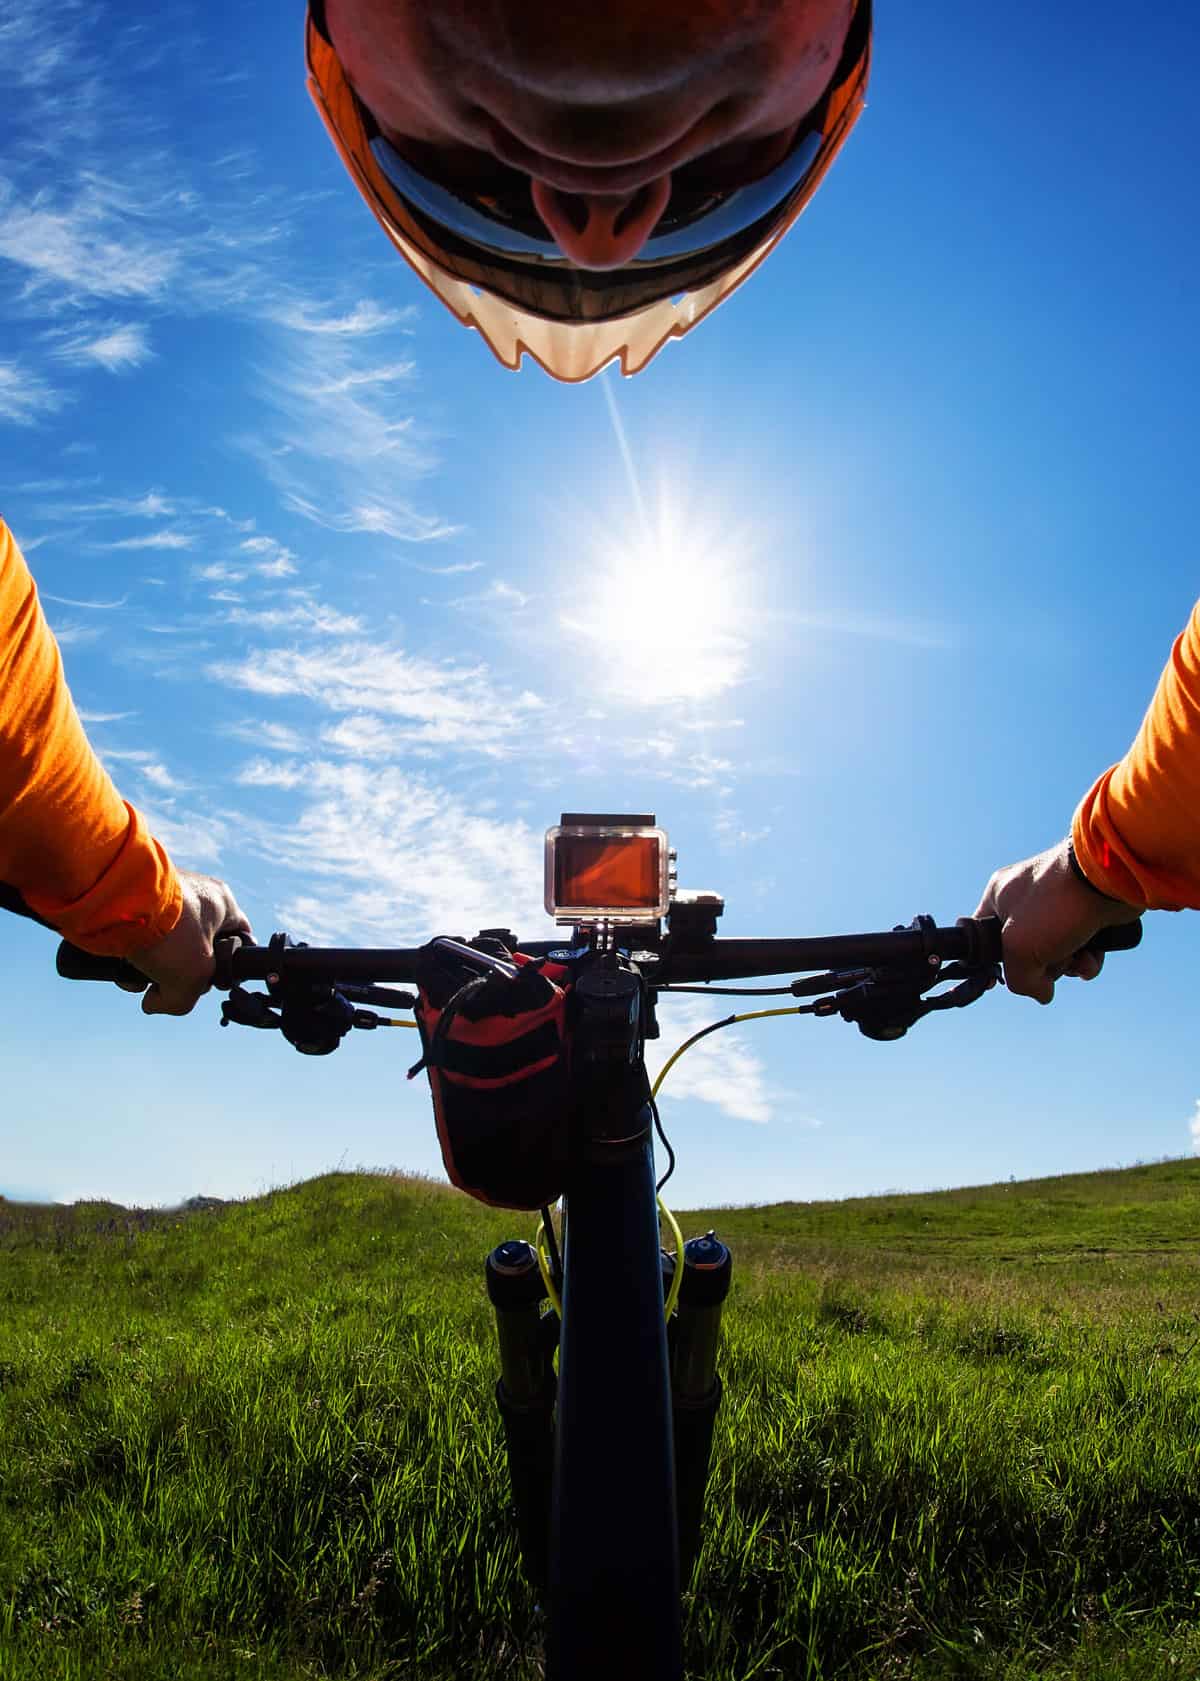
9. Use sun filters
More often than not, when you’re out and about cycling, the sun is out and shining bright (unless you particularly enjoy cycling on rainy days).
Sunny weather can make for the perfect bike ride, but glaringly bright sunlight can interfere with the quality of your footage.
To stop glare from ruining your footage, try using sun filters.
You can buy filters that fit between the GoPro and the housing (if you’re using an older GoPro), or for the newer models, you can find lens filters that simply snap onto the lens.
10. Best GoPro settings for biking: frame rate and resolution
If you have a GoPro Hero7, you can make use of the 4K resolution at 60fps, as this frame rate is perfect for fast-paced sports like cycling or mountain biking.
If your GoPro is an older model and is only capable of filming in 4K up to 30fps, then it’s worth dropping the resolution to 1080p in order to film at 60fps.
At 60fps, your videos should be both smooth and sharp, and you’ll have the freedom to slow them down if you want to.
11. Use a waterproof housing
If you don’t have a GoPro Hero5, Hero6, or Hero7, you’ll want to tuck your GoPro safely into a waterproof housing to protect it.
Even if you don’t plan on biking in the rain, mountain bike trails are likely to involve both mud and water splashes, and the last thing you want is for a skid stop to result in a broken GoPro.
The waterproof housing may interfere with the sound quality of your footage, but if you plan on putting music to your video anyway this shouldn’t matter too much.
Crash Tip: It’s not a bad idea to place your already-waterproof Hero7 or Hero8 in the waterproof case anyway – it will also protect it from scratches in a crash. It is better to ruin a $50 case instead of a $400 camera.
12. Get some close-ups of your bike, not just the journey
If you’re going to share your video online, you might find that your audience is interested in your bike as well as the trails.
Try getting some close-ups of your actual bike when you’re on the move to satisfy the bike enthusiasts out there. It will also mix up your video a bit and give you some technical footage to add.
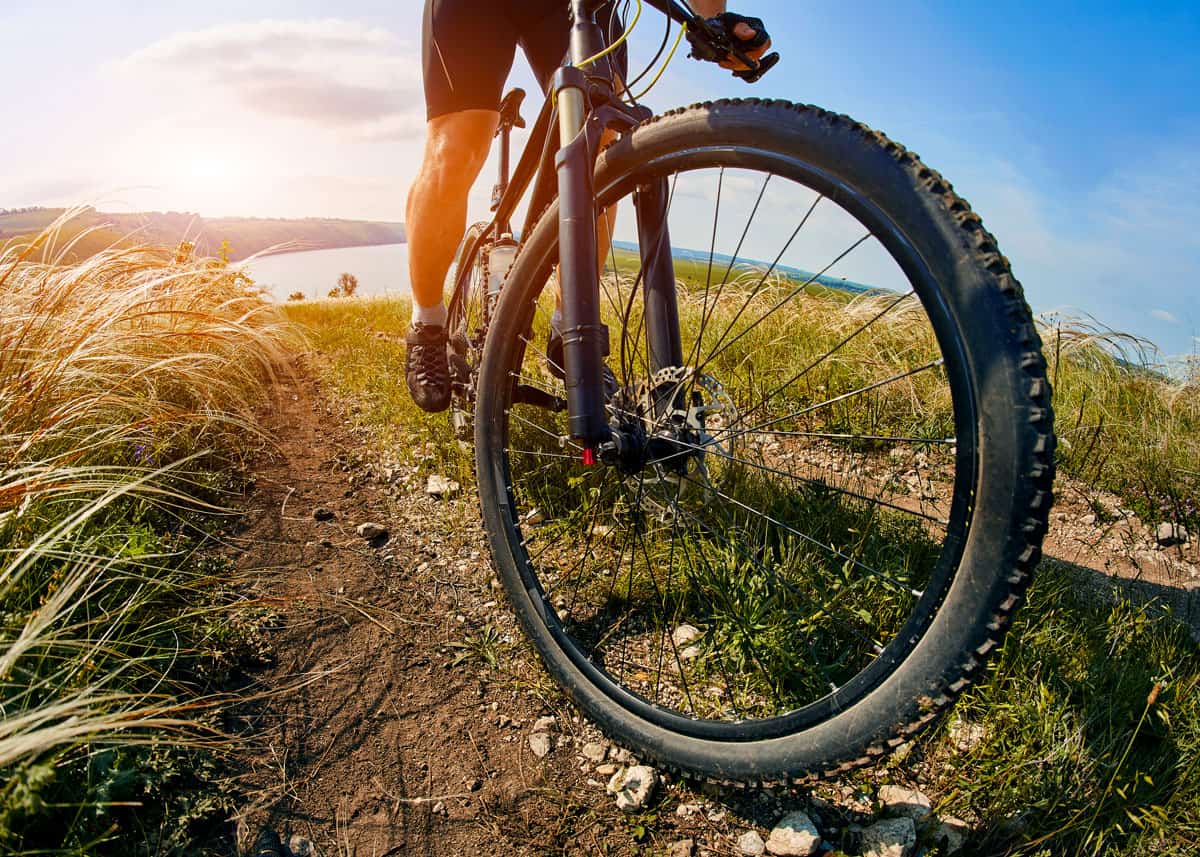
Try mounting your GoPro on your bike’s crossbar, looking back at the wheel. This way you’ll capture some unique footage of your suspension in action, and the mud spraying up from your back wheel.
I recommend “How to Shoot Video that Doesn’t Suck“ – this book fundamentally changed how I looked at video creation. It’s written like a reference book – you can jump into any chapter and get the skills you need.
Here is one of my favorite biking videos. Danny MacAskill’s “Wee Day Out” explores the rural landscape around Edinburgh.
7 Best GoPro Bike Mounts
Mounting your GoPro for a bike ride might seem fiddly at first, but once you’ve got the right accessories, it’s super easy to set up your GoPro and get going.
Here are some of the best GoPro accessories for cycling and mountain biking.
1. The GoPro Chesty

![]() The Chesty is GoPros chest mount, and it’s perfect for cyclists. This mount is what’s going to give you a classic point of view shot, with your handlebars framing the picture.
The Chesty is GoPros chest mount, and it’s perfect for cyclists. This mount is what’s going to give you a classic point of view shot, with your handlebars framing the picture.
So it’s an essential bit of kit for anyone who’s going to be filming while biking.
This is also the mount you’d use if you wanted to film someone trailing behind you on their bike.
You can simply wear the chest mount backward, and you’ll be able to film your fellow bike rider from the front.
2. Helmet Front and Side Mount
![]() The helmet mount is the second-best mount for filming point-of-view footage. It’s a swivel mount, so you can easily capture different angles from the mount, and you have the choice to wear it on the front or side of your helmet.
The helmet mount is the second-best mount for filming point-of-view footage. It’s a swivel mount, so you can easily capture different angles from the mount, and you have the choice to wear it on the front or side of your helmet.
It’s second to the chesty because the view you can get from the helmet isn’t quite as smooth, unless you’re using a stabilizing accessory.
Because the mount is positioned higher, you’ll also miss out on the handlebar view, unless you position the GoPro to look down rather than straight ahead.
More reading: 12 Best GoPro Helmet Mounts
4. DJI Drone
![]() If you’re mountain biking, one of the portable drones by DJI is a great accessory for capturing outstanding footage. The new Mini 3 is an exceptional unit.
If you’re mountain biking, one of the portable drones by DJI is a great accessory for capturing outstanding footage. The new Mini 3 is an exceptional unit.
You can effortlessly capture professional footage of you tackling challenging mountain paths, from a birds-eye view!
The follow-me feature of the drone makes it the ideal accessory for those that want to focus on the journey, knowing that the filming is already taken care of.
5. Handlebar / Seatpost Mount
![]() This is the perfect mount for attaching your GoPro to your bike. It’s purpose-built for bike mounting, so your GoPro will be mounted securely, and the camera shake will be reduced.
This is the perfect mount for attaching your GoPro to your bike. It’s purpose-built for bike mounting, so your GoPro will be mounted securely, and the camera shake will be reduced.
The GoPro mount has a rotating base, with 16 secure positions, so that you can change the angle every now and again, and shoot both front and rear-facing footage.
More reading: The best GoPro handlebar mount
6. Extra Batteries
![]() Extra batteries are never a bad idea. I like to have 3 or 4 charged batteries when I head out for the day. Count on about 1 hour of shooting per battery.
Extra batteries are never a bad idea. I like to have 3 or 4 charged batteries when I head out for the day. Count on about 1 hour of shooting per battery.
Remember that the GoPro Session doesn’t have removable batteries, it’s built into the camera body.
7. GoPro smart remote
![]() If you do plan on getting shots from a distance, you’ll want to invest in the GoPro smart remote. With this, you can control your GoPro from a distance of up to 180 meters.
If you do plan on getting shots from a distance, you’ll want to invest in the GoPro smart remote. With this, you can control your GoPro from a distance of up to 180 meters.
So even if your GoPro is out of reach, you can quickly and easily stop and start recording and adjusting settings.
Here are a few final tips with GoPro athlete Aaron Chase:
Thinking about filming with a GoPro mouth mount?
Your Turn
What’s your favorite GoPro biking accessory or tip for road or mountain biking? Share by joining us in the comments.
- About the Author
- Latest Posts
Hey, I’m Bryan! I’m a content creator and co-founder of Storyteller Tech.
Experienced GoPro Videographer: I’ve been shooting with GoPro cameras for over 11 years. My first GoPro was the Hero3 Silver, bought for a Galapagos work trip in 2012. Today I own 20+ action cameras, including GoPro, DJI, and Insta360 cameras.
Professional Creator: Dena and I have developed video and content marketing plans for numerous international travel brands. And we also run several content businesses.
Bryan also creates at Storyteller.Travel and is co-founder of Storyteller Media, a Canadian-based publishing company.
Duane
Monday 8th of November 2021
One additional feature I’m looking for in a camera is option to use camera to connect to iPhone and use camera with iPhone as a rear view mirror. Does any of the Go Pro cameras have the feature of flipping the image while viewing to get the results of viewing a rear view mirror when I bike on rural roads?
ILAN VARDI
Thursday 30th of May 2019
The best GoPro cycling mounts are the K-Edge computer mounts that fit GoPros on the bottom.
Bryan Haines
Friday 31st of May 2019
Thanks Ilan!
Tom
Sunday 19th of May 2019
Think outside the box a little... like this!! https://youtu.be/BYeYvxEuUdc
Greig
Monday 25th of February 2019
Hi, have you seen this mount before? We supply thus mount to professional YouTube's and we get so many riders changing their helmet/handlebar/seat post mounts for our mount as it provides a unique viewpoint and is pretty much vibration free. If you will be updating your list of top gopro cycling accessories I'd appreciate it if you could include this Mount. Thanks and safe riding.
Our email is contact@nut-r.co.uk if you need to get in touch.
Bryan Haines
Wednesday 24th of July 2019
Thanks for including this - looks promising.
Lester E. Rosebrock
Sunday 10th of June 2018
My favorite accessory for the GoPro is the BacPac. A second option is to use an external battery charger to keep the GoPro recording for a long time. Changing the internal battery is a waste of time.