So you filled your DJI action camera with memories. Now that you’ve returned home, it’s time to upload them to your computer. Here’s how to connect your DJI camera to a computer. You’ll learn 3 methods to file transfer via USB and your app.
You have three options to connect your DJI camera (Action, Osmo, Pocket) to a computer. You can remove the microSD card and insert it into your computer. You can wirelessly transfer footage via Mimo app and upload to the cloud. Or you can connect your DJI camera via USB cable to transfer files.
This guide is part of our DJI Action Camera series. Other guides include battery life (Action and Pocket), charging guide, and release dates for all models.
Connect DJI Camera to Computer: 4 Step Guide
Here are the four connection methods, with step-by-step instructions, for your DJI action camera.
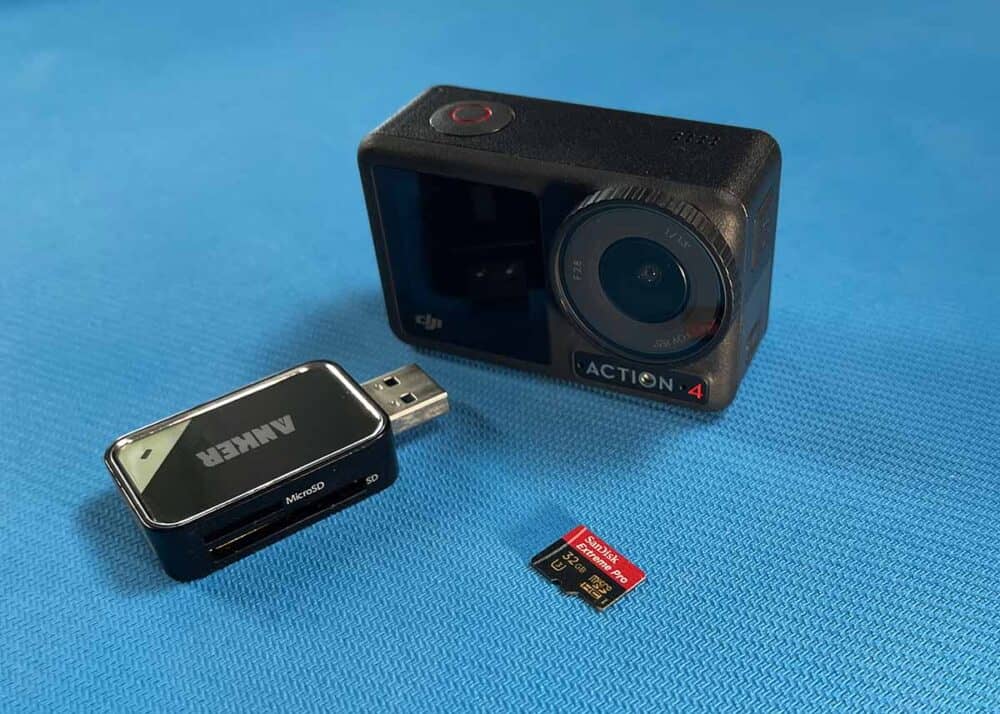
1. SD Card Reader Upload (Fastest)
This is my favorite method for two reasons.
- It’s the fastest method.
- And it’s foolproof. It eliminates points of fail – like needing an app, wireless connection, or glitches with the camera.
This is how I upload photos and footage from my other cameras, including GoPro, Sony, and Canon.
You’ll need a microSD card reader or adapter (more on this below) and a computer.
Here’s how to do it.
- Remove the microSD card from your DJI camera.
- Insert microSD card into a card reader (or SD card adapter)
- Now insert this into your computer. If the card isn’t recognized automatically, press Window Key + E. This will open File Explorer.
- Navigate to “This PC” in the left sidebar. Your SD card should be visible under this header. Two folders should be visible: DCIM and MISC.
- Open the DCIM folder. The number of folders will depend on how many photos and videos you took.
- From here, just drag and drop the files to your computer.

What’s the difference between a card reader and card adapter? While they sound similar, they are different.
- Micro SD card reader: A micro SD card reader allows you to insert the Micro SD card into the USB device. My Anker SD card reader is pictured above.
- Micro SD card adapter: A micro SD card adapter is usually the size of a standard SD card. The microSD card fits inside and then the adapter can be inserted into the card reader.
MicroSD cards used to come with these adapters, but this is seldom the case today. But you can pick them up inexpensively.
More reading: How to Format Your SD Card (5 Ways)
2. DJI Mimi App (Cloud Upload)
While the Mimo app doesn’t automatically upload footage to the cloud (like GoPro Quik), it can still be used to upload to your computer.
You can use the Mimo app to download footage from your camera to your phone. Then, you can upload to a cloud service from your phone. Your footage will be backed up and available on your computer.
- Open Mimo App
- Connect the Mimo app to your DJI camera.
- Go to Album > Select > Download. This will copy your images/clips to your phone.
- Upload to the Cloud. I use both Sync and Google Drive for uploading photos and videos. Select the images on your phone and select Share.
Now, your images are accessible on all your devices. This is handy, because you can access them on your Windows computer, MacBook, and even tablets and other mobile devices.
Here are a couple of tips for uploading to the cloud.
- Google Drive Tip: On Google Drive, I created a subfolder called Phone Photos. And I dump all my footage into that folder. From there, I can download individual files or bulk download a large set of them.
- Sync Tip: Enable Automatic Camera Uploads to automatically upload your photos to the Camera Uploads folder in Sync. Here are the steps.
We use a premium Sync.com subscription (3TB) to sync data across our desktop computers and mobile devices. We have a 3-seat license, so we can share across our family (which is also all our team members in our company). But you can get a 5GB account for free – enough for some basic image sharing.

What About iCloud? Once you’ve downloaded your footage to your iPhone, you could use iCloud to backup it up. But it isn’t really in a usable form. Unless you’re using an iPhone and MacBook (on the same account) I don’t think there is a practical way to access your footage from iCloud on your computer.
And you’ll find that footage from your DJI camera can get pretty large – probably not what you’ll want to back up in your iCloud.
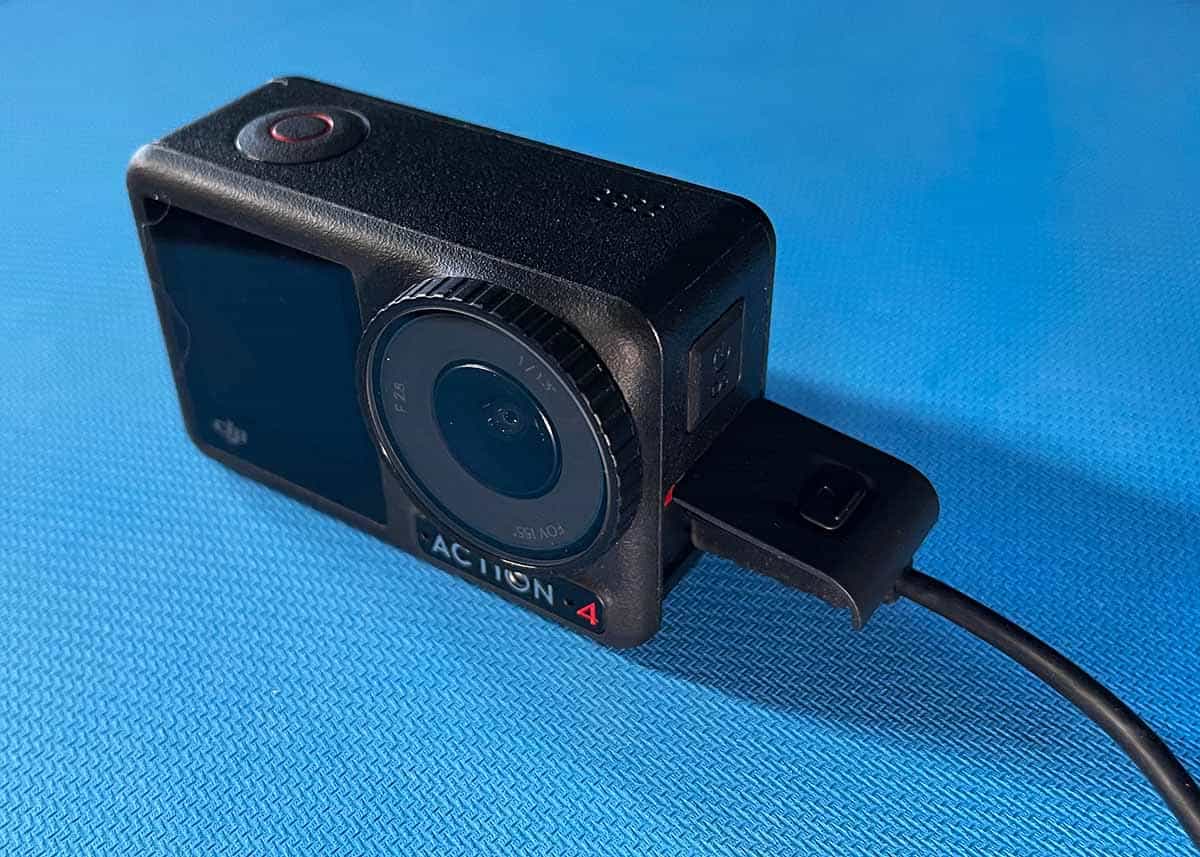
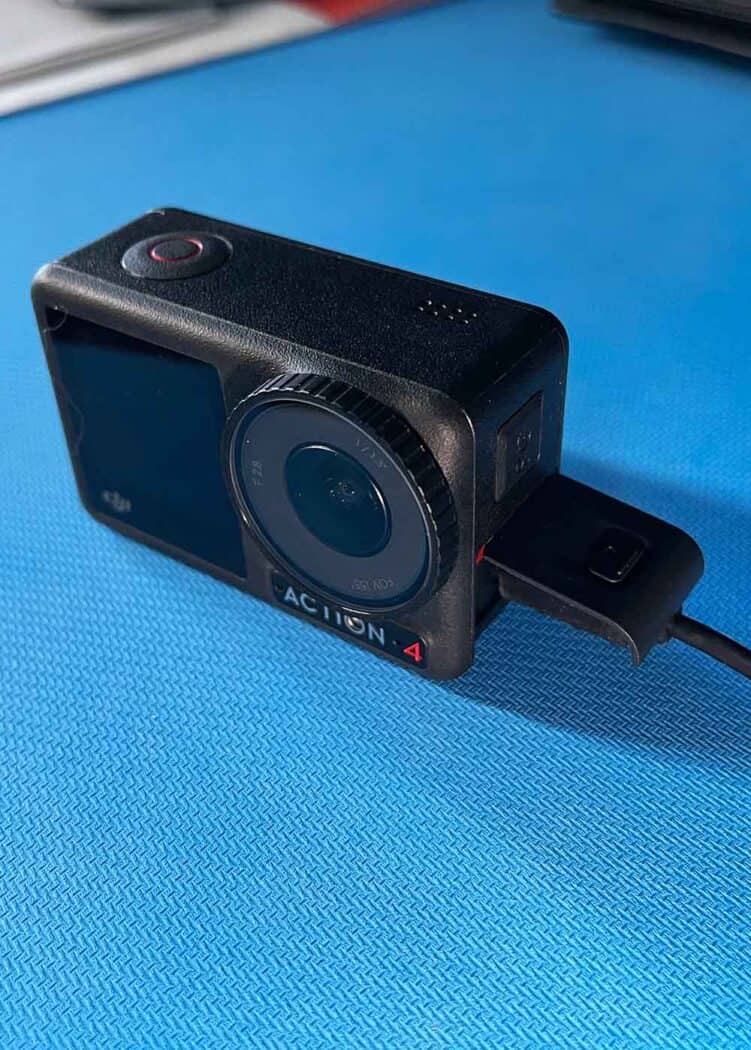
3. Manually Connect Your DJI via USB Cable
If the other options don’t work for you, then this one should do it.
Here’s how to manually connect your DJI camera to your computer.
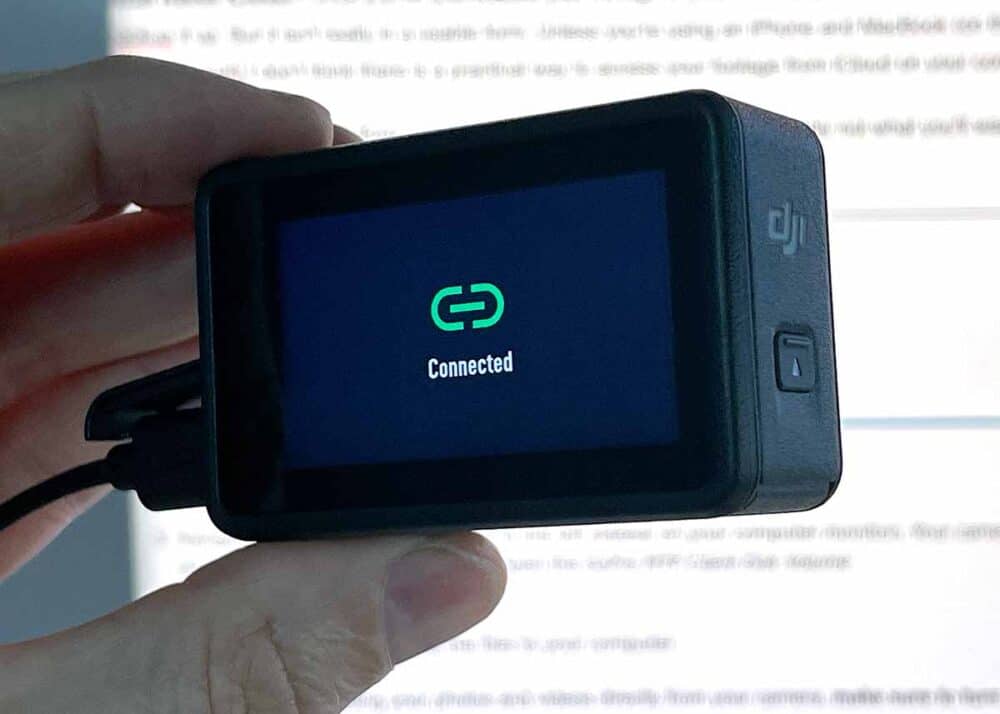
- Connect your USB cable to your DJI camera and computer.
- Turn your camera on.
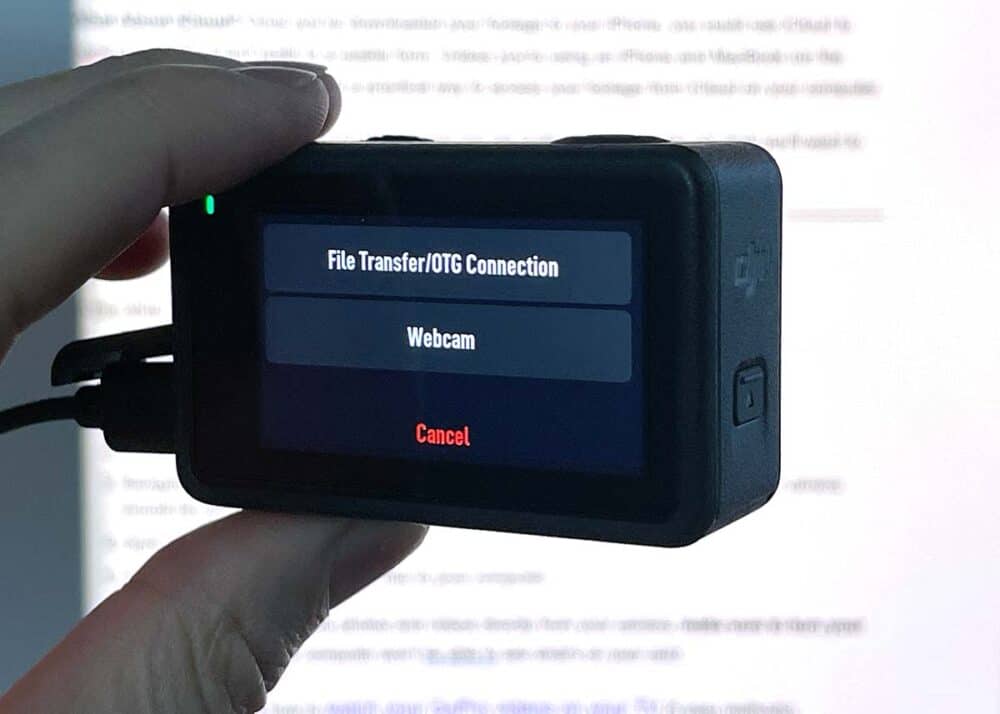
- On your camera, you’ll be asked if you want to connect as 1) File Transfer/OTG Connection or 2) Webcam. Choose File Transfer. See image below.
- Navigate to “This PC” (left sidebar) on your computer. Your camera/card should be visible under that header.
- Open the DCIM folder
- You’ll now see one (or many) folders that begin with DJI_
- From here, just drag and drop the files to your computer.
Important: When uploading your photos and videos directly from your camera, make sure to turn your camera on. Otherwise, your computer won’t see what’s on your card.
Your Turn
How did it go for you? Have a question about connecting a DJI camera to a computer? Let me know, and I’ll do my best to answer it.
- About the Author
- Latest Posts
Hey, I’m Bryan! I’m a content creator and co-founder of Storyteller Tech.
Experienced GoPro Videographer: I’ve been shooting with GoPro cameras for over 11 years. My first GoPro was the Hero3 Silver, bought for a Galapagos work trip in 2012. Today I own 20+ action cameras, including GoPro, DJI, and Insta360 cameras.
Professional Creator: Dena and I have developed video and content marketing plans for numerous international travel brands. And we also run several content businesses.
Bryan also creates at Storyteller.Travel and is co-founder of Storyteller Media, a Canadian-based publishing company.