Now that you’ve started to fill up your SD card, it’s time to upload the photos and videos to your computer. Here are 3 ways to connect a Canon camera to your computer.
There are 3 fast methods to connect your digital Canon camera to a computer. The three methods include using a USB drive, connecting with an SD card, and connecting your Canon wirelessly. Being comfortable with all three methods will ensure that your photographs always upload properly.
Carefully choosing one of the three main ways of connecting a Canon camera to a computer will ensure proper file transfer when you’re ready to upload your photographs.
Once doing so, you will need to save your photos by following the transfer instructions carefully. Keep reading for detailed descriptions of each Canon-to-computer transfer method.
Want to use your Canon as a webcam? Here’s how to use your DSLR as a webcam.
1. How to Connect your Canon Camera using USB
One of the simplest ways to connect your Canon camera to your computer is using a USB cable.
This way is usually the fastest and one of the most reliable ways to upload your digital photographs from your USB and onto your computing device.
USB Cable to Connect your Canon: 4 Steps
When using USB to connect your digital Canon camera to your computer, a USB cable is a great tool to use.

![]() The Canon IFC-400PCU USB cable is a product with good reviews from both professional photography companies and individual users.
The Canon IFC-400PCU USB cable is a product with good reviews from both professional photography companies and individual users.
While most Canon cameras come with a USB cable, it can get lost. Your choice of USB cable will determine the speed at which your photographs upload.
To upload your photographs using a USB cable, follow these steps:
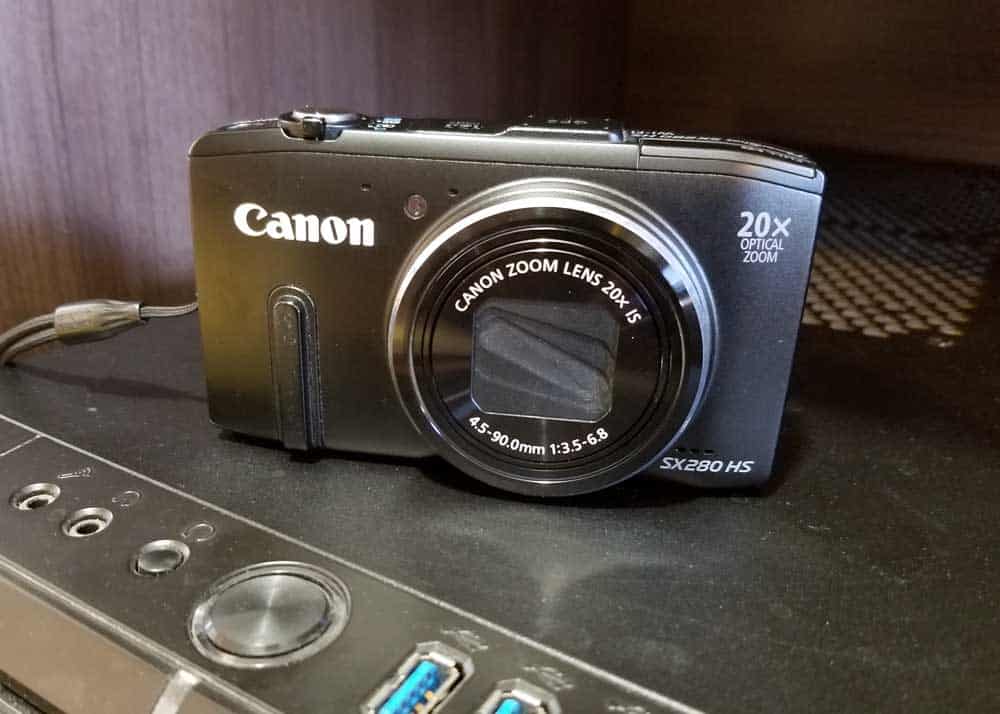
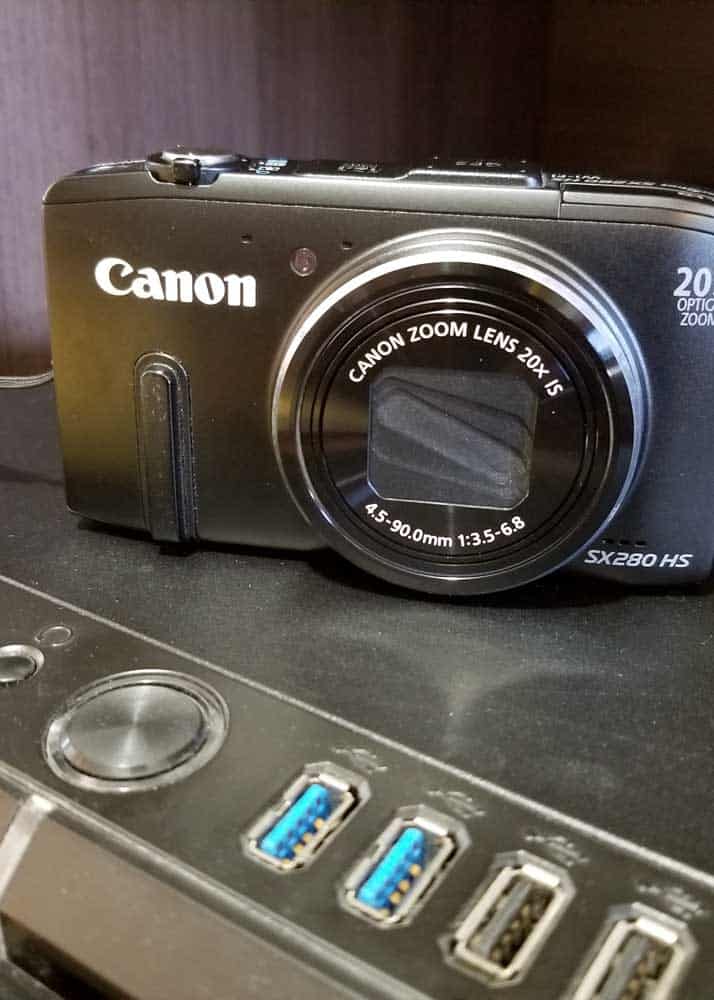
- Plug the correct end of the USB cable into the corresponding USB slot on your Canon camera.
- Plug the fitting end of the USB cable into its correlating USB slot, either on the side of your laptop or on your computer tower.
- Turn on your digital Canon Camera and wait for your computer screen to provide you with prompts.
- Follow the directions on your screen to upload the photographs into your corresponding photography viewing software. This software can differ whether you have a Mac OS or Windows PC.
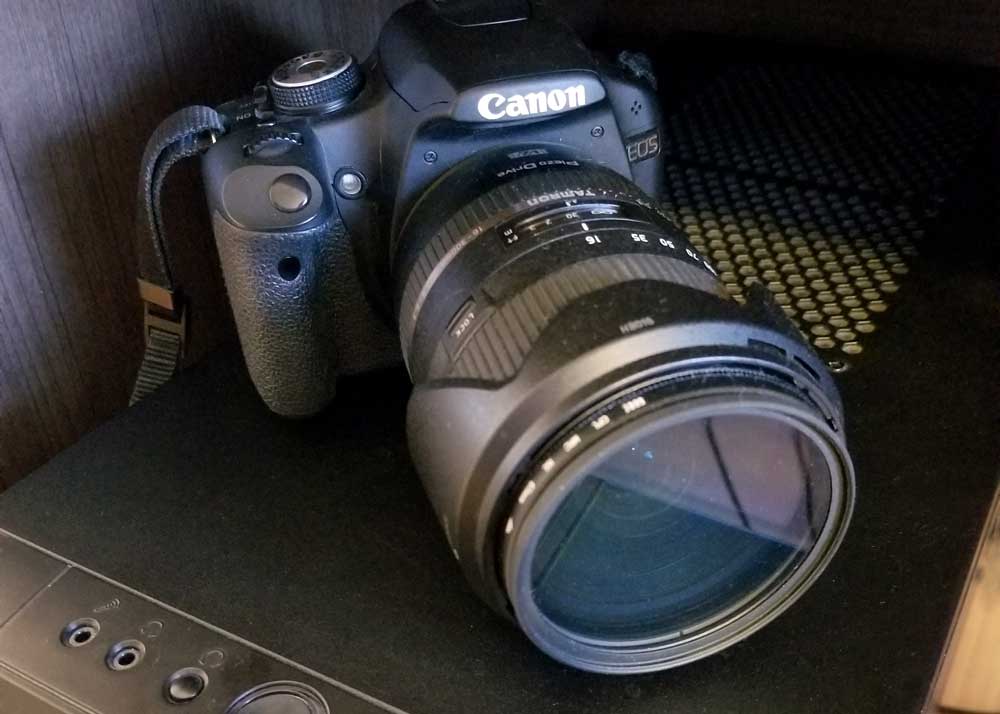
In the following video, you’ll see how to connect a Canon DSLR via USB to a laptop.
How to connect Canon Rebel T6 to computer with USB
2. Connecting your Canon with an SD Card
Another great way to connect your digital Canon camera to your computer is by using an SD card.
This is a very popular method for photographers who shoot many hundreds of digital photographs during each of their sessions and want to keep a backup of all of their files on an SD card.
You can connect your Canon to your computer with an SD card by doing the following:
- Check that your computer has an insert slot for an SD card to be inserted.
- Turn off your digital camera.
- Remove your SD card either by gently pulling on it or by pressing the SD card release button.
- Insert the SD card into your computer’s SD card slot and wait for the SD file folder to appear on your screen.
- Save the photographs on the SD card to your computer.
![]() If your computer doesn’t have an SD card reader, you will need to pick on up. This will allow you to move all your photos and videos from your camera to a computer.
If your computer doesn’t have an SD card reader, you will need to pick on up. This will allow you to move all your photos and videos from your camera to a computer.
The adaptor plugs right into your USB port. Everything that you have on your camera will be on the SD card.
What about clearing your SD card? When your SD card is full (or you want it to be empty) you can follow the same process above.
And once you have uploaded and saved the files you want to keep on your computer, you can simply format your SD card, leaving it clean when you put it back into your camera.
3. Wirelessly Connect your Canon Camera
The final and newest way to connect your digital Canon camera to your computer is by doing it wirelessly.
If your digital Canon camera has wireless capabilities, you can easily and quickly upload all of your photographs.
Here’s how:
- Figure out whether you will be connecting wirelessly to a Mac or PC.
- Connect your computer or laptop to a reliable WiFi source so that you are connected to the internet.
- Install your Canon driver application to your computer by following your Canon camera’s wireless manual.
- Turn on your Canon and turn on your Wireless Canon camera transmission.
- Wait for your computer to recognize the WiFi signals from your camera and open the corresponding photo folder that appears on your screen.
- Transfer your photographs to a stable folder on your computer.
More reading: Here’s how to connect other cameras to a computer (including action, phone, and other brands).
How to Connect a Canon to Windows
Connecting your Canon to Windows is generally easy because Windows on PC is consistently compatible with Canon camera operating systems.
Whether you have a DSLR or a point-and-shoot camera, connecting to Windows uses applications like Microsoft Photos installed on your hard drive.
When uploading your DSLR photographs to Windows, it is important to make sure that your computer has enough room because the DSLR photographs are typically larger in size than point-and-shoot cameras.
The last thing a photographer wants is to run out of space when uploading.
If you decide to upload your point-and-shoot Canon photographs to Windows, you will run into fewer issues. Just make sure you can save them directly so that their quality does not disintegrate or become blurry and pixelated.
Running them through apps first can reduce their size and their image quality. I prefer to upload the images as shot – then make copies for editing.
Connecting a Canon to Mac OS
If you are using a Mac OS operating system as your computer, you should download the proper programs and applications so that your photographs upload properly from your Canon camera.
If you upload your DSLR Canon camera to your Mac OS, you will need to ensure that the software is compatible.
The best way to upload your photographs will be with a USB cable. A DSLR requires software that transfers your USB cable information to your Mac so you can transfer the photos in high quality in real time.
When you upload your point-and-shoot Canon camera to your Mac, you won’t need to do much else as long as you have photo-receiving software installed. Just plug in your USB cable and wait to be prompted by your operating system.
If you decide to shoot tethered, you can auto-upload your images to your MacBook directly.
Learn more: How to Connect your Canon Printer to WiFi
Troubleshooting: Your Canon Camera Won’t Connect
Knowing how to self-troubleshoot your Canon camera is an important skill to have when consistently uploading your photos by connecting to a computer.
Troubleshooting your Canon camera and computer on your own will save you both time and expenses.
While Canon cameras do not typically have any problems connecting to either Mac or PCs, there are a few ways to double-check your camera’s connection.
Troubleshooting USB Cable
If your Canon camera is having a hard time connecting to your computer using a USB cable, there might be an issue with the cable itself.
Troubleshoot this issue with these steps:
- Turn on your computer.
- Connect your USB cable to your computer and camera.
- Turn on your Canon camera.
- Open your computer settings and manually load your photograph-receiving application.
- If the application opens, the problem may have been a loading issue. If the application does not open, you should try another USB cable.
Troubleshooting WiFi Connection
When attempting to connect your Canon camera to a computer using its WiFi capabilities, you should ensure that the computer’s and camera’s settings are connected properly.
Troubleshoot this issue with these steps:
- Turn on your computer and your camera.
- Press your Canon’s menu button and select the wrench or settings tab.
- Choose ‘Communication Settings’ and look for the ‘Built-In Wireless Settings.’
- Select ‘Connect,’ “Select a Network,’ and then press ‘OK.’
- Select the network of your computer.
- Initiate the upload.
Keep reading: Here are how many photos and minutes of video per GB of SD card memory.
Simplicity and Ease of Connecting to Computers
Connecting your Canon camera to a computer can be a simple, enjoyable, and fast task.
Follow the steps associated with each option. Whether using USB thumb drives or cables, connecting via a standard SD card, or connecting your Canon via wireless, you will find that connecting your camera to your computer isn’t as big of a hassle as it first seemed.
- About the Author
- Latest Posts
Hey, I’m Dena! I’m a content creator and co-founder of Storyteller Tech.
Experienced GoPro Videographer: I’ve been shooting with GoPro cameras since 2012. Our first GoPro was the Hero3 Silver, bought for a Galapagos press trip. And today, we own 20+ action cameras, including GoPro, DJI, and Insta360 cameras.
Professional Creator: Bryan and I have developed video and content marketing plans for numerous international travel brands. And we also run several content businesses.
Photography Writer: I’ve written photography tutorials for well-known sites, including Digital Photography School.
Dena also creates at Storyteller.Travel and is co-founder of Storyteller Media, a Canadian-based publishing company.
Monica
Tuesday 19th of April 2022
The YouTube video helped more than anything. It took me two seconds and I finally got my camera connected and the photos downloaded. I have been trying everything the manual said, but nothing worked. Thank you so much!
Bryan Haines
Wednesday 20th of April 2022
Glad to hear it. Thanks Monica!
Zoé
Sunday 20th of February 2022
One hundred thousand thanks! Like Phoebe Mo, I had the WIFi thingy enabled.
Jean Mckelvey
Tuesday 28th of December 2021
Good morning, every time I download my pictures onto my pc they come out double, please could you tell what I am doing wrong.
Stacey
Thursday 23rd of December 2021
I have a Canon Rebel T2i and a MacBook Pro. What finally worked for me (after not being able to use some of the other suggestions) was to locate Image Capture in my Launchpad. I dragged it over to my app bar and plugged my camera in again (with cord and adapter) and in Image Capture it recognized my device and I was able to download them. I downloaded to a folder on my desktop and then to my iPhotos.
Jason Stone
Sunday 28th of November 2021
Which of the three methods gives the fasted file transfer rate? USB-C? Wifi? Or using SD card adapter?