So you’re done shooting and ready to share your footage? Here’s how to connect a camera to your computer (DSLR, action, point-and-shoot, phone). These 3 easy ways will have you editing and sharing in no time.
The three main ways to connect a camera to a computer for transferring photos are:
- USB cable from the computer to the camera
- Inserting the SD card from the camera into the computer
- Wirelessly connecting the camera and computer through an app or a synced phone.
While it may be easy to take pictures with our cameras and phones, it is not always easy to transfer them to a computer. Even if you know one way, there might be an easier method.
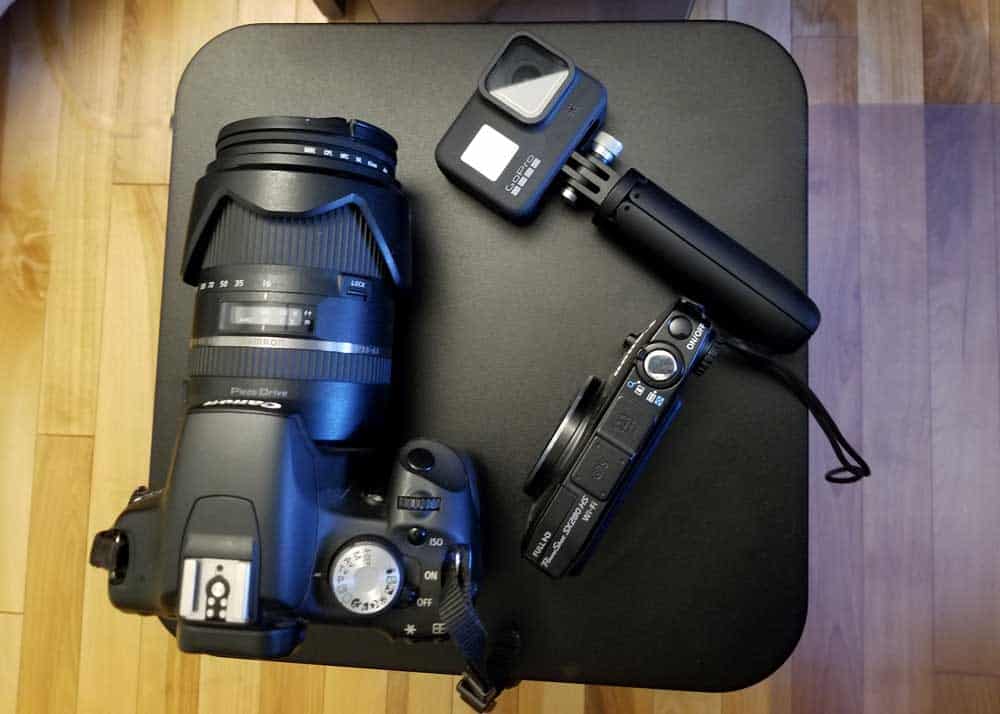
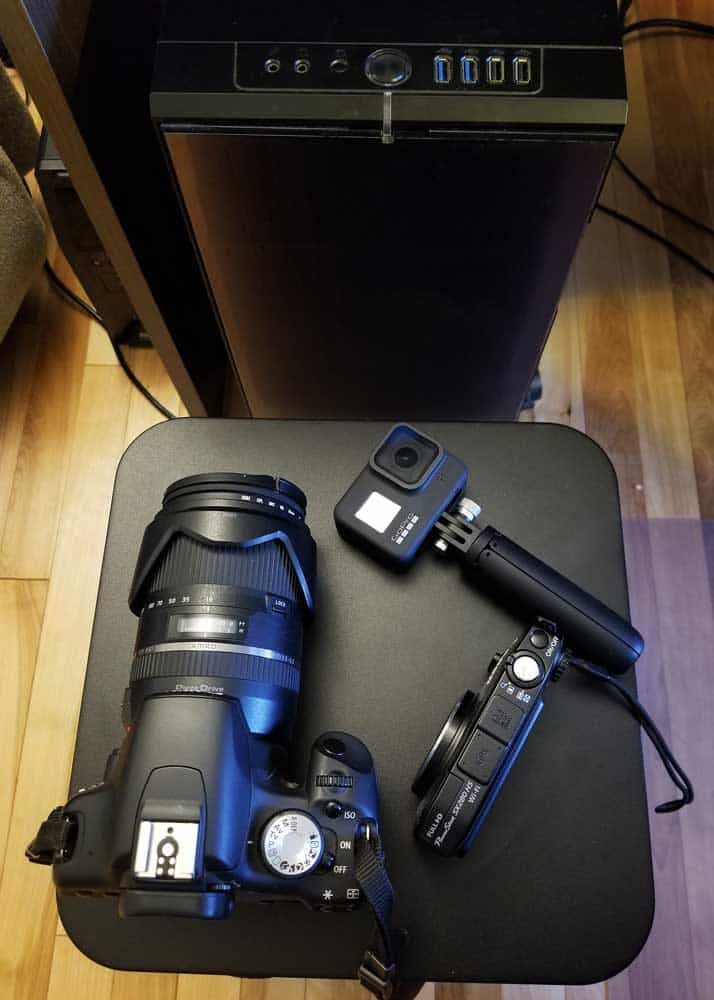
The three different methods may work better or worse for the many different types of cameras — from a phone and action camera to point-and-shoot or a DSLR camera.
Looking to use your camera as a webcam? Here’s how to use your GoPro or DSLR as a webcam.
The 3 Methods to Connect Your Camera to Computer
You’ve shot some footage and are ready to share. But you’re wondering: How can I get these photos on my computer where I can use them?
Here are the 3 methods and which methods work best for each camera type for transferring photo and video files to the computer.
1. Via USB Cable
This is the simplest method. In addition to a charger, almost every camera comes with a USB cable. Simply plug this into your computer and camera, and open the photos app.
It should read the camera and allow you to import the photos — usually, there is an actual “import” button that you push within the photos app.
If you want to import just a few photos, select the ones that you do want to transfer, and this will not affect the others affecting the others.
But keep in mind that importing photos will not delete them from your camera so if you need space on your camera, you will need to delete the photos from it after you transfer the photo files to your computer.
2. Via SD Card
Your SD card holds your photos and videos. They are usually beneath a flap on the right or left side and is easily removed.
Some computers and laptops have SD card readers built in, it’s a small port on the back or side that you can slip the SD card into.
![]() If you don’t have an SD card reader on your computer, you will need to purchase one that will let you access your photos and videos from your camera.
If you don’t have an SD card reader on your computer, you will need to purchase one that will let you access your photos and videos from your camera.
The adaptor plugs right into your USB port. Everything that you have on your camera will be in the SD card.
Even if you have an SD card reader in your computer, you’ll want to ensure that you have the correct adapter. The most common is microSD to SD card adapter.

What about erasing your SD card? If your SD card is full and needs to be wiped, you can follow the same process above.
Once you have transferred and saved the files you want to keep on your computer, you can simply format your SD card, leaving it clean when you put it back into your camera.
3. Transferring Photos Wirelessly to a Computer
There are a few different ways to transfer photos from your phone to your computer wirelessly. The first is to simply email the photos through your phone, which allows you to quickly access a photo with pretty minimal effort.
But, this is probably not the best option if you are transferring many photos because the process can slow down significantly once you add more and more photos.
The second and more versatile option is through a photo app. There are a few different options here.
For a phone-to-PC option, there is an app called “Your Phone Companion” that, once you grant access through a Microsoft ID (account), can access all the photos on your phone.
A tab may pop up on your phone requesting photo access through the app that you will need to say yes to before it can access everything. It does appear to only work for Android, though (we’ll discuss iOS options below).
For the accompanying PC synchronization, once you have the app on your phone, go into the settings bar on your PC and into the “Phone” sub-tab where you can add a phone.
This at least works for Windows 10 and may work in earlier versions too. Once you sync it with your computer, you should be good to go.
Another app, called PhotoSync may be the best option available. It is free on Android and iOS. The premium version ($19.99 lifetime) works only on iOS, but it is cross-platform — meaning that you can download it on an iPhone to transfer photos to a PC or from an Android to a Mac — giving it near-unlimited reach. It also works on accompanying devices such as an iPad too.
There are other apps and options as well, such as saving photos in the Cloud through iOS devices or through Google Photos, which is open to any device.
These can save a large number of files without taking up any space on your device but both of them are stored on the web, which can create some anxiety surrounding security for some.
Some cameras will allow you to send photos directly to a computer. This is becoming a more popular option as tech makers want you to freely transfer files between devices.
Some cameras have WiFi which can allow for files to be sent to the computer. For those that allow it, there should be an option for this within the internal menu.
More reading: 3 Ways to Connect Canon Camera to a Computer
Having trouble with these methods? Here are 6 ways to get your camera to show up on your computer.
Which Method Works Best For Different Cameras?
There are several different types of cameras, and some methods may work better or worse for the different variations. We’ll go over some of them below.
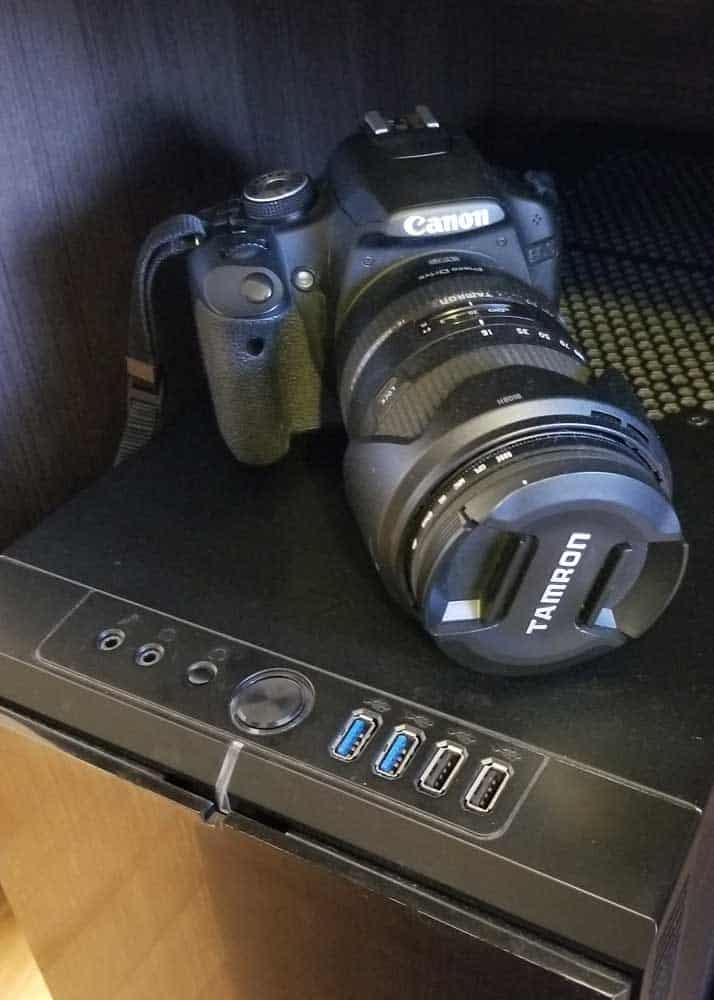
DSLR Cameras
Via the SD card is the best way to connect a DSLR to a computer. It gives you the most control and options.
The easiest way would be to use the USB cable – just plug and transfer. But my preference and recommendation is to use the SD card.
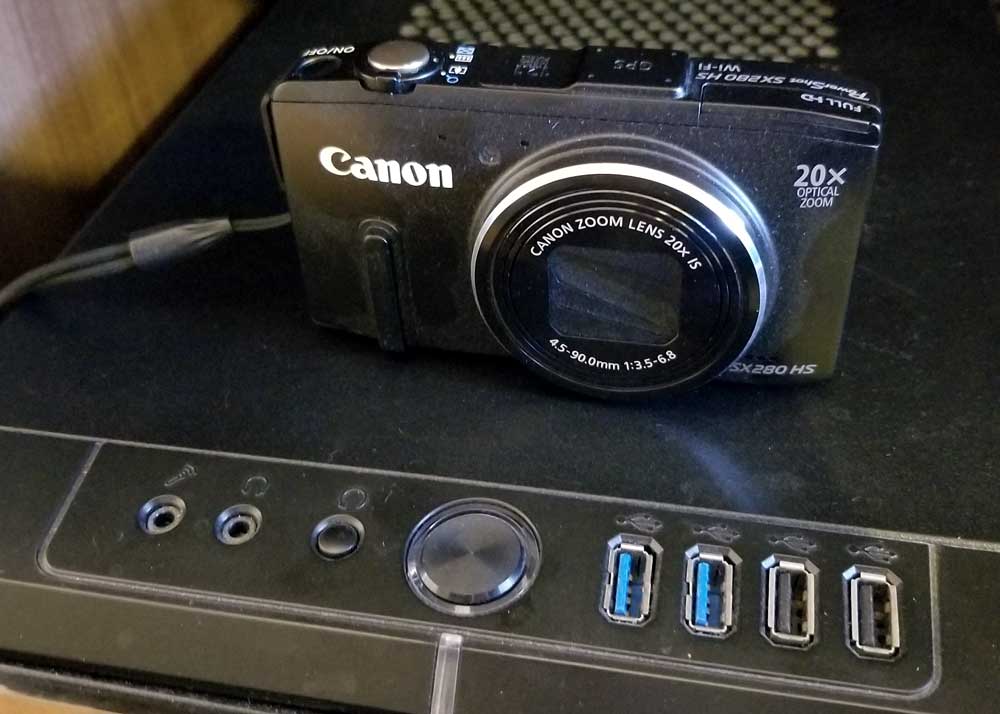
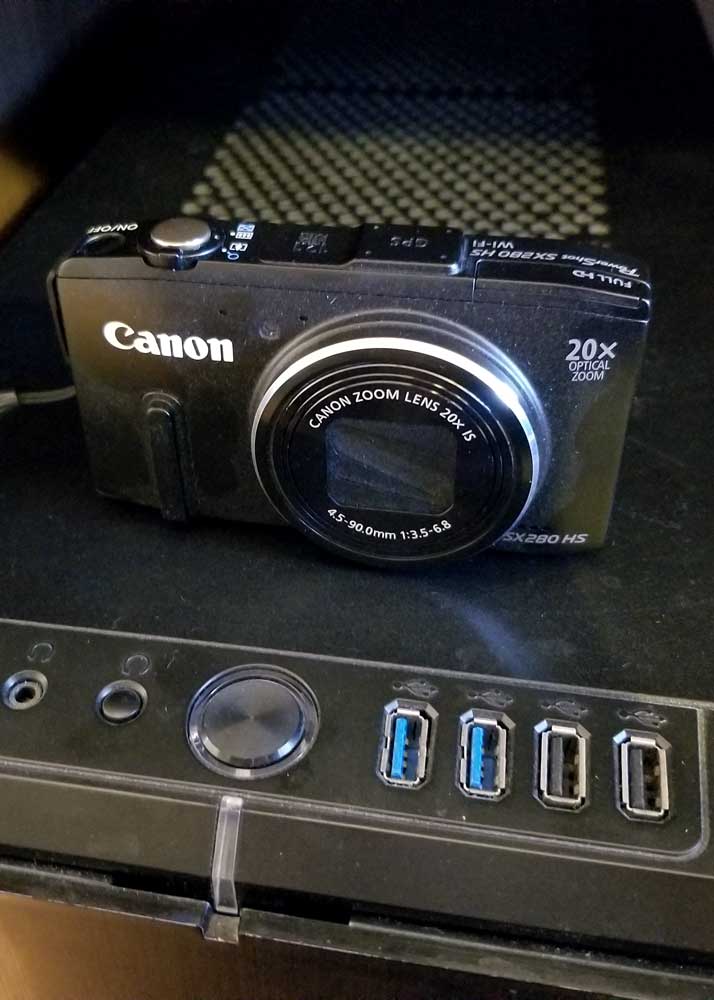
Point And Shoot
For transferring photos, using either the USB transfer or SD memory card transfer should work fine for these cameras as well.
Here’s more about how to connect an Olympus and a Sony camera to a computer.
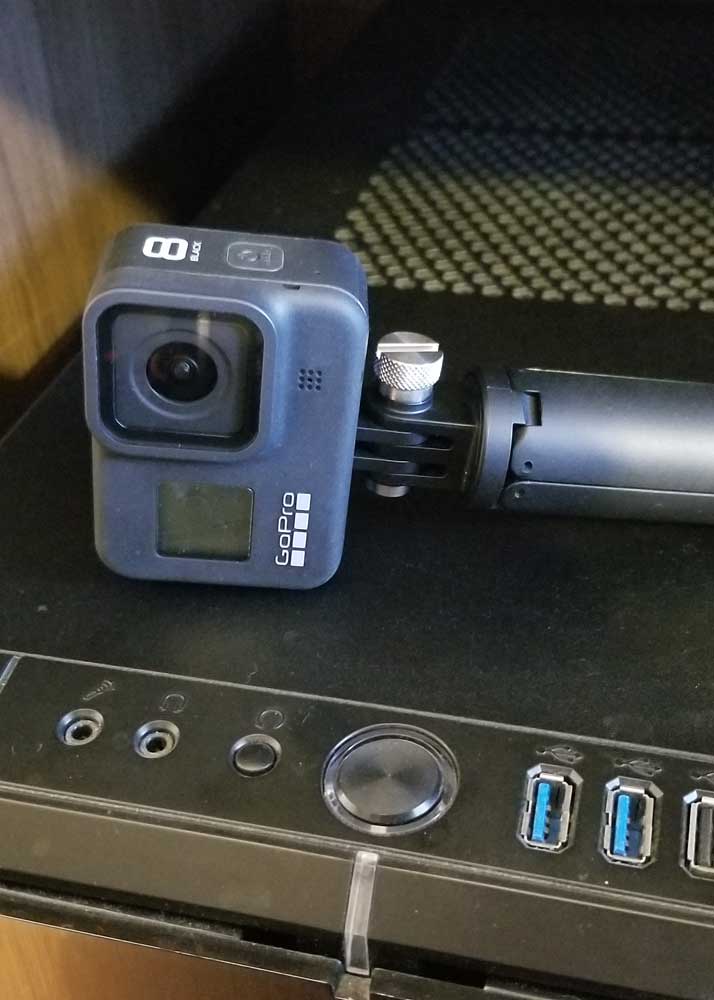
Action Cam
I recommend uploading via your SD card to connect your action camera to your computer. New action cams are more versatile than they may look. Most of them will allow for all 3 of the methods to be used: USB, SD card, and wireless transfer.
The first two are self-explanatory at this point, but for the wireless transfer, you will need to connect the camera to Wi-Fi or Bluetooth before moving the files. Otherwise, all three of the methods should work.
Here’s more about how to connect your DJI camera and your GoPro to a computer. And how to deal with your computer not recognizing your GoPro.
Phones
For smartphones, wireless and USB transfer methods are the best ways. Accessing the SD card is usually awkward and not worth the trouble of removing it.
We have already talked fairly extensively about transferring photos from phones to computers above, where the main method was through apps that allow you to transfer wirelessly.
Phones have become increasingly user-friendly these days, so connecting them through the USB is the simplest way to get photos onto your computer: you have to charge it anyway, right?
Trail Camera
We just published this camera-specific guide. Here’s how to view trail camera photos on your computer.
Keep reading: Here are how many photos and minutes of video per GB of SD card memory.
Want to view your footage on a larger screen? Here’s how to connect a camera to your TV (all brands).
Your turn
How do you connect your camera to your computer? Do you have a tip? Or maybe a method I missed? Join me in the comments!
- About the Author
- Latest Posts
Hey, I’m Bryan! I’m a content creator and co-founder of Storyteller Tech.
Experienced GoPro Videographer: I’ve been shooting with GoPro cameras for over 11 years. My first GoPro was the Hero3 Silver, bought for a Galapagos work trip in 2012. Today I own 20+ action cameras, including GoPro, DJI, and Insta360 cameras.
Professional Creator: Dena and I have developed video and content marketing plans for numerous international travel brands. And we also run several content businesses.
Bryan also creates at Storyteller.Travel and is co-founder of Storyteller Media, a Canadian-based publishing company.