In this post, you’ll learn how to shoot half-underwater photos with your GoPro. You’ll learn about 3 challenges when shooting underwater – and how a dome port overcomes them.
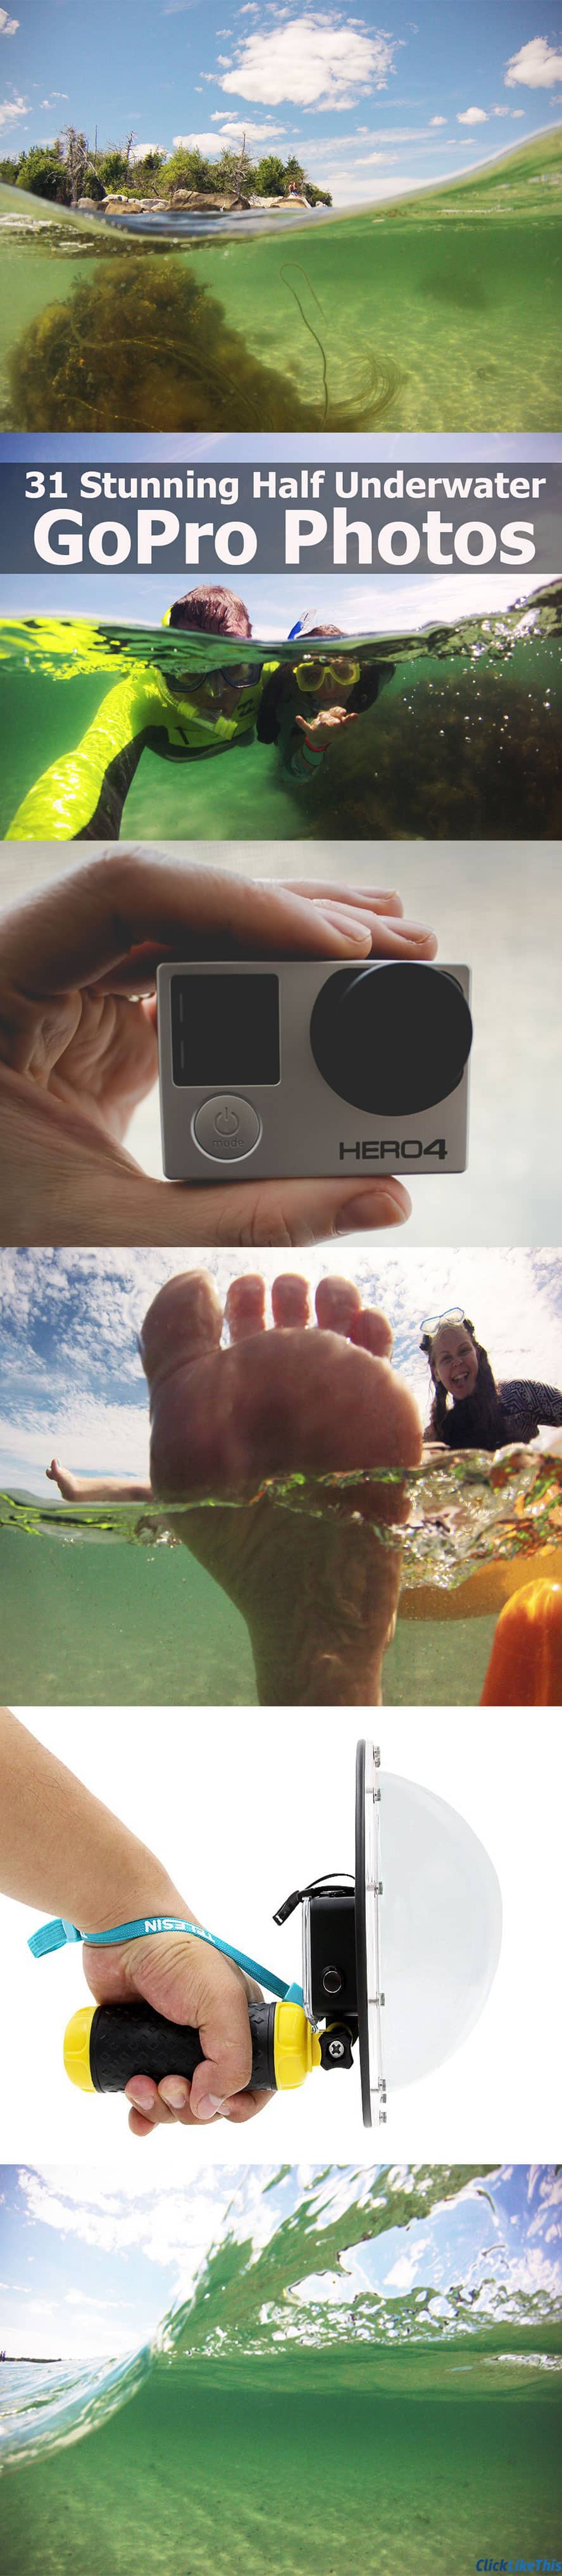
How to Shoot Half Underwater GoPro Photos

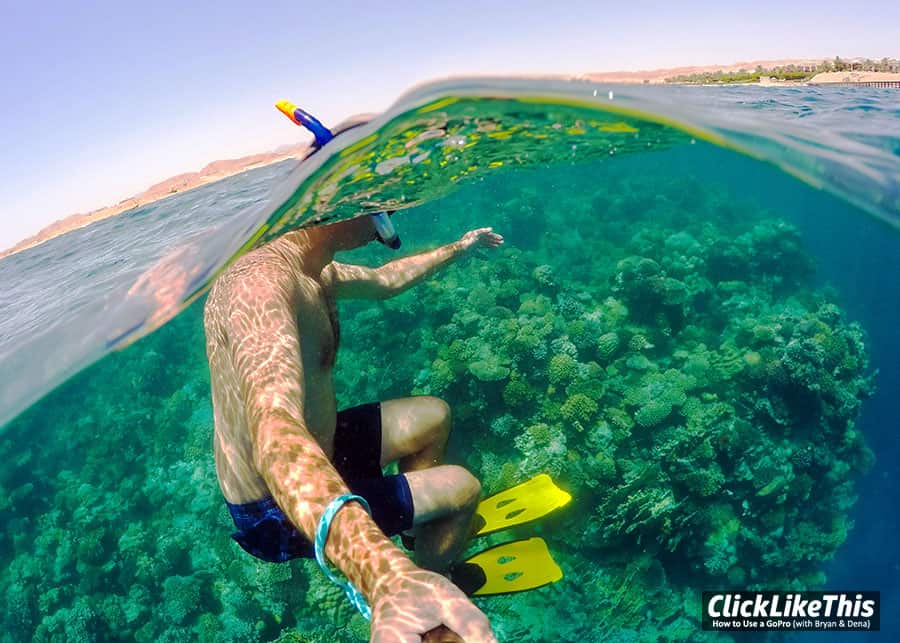
Want to get half underwater GoPro photos? Trying to do that with just the GoPro is pretty tough, right?
That’s because many things are working against you, including the water line, field of view, and underwater magnification.
In this post, I’ll talk about why a dome port makes getting half-underwater GoPro photos easier.
Dome ports are available for all GoPro models – from the vintage Hero4 to the latest Hero11 black.
Summary of GoPro Dome Ports
To even things out, you’ll need a dome port. Here are a couple of solid options:
- JYPS 6″ Dome Port This is an acrylic dome with a waterproof hardening material. Comes with a waterproof shell and floating handle. Dive to a depth of about 147 feet (45 m). Works with the Hero9 and Hero10 cameras.
- Telesin 6″ Dome Port: This is the professional version and comes very well-reviewed. It also used an acrylic dome and comes with a pistol trigger (one-hand operation), float grip, and protective bag. Dive to a depth of around 98 feet. Works with the Hero11, 10, and 9 cameras. Also available from B&H.
Learn how to eliminate GoPro lens fog
3 Problems When Shooting Underwater GoPro Photos
 1. Field of View
To get a good half-underwater photo (also called split-level, half-and-half, over-under, and 50/50), you’ll want to push the water away from the lens.
When the water level is close to the lens, the field of view is reduced.
With one eye closed, try holding a pen horizontally (like it’s the water level) in front of your open eye.
You can’t see much above or below the pen because it’s so close.
Now hold it a little farther away. With the pen a few inches away, your field of view increases. This is similar to when you use your GoPro with a dome port.
The dome port pushes the water line farther away from your lens, giving you a larger field of view above and below the water line.
2. Water Magnification Problems
You’ll also notice that when you try to get half-underwater shots without a dome port, the water magnifies things.
This distorts the look of photos, making the above-water objects look normal while the underwater objects look larger.
This can be a cool effect, but not when you want things to look even and balanced.
The dome port normalizes the field of view. This means that things will match up above and below the water line.
Read more about how to use GoPro underwater.
3. Unlevel Water Line
A dome port will also make taking photos easier because you’ll be working with a larger lens area.
Getting half underwater GoPro photos without a dome port is tricky because the lens area is small.
You’ve got to lean over the camera to determine where the water is. With the dome port, it’s much easier.
The Telesin and Knekt models have a water line guide on the back.
Ready for more? Here are 6 tips for shooting half-underwater photos with a dome port.
I also include some of my favorite half-underwater photos – I think you’ll love them.
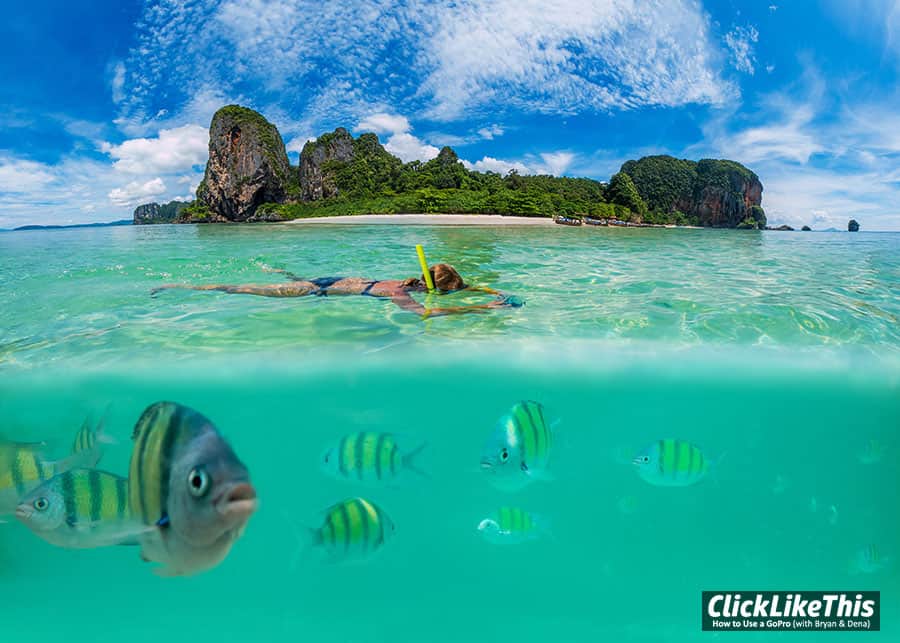
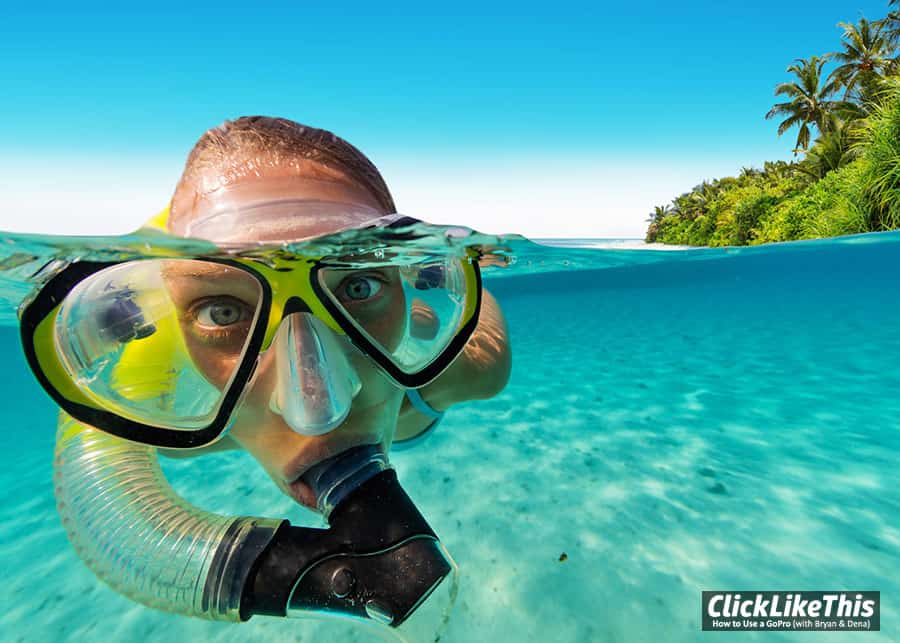
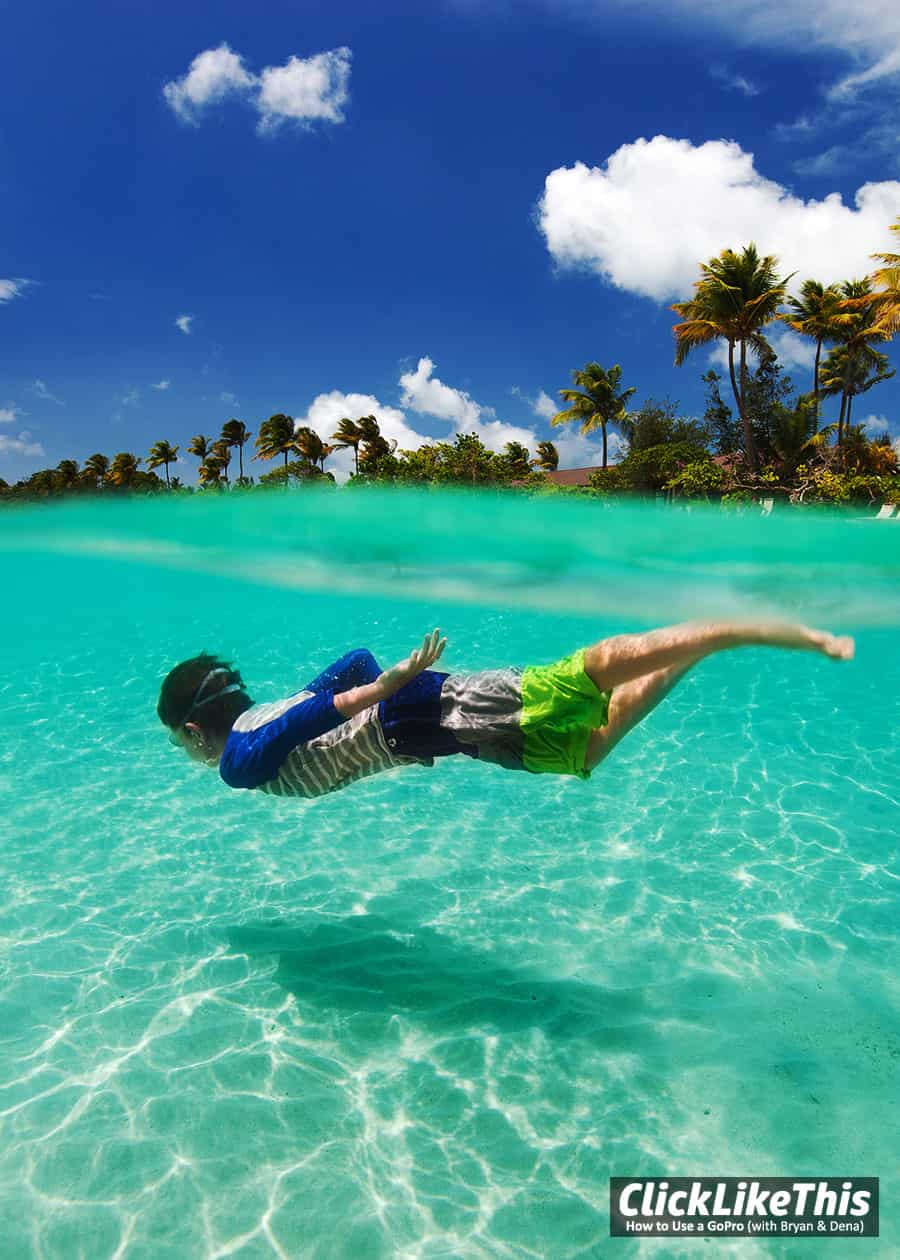
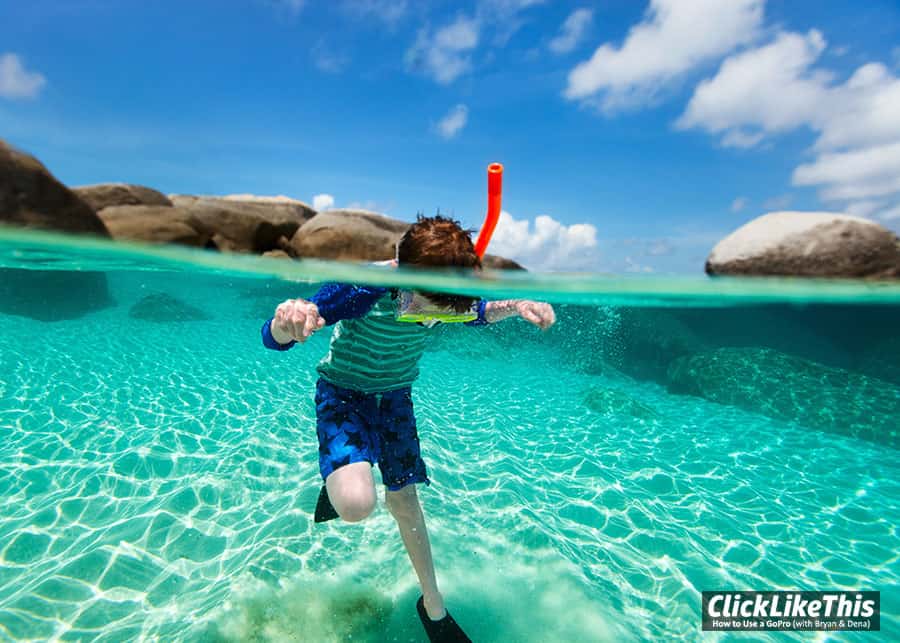
All the photos in this collection were shot with a dome port.
What does a dome port do? A dome port makes capturing half underwater photos easier because it pushes the water line farther away from the lens of your GoPro.
It also puts more distance between the lens and underwater dirt particles.
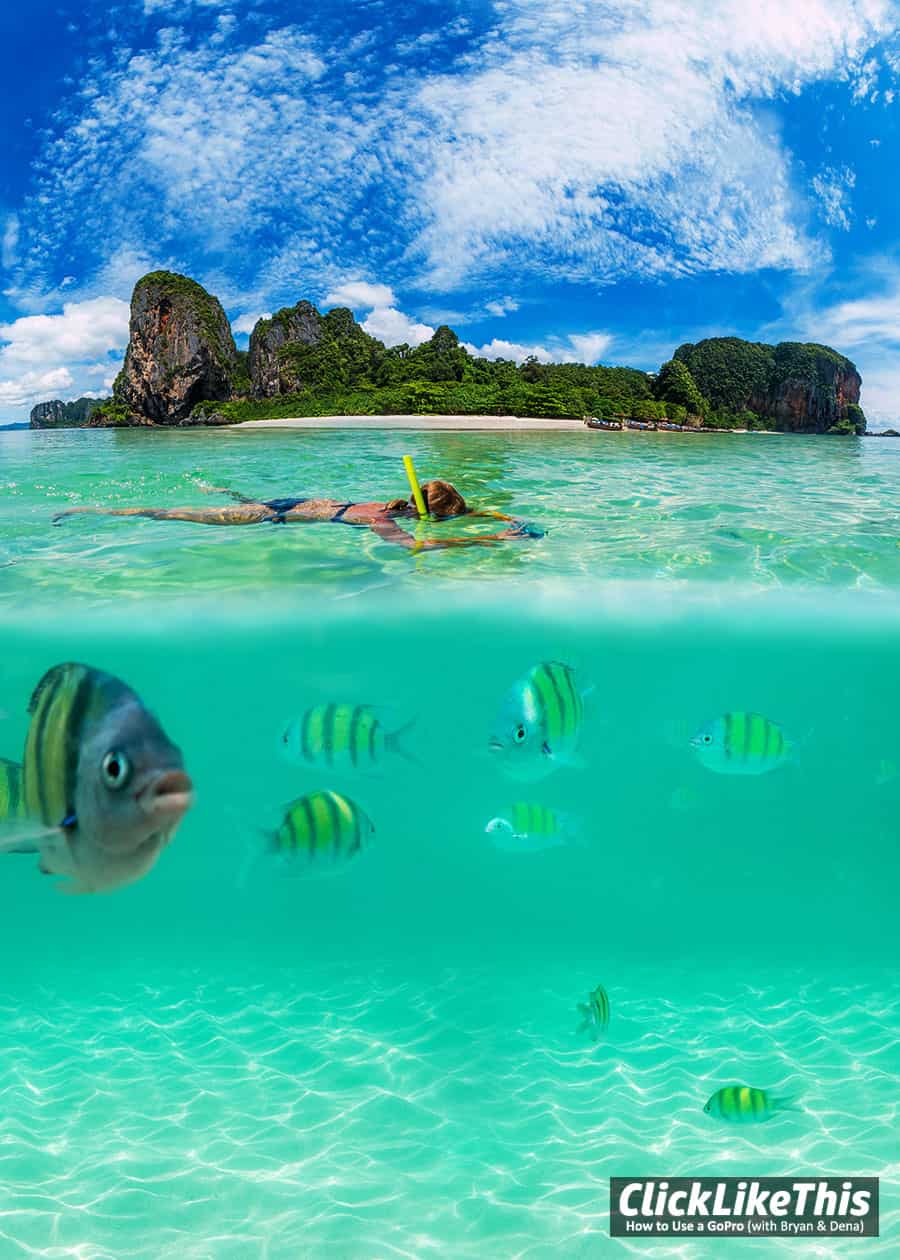
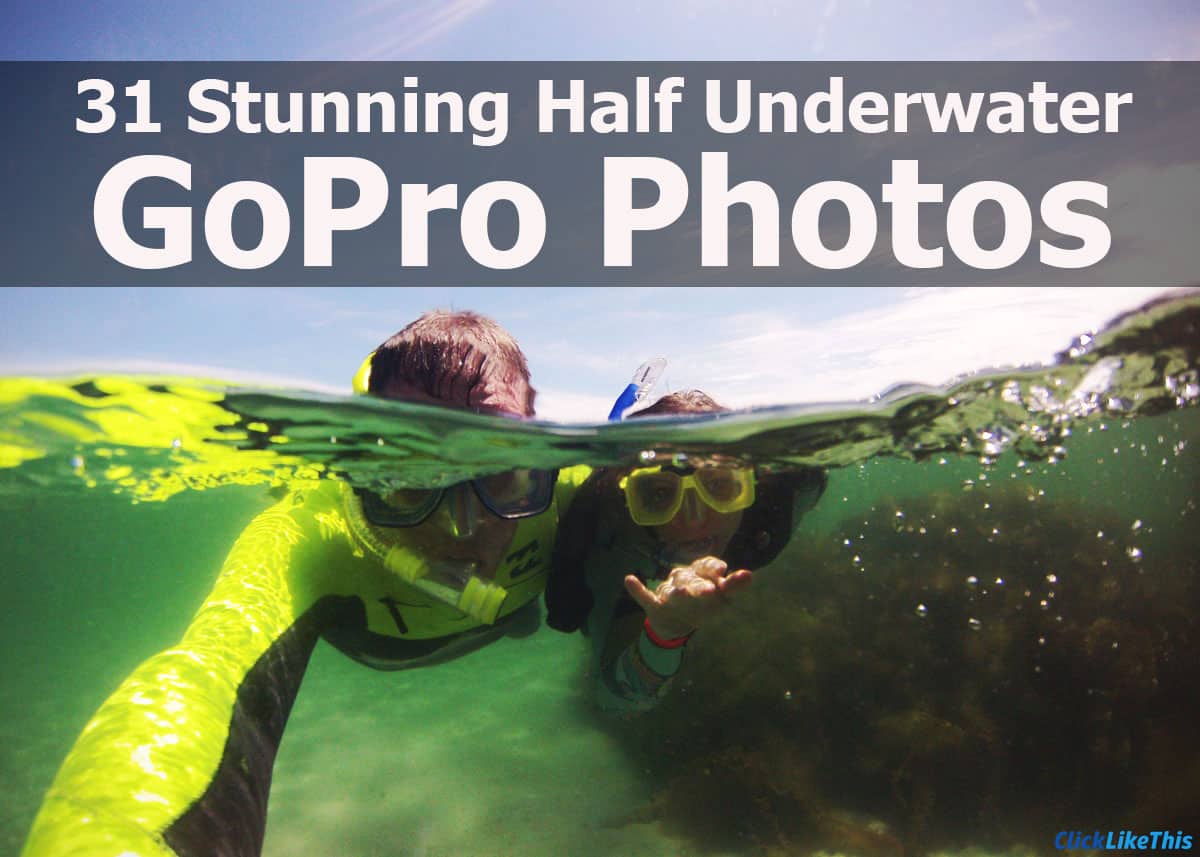
These half-underwater photos are also referred to as split shots, over-unders, split levels, or half-and-halfs. However you refer to them, one thing is for sure, they are stunning.
6 GoPro Dome Port Tips
1. Set up a great story
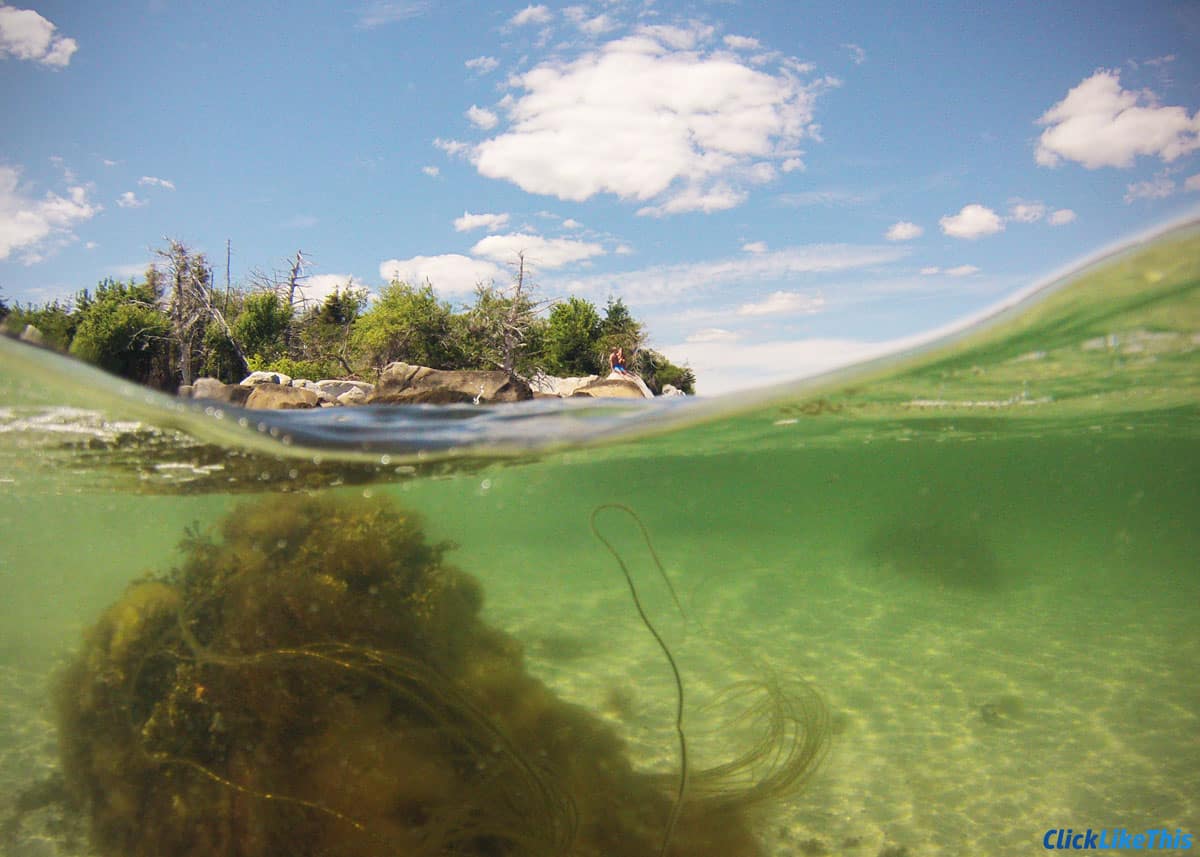
As you can see from the above photo collection, the closer your subject is to the dome port the better.
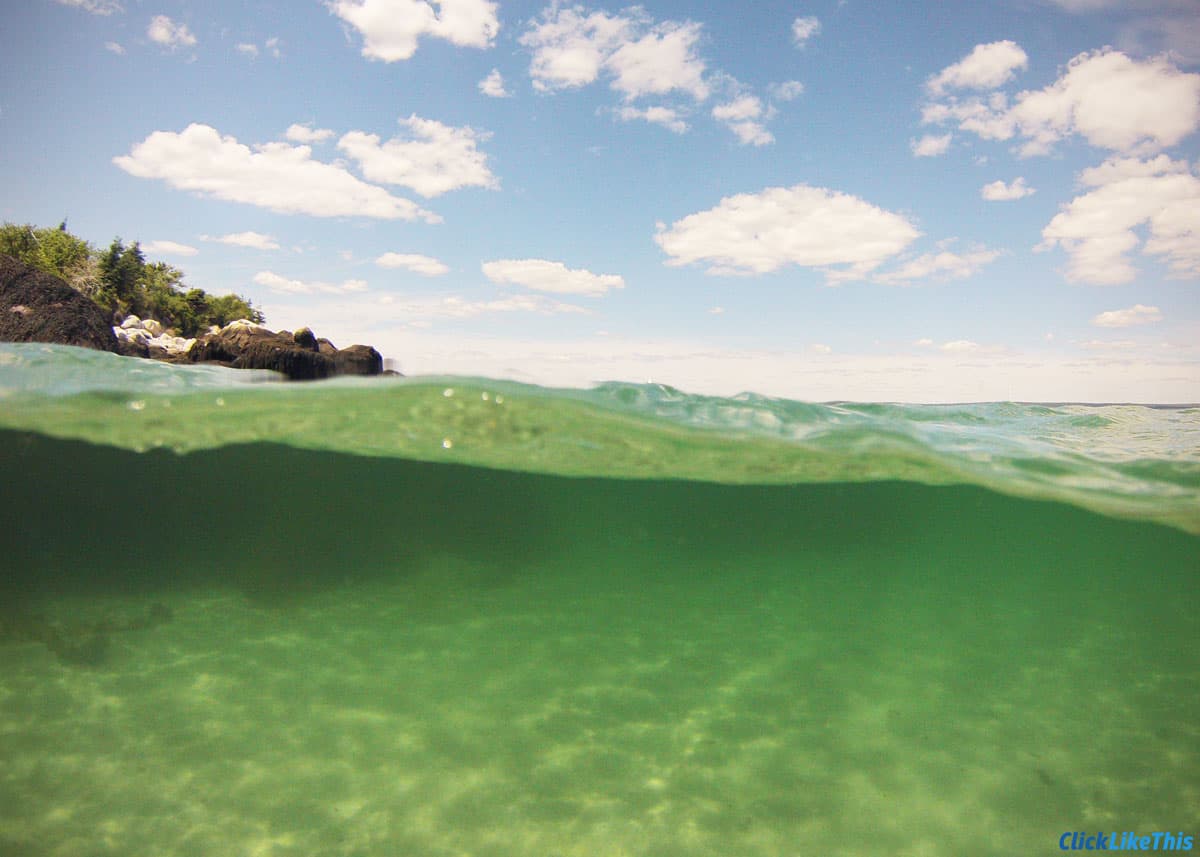
Landscapes make gorgeous half-underwater photos. But to tell a better story, why not try to include something in the foreground?
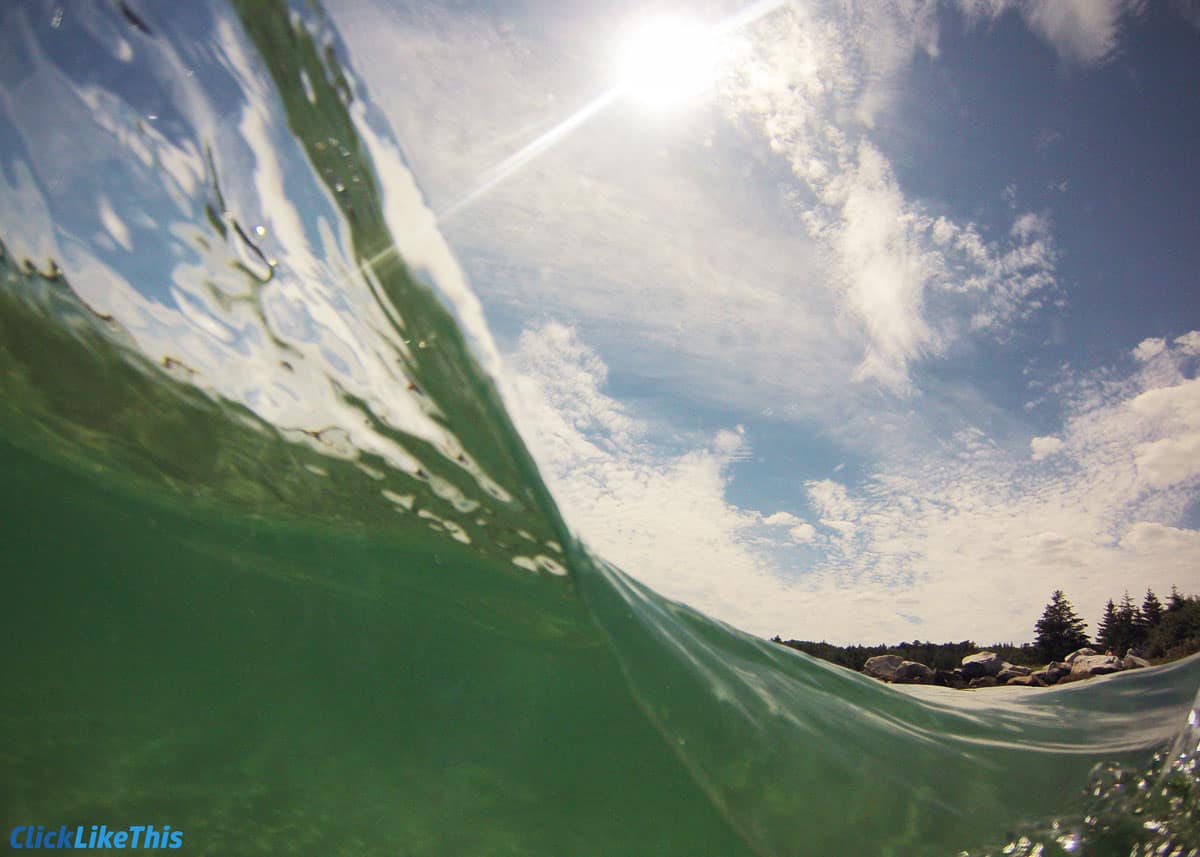
The following example is a nice photo. I like the colors, the clouds, and how the light reflects on the sand. But something in the foreground would make it better.
The next photo causes the eye to bounce around. It’s more fun visually.
Having something in the foreground makes the composition more interesting. Even some plant life will do.
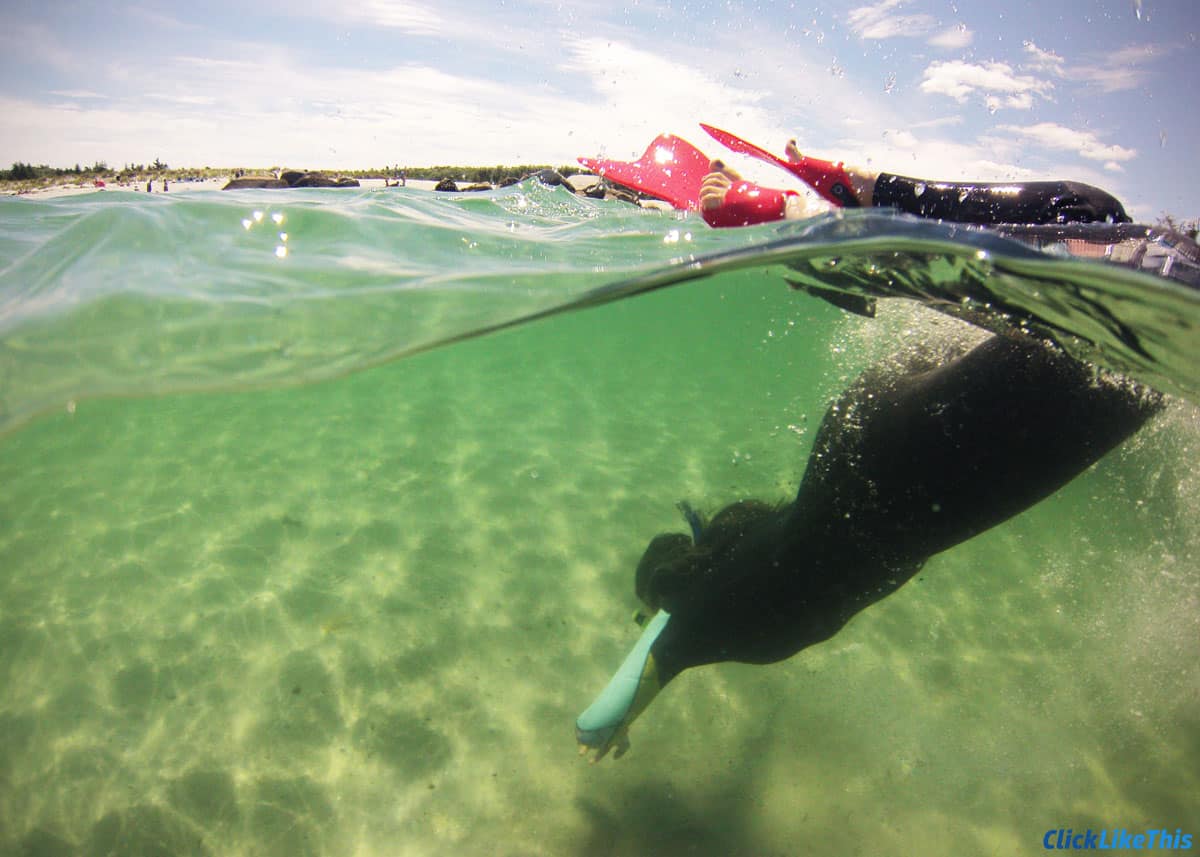
Some of the best half-underwater photos include a subject close to the camera and action above and below the water.
If you include those elements, you’ll have a fun and captivating photo.
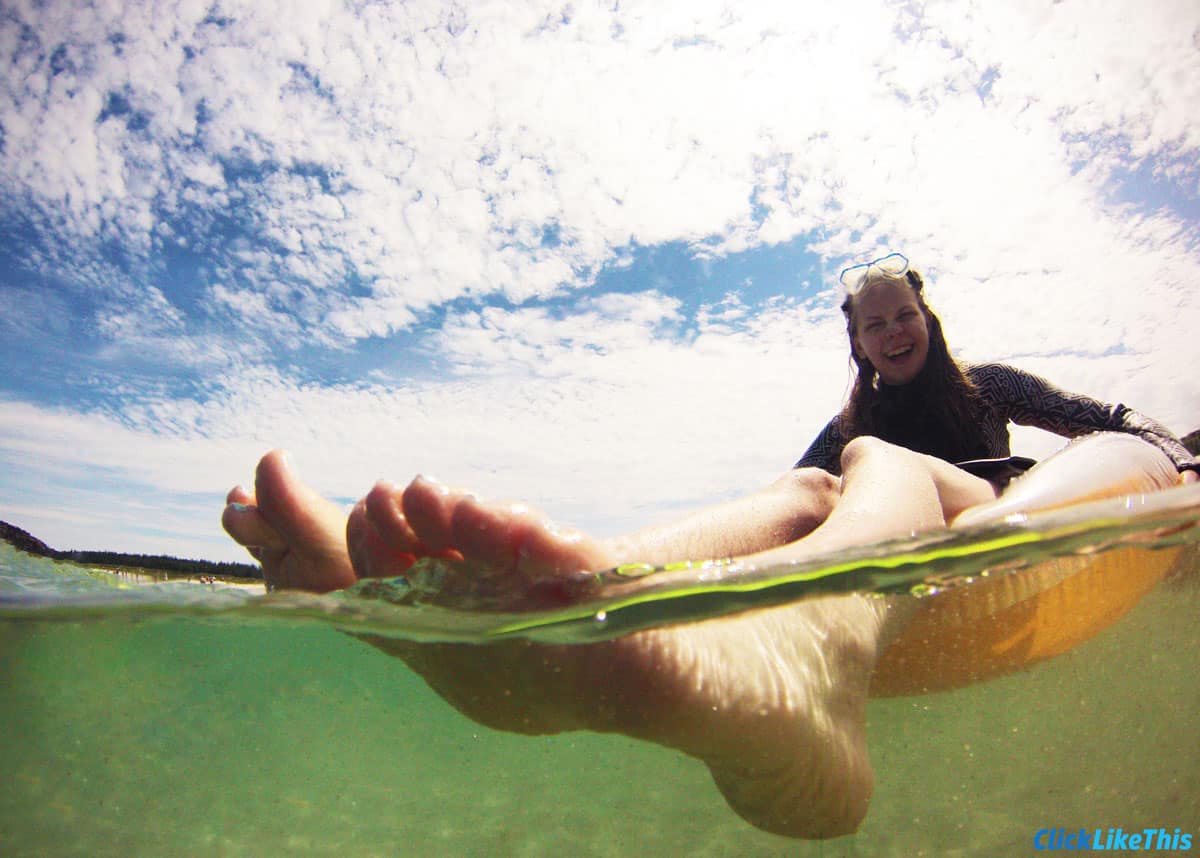
Take a closer look at each photo in the collection. Which ones do you like the best? Take note of which elements stand out to you and use them as a guide when you set up your half-underwater shots.
2. Check for water drops
Anyone with a GoPro knows that water drops on the lens will ruin footage.
Read more about how to get water drops off your GoPro lens.
Well, there is a lot more surface on your dome port than your GoPro lens. And it’s harder to get the drops off.
You’ll want to carry a small super-absorbent cloth to wipe off those water drops. Trust me, blowing or licking them off doesn’t work the same with a dome port as your GoPro waterproof housing lens. And you can’t use Rain-X or something like that because the dome port is not made of glass.
You could try dunking your dome port and getting your shot directly after bringing it back up to level. That way, you’ll get your shot before the water has a chance to separate and form drops.
But this is not a dependable option and often leaves the edges of your shot looking wonky. The absorbent cloth works much better.
Cut a large super-absorbent shammy down to size and keep it in the pocket of your swim shorts or wet suit.
A chamois works best damp, so you’ll just need to wring it out and then wipe off the drops.
3. Use anti-fog inserts
You’ll want to ensure you put anti-fog inserts in the dome port where your GoPro is housed.
Without them, your footage could be ruined because temperature changes cause condensation, which creates fog and leads to blurry photos.
4. Hold the dome port level
Try to ensure your water line is level, like the horizon line. This will make for a less distracting photo.
With that in mind, sometimes a tipped water line can add interest.
5. Hold the dome port half underwater
This sounds obvious, but it’s not such an easy thing to do when you’re bobbing around in the water. Being mindful of keeping your dome port half underwater will give you better results than if it’s significantly above or below half.
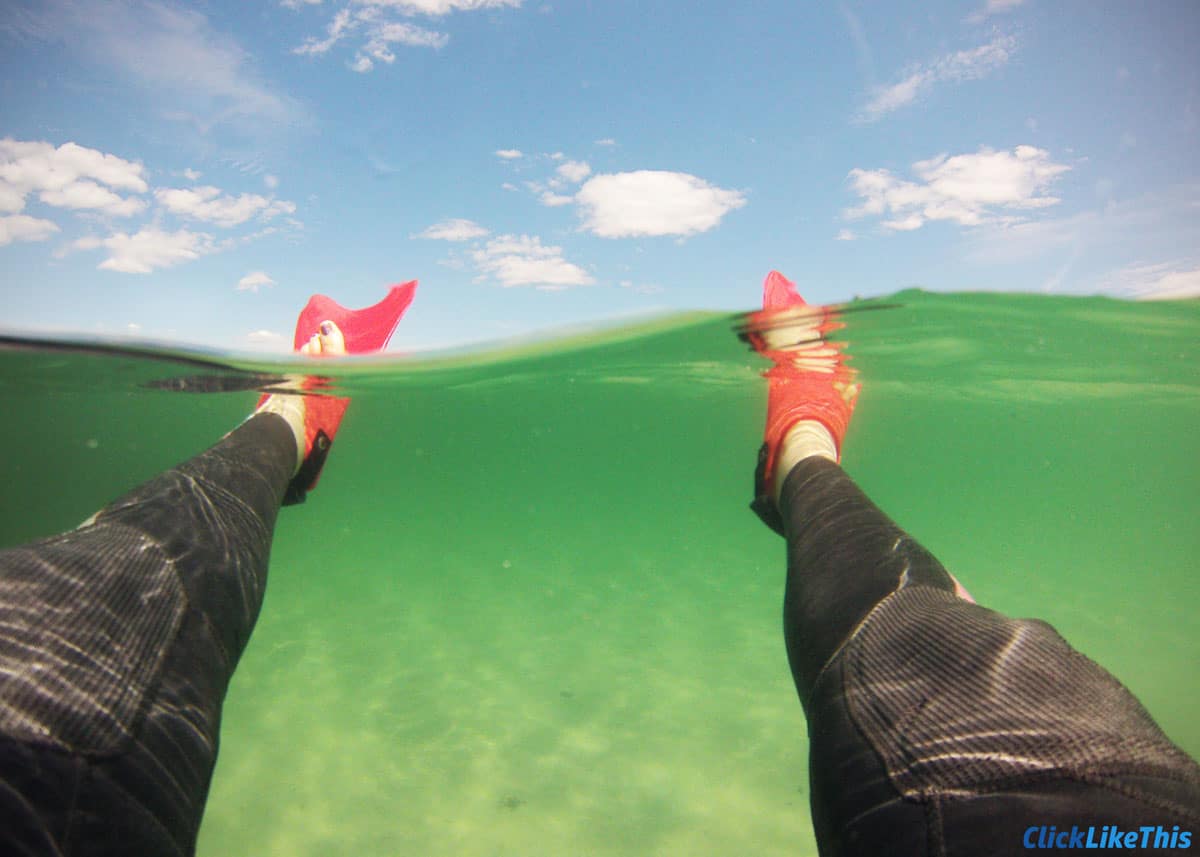
In the next shot, I was trying to photograph a boat, but my waterline was too high; you can’t even see the boat.
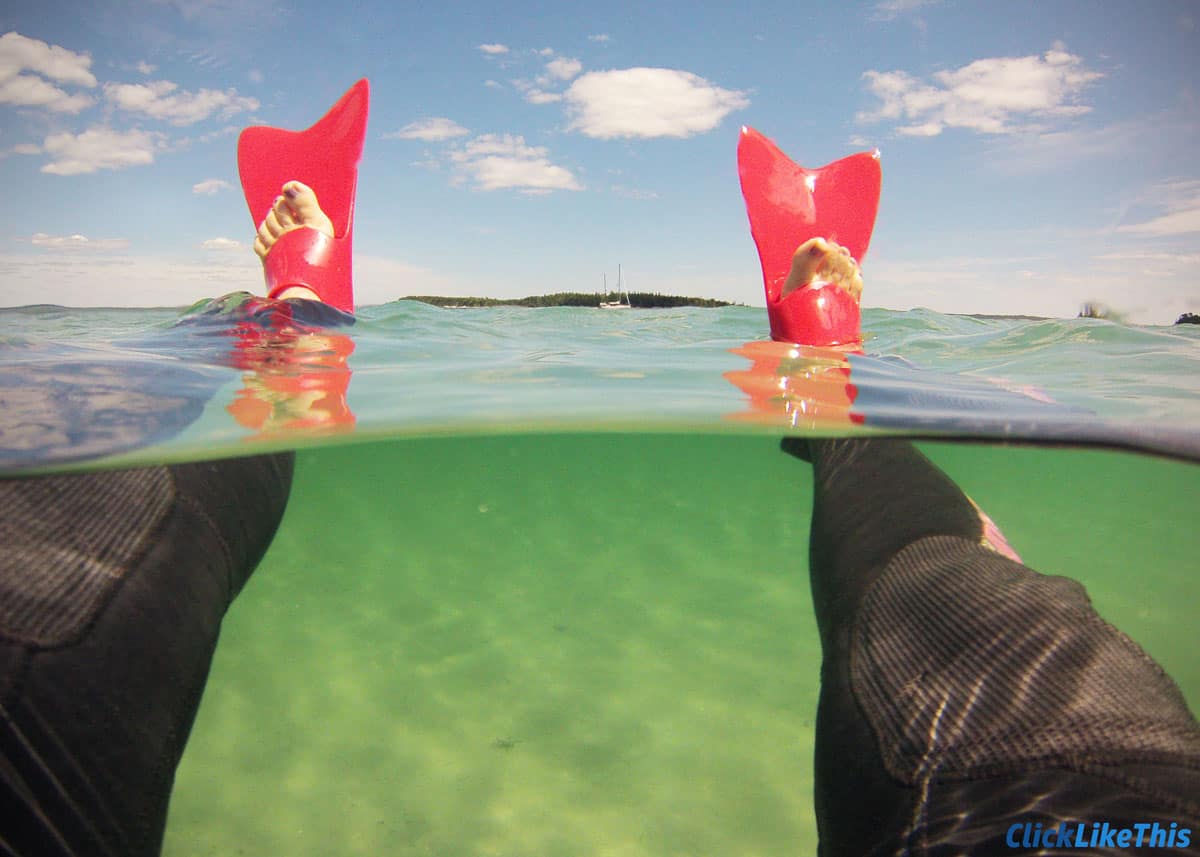
Here I did a better job of getting the waterline halfway.
The Telesin dome port (Amazon or B&H) has a line on the back marking where the water should be.
When I’m floating and focused on the action, that line makes things much easier.
6. Use the dome port for underwater shots and video
As mentioned at the beginning of this post, a dome port pushes underwater dirt particles away from your lens. This makes for better underwater footage.
So remember a dome port is not only for half-underwater photos. It’s for underwater photography and video creation as well.
Read more about how to use a GoPro underwater.
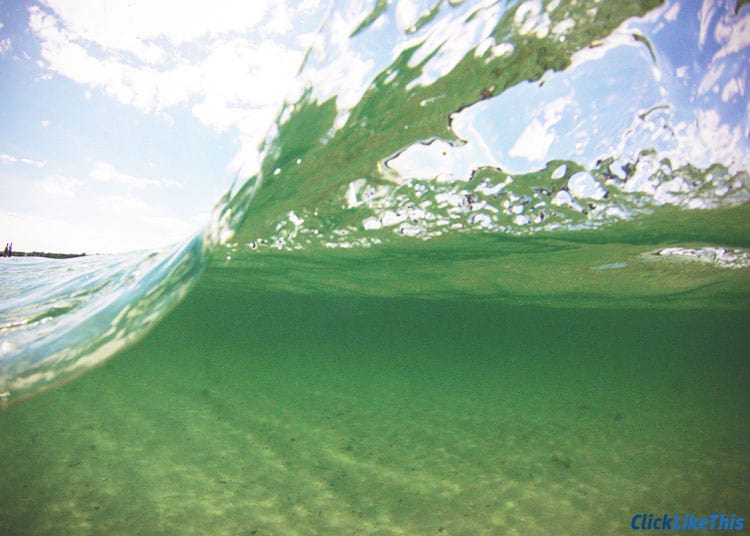
Stunning Half-Underwater GoPro Photos
In celebration of half underwater photos, I’ve put together some of my favorite shots (I think you’ll love them).
Are you inspired? I sure am. I love looking at those half-underwater photos. They make me want to go out and start creating.
A dome port is an excellent addition to your set of GoPro mounts.
Now let’s look at 6 tips that will help you get tremendous half-underwater photos with your GoPro and dome port.
Will You Get A Dome Port?
The more of a story your photo tells, the more captivating it is.
Half underwater photos tell both sides of the story. That’s something we don’t usually see. Normally we can only see above or below the water, not both simultaneously.
Has this post inspired you to get a dome port for your GoPro? If you’ve tried to get half underwater photos without one, you know it’s not so easy. A dome port makes it much easier. I love ours.
Do you have any tips to share? Please do so by commenting on this post. And let us know what kind of dome port you use.
Learn more about the capability of your camera in our GoPro Waterproof Guide for all models.
Your Turn
Have you tried getting half-underwater shots with a dome port? Please let us know about your experience by commenting on this post.
- About the Author
- Latest Posts
Hey, I’m Dena! I’m a content creator and co-founder of Storyteller Tech.
Experienced GoPro Videographer: I’ve been shooting with GoPro cameras since 2012. Our first GoPro was the Hero3 Silver, bought for a Galapagos press trip. And today, we own 20+ action cameras, including GoPro, DJI, and Insta360 cameras.
Professional Creator: Bryan and I have developed video and content marketing plans for numerous international travel brands. And we also run several content businesses.
Photography Writer: I’ve written photography tutorials for well-known sites, including Digital Photography School.
Dena also creates at Storyteller.Travel and is co-founder of Storyteller Media, a Canadian-based publishing company.
Ellian
Saturday 30th of November 2019
it's really great information that I checked here details, thanks
TOM Com
Monday 1st of July 2019
quite helpful sharing. thanks for this informative post. keep it up.
Huan Nguyen
Wednesday 27th of March 2019
Interesting experiment. But I can't be diving because of my heart (^_^)
Pratham
Tuesday 28th of March 2017
Hey, Goods tips !! Helpful. What else is the dome used for as in other than half above and half below pics??
ZALA ČUDEN
Saturday 11th of March 2017
You have also Split Dome Port. I bought it and it's great!