Going fishing? Nice! In this GoPro fishing guide, you’ll learn the best GoPro for fishing and the specific tips and settings for shooting and editing your footage. Plus, we include a list of the best gear and mounts for your next trip.
Guide to GoPro Fishing: Settings, Composition, Gear
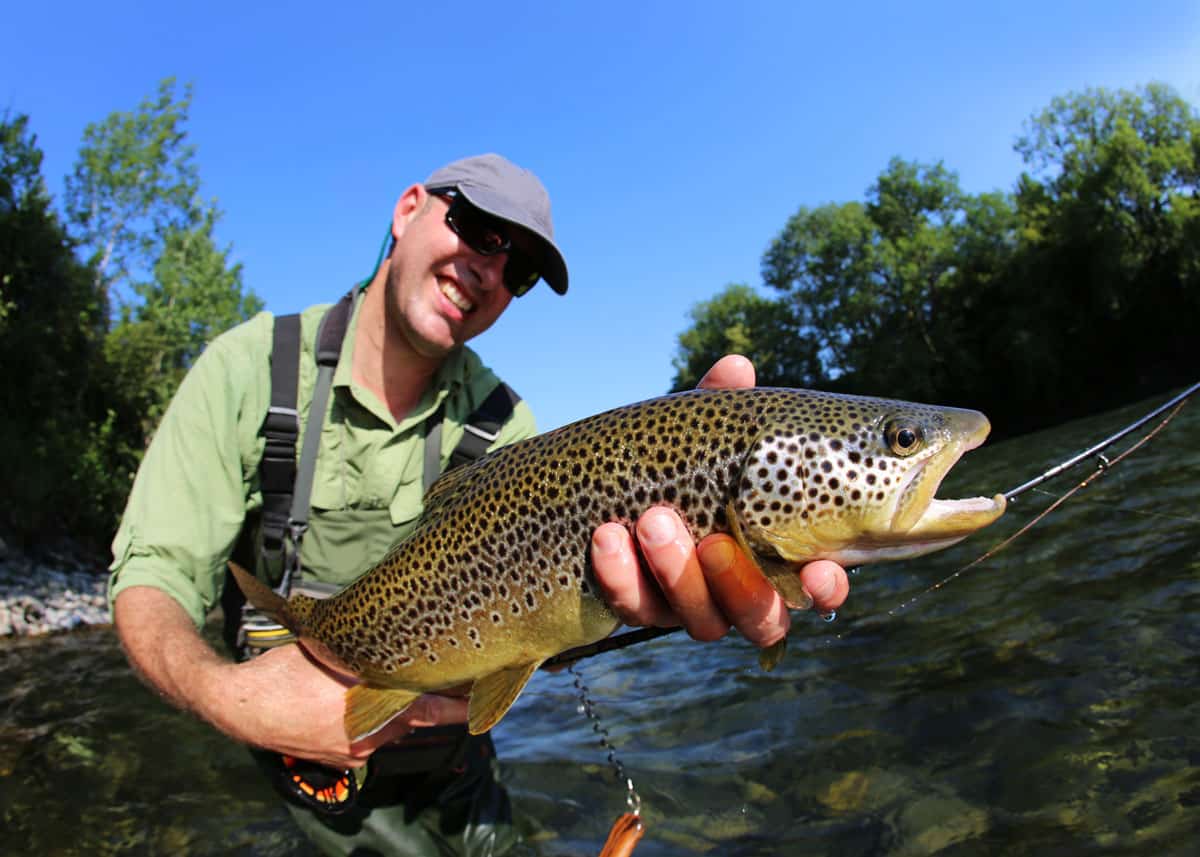
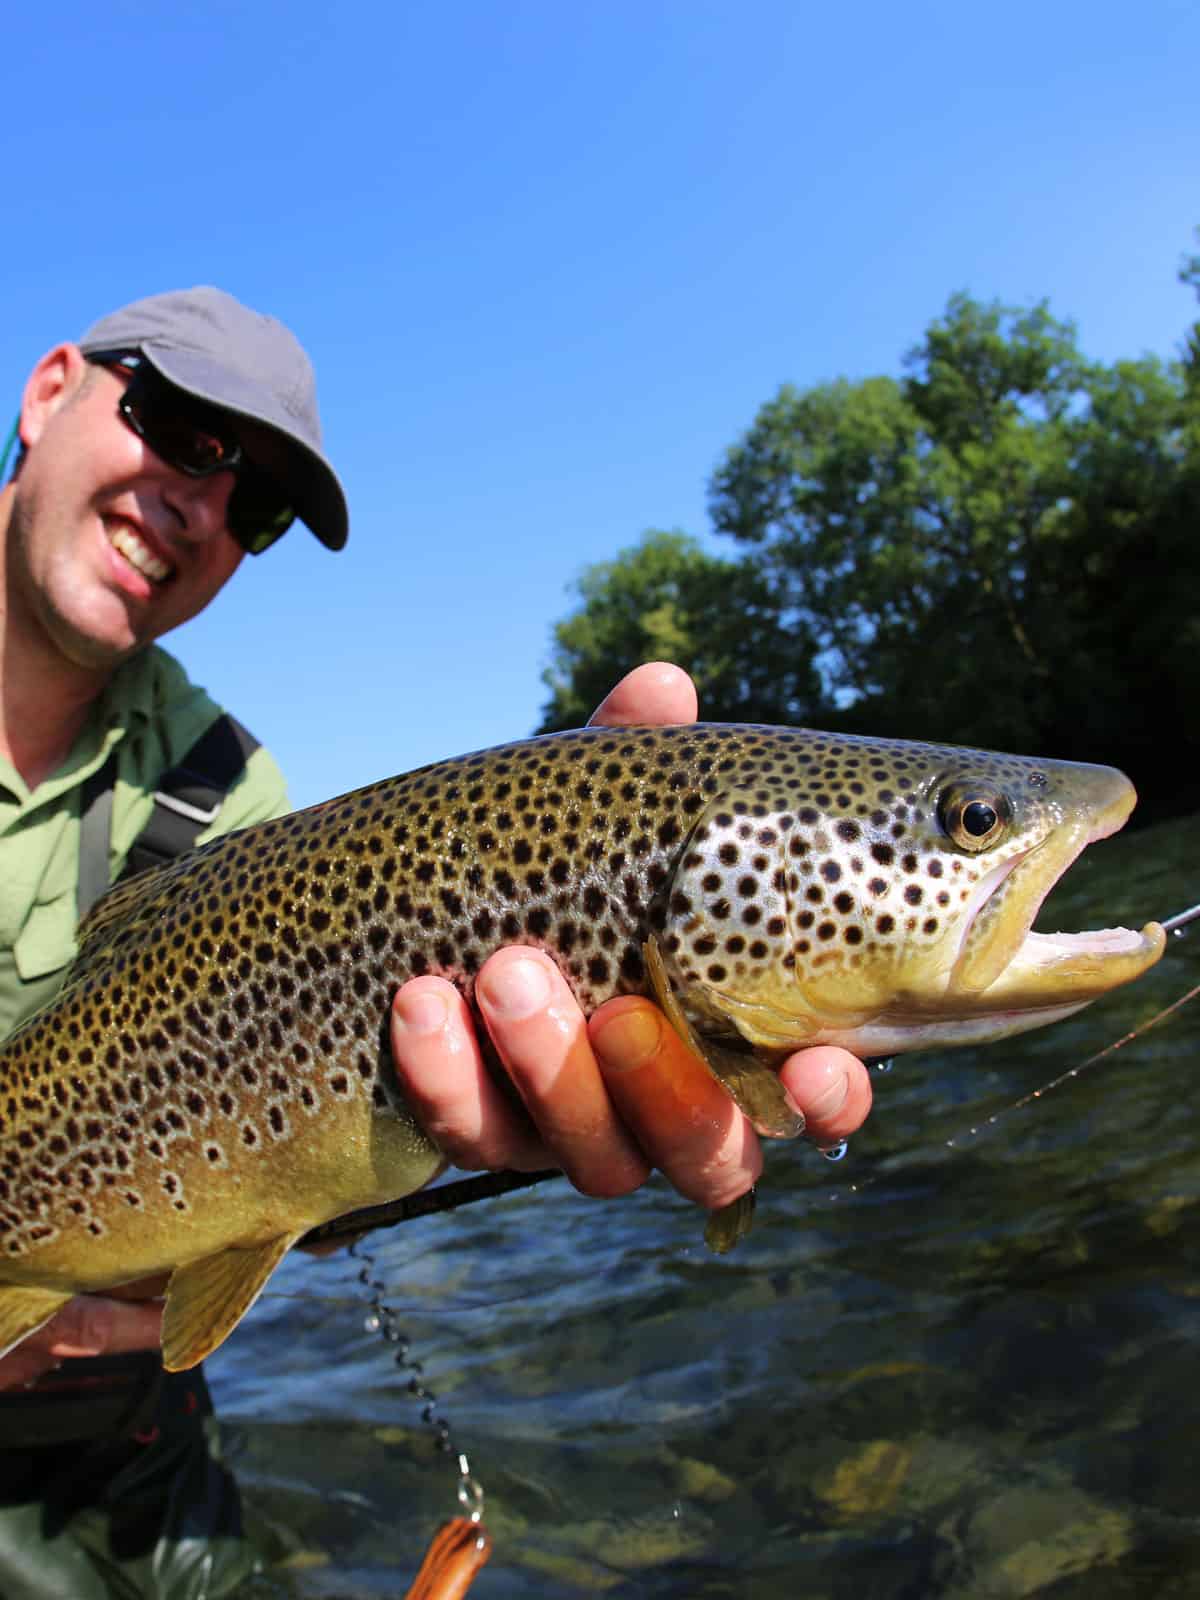
Fishing is one of those activities you don’t always think of filming, but if you do, you might capture some great footage.
Filming your fishing trips with a GoPro means you’ll come away with some top-quality photos and videos to show the family and remember your fishing experience by.
So even if you release your catch, you’ll have your fishing films and photos as souvenirs.
But before you head out fishing with your GoPro, here are 12 tips to help you capture the best fishing footage.
More reading: Must have fishing gear (13 things you need in your tackle box)
12 GoPro Fishing Tips
Here are twelve tips. Following these tips are some GoPro fishing mounts and gear.
1. Best GoPro for fishing: Hero11 Black
![]() There’s now such a variety of different GoPro models that it can be hard to know which one will suit you best.
There’s now such a variety of different GoPro models that it can be hard to know which one will suit you best.
For fishing, you want a GoPro that’s versatile and rugged – which pretty much means that any current GoPro model will fit the bill.
Best GoPro for Fishing: Our Pick – We recommend buying the latest model camera: GoPro Hero11 Black. The Hero11 is waterproof to 33ft and has touchscreen controls. And the Hero11 has crazy good video stabilization.
Get your GoPro Hero11 Black on Amazon, B&H Photo, or Best Buy.
That being said, all the past GoPro cameras since 2014 (Hero4 Silver, Hero5, Hero6, Hero7, Hero 8 Black, Hero9, and Hero10 Black) can all film in 1080p at 60fps.
And they all have a touch LCD screen on the back, so you can see what you’re filming, and playback any photos and videos straight away. So any of these models will be great for filming your fishing trip.
Preferred GoPro for fishing: The Hero9, Hero10, and Hero11 are the preferred GoPro models for fishing because they’re both waterproof (without a housing) down to 33ft. This means the clarity of your photos and videos will be slightly better, and you’ll also be able to capture better, less muffled audio.
2. Get some slow-motion shots
Casts and catches can look great when slowed down, so try to capture a few different slow-motion shots for dramatic effect.
If you plan out any slow-motion shots, shoot in the highest frame rate possible, as this will mean your video is still smooth and high quality when slowed down.
The different GoPro models have different maximum frame rates, so the frame rate will largely depend on what GoPro you’re using.
- Hero8 Black, Hero9 Black, and Hero10 Black all shoot 4K video at 60 frames per second (or better).
- Hero6 has an available video resolution of 2.7K at 120fps, or 1080p at 240fps
- Hero4 Black and Hero5 can shoot in 1080p at 120fps
- Hero4 Silver can shoot in 720p with a frame rate of 120fps
So whatever model you’re using, increase the frame rate as high as possible for planned slow-motion shots.
And even when you’re not planning on filming for slow motion, film at 60fps.
This way, if you later decide to slow anything down, you’ll have the freedom to do so without affecting the quality of your video too much.
3. Use burst mode to take still photos
You may want to take some still photos, as well as videos, of your fishing trip.
But rather than taking one shot at a time, and hoping it turns out okay, use burst mode and your GoPro will take multiple pictures within a set time.
Here are the available burst settings for:
- 3 or 5 photos in 1 second
- 10 photos over 1, 2, or 3 seconds
- 30 photos over 1, 2, 3, or 6 seconds
This way, you’ll have several pictures to choose from, so you can save the one that perfectly captured the moment.
4. The best frame rate and video resolution
When filming fishing, ideally you want to film at 60fps. This way, your footage is going to be silky smooth, and you’ll have more freedom during the editing process.
For example, if you decide to slow down any of your footage, you can do so without losing the smooth quality, as you’ll just slow it down to 24 or 30fps.
This means that the resolution you film at will depend on which GoPro model you’re using.
Best GoPro video settings for fishing: Choose the maximum video resolution available once your GoPro’s frame rate is set to 60fps. So this will likely be 1080p, unless you’re using the GoPro Hero6 (or newer), in which case you’ll be able to film in 4K.
If your GoPro isn’t able to film in 4K at 60fps, but you had your heart set on 4K footage, you can always drop the frame rate, you just won’t have as much freedom when it comes to editing and slowing down footage.
5. Keep your GoPro filming
The trouble with fishing is that there’s often a lot of waiting involved, and you never quite know when you’re only moments away from a catch. So if your GoPro isn’t up and running, you’ll miss your best catches.
Use Looping while fishing: Instead of filling your memory card with hours of nothing, just set your camera to film in a 20-minute loop. This will ensure that you always capture the action. Here’s more about how looping works.
Keep your GoPro filming for most, if not all, of your fishing day. This way, you’re not going to miss a thing, and you can always grab still photos from your footage in the GoPro app.
6. Pack extra batteries and memory cards
If you do keep your GoPro filming though, you’re probably going to run out of battery, and possibly memory before your day comes to an end.
So to avoid the disaster of having more catches to come, but no battery or memory left to capture it with your GoPro, take spare batteries and memory cards with you. Even if you don’t need them, it’s better to be safe than sorry, right?
More reading: 8 Tips to Make Your GoPro Battery Last Longer
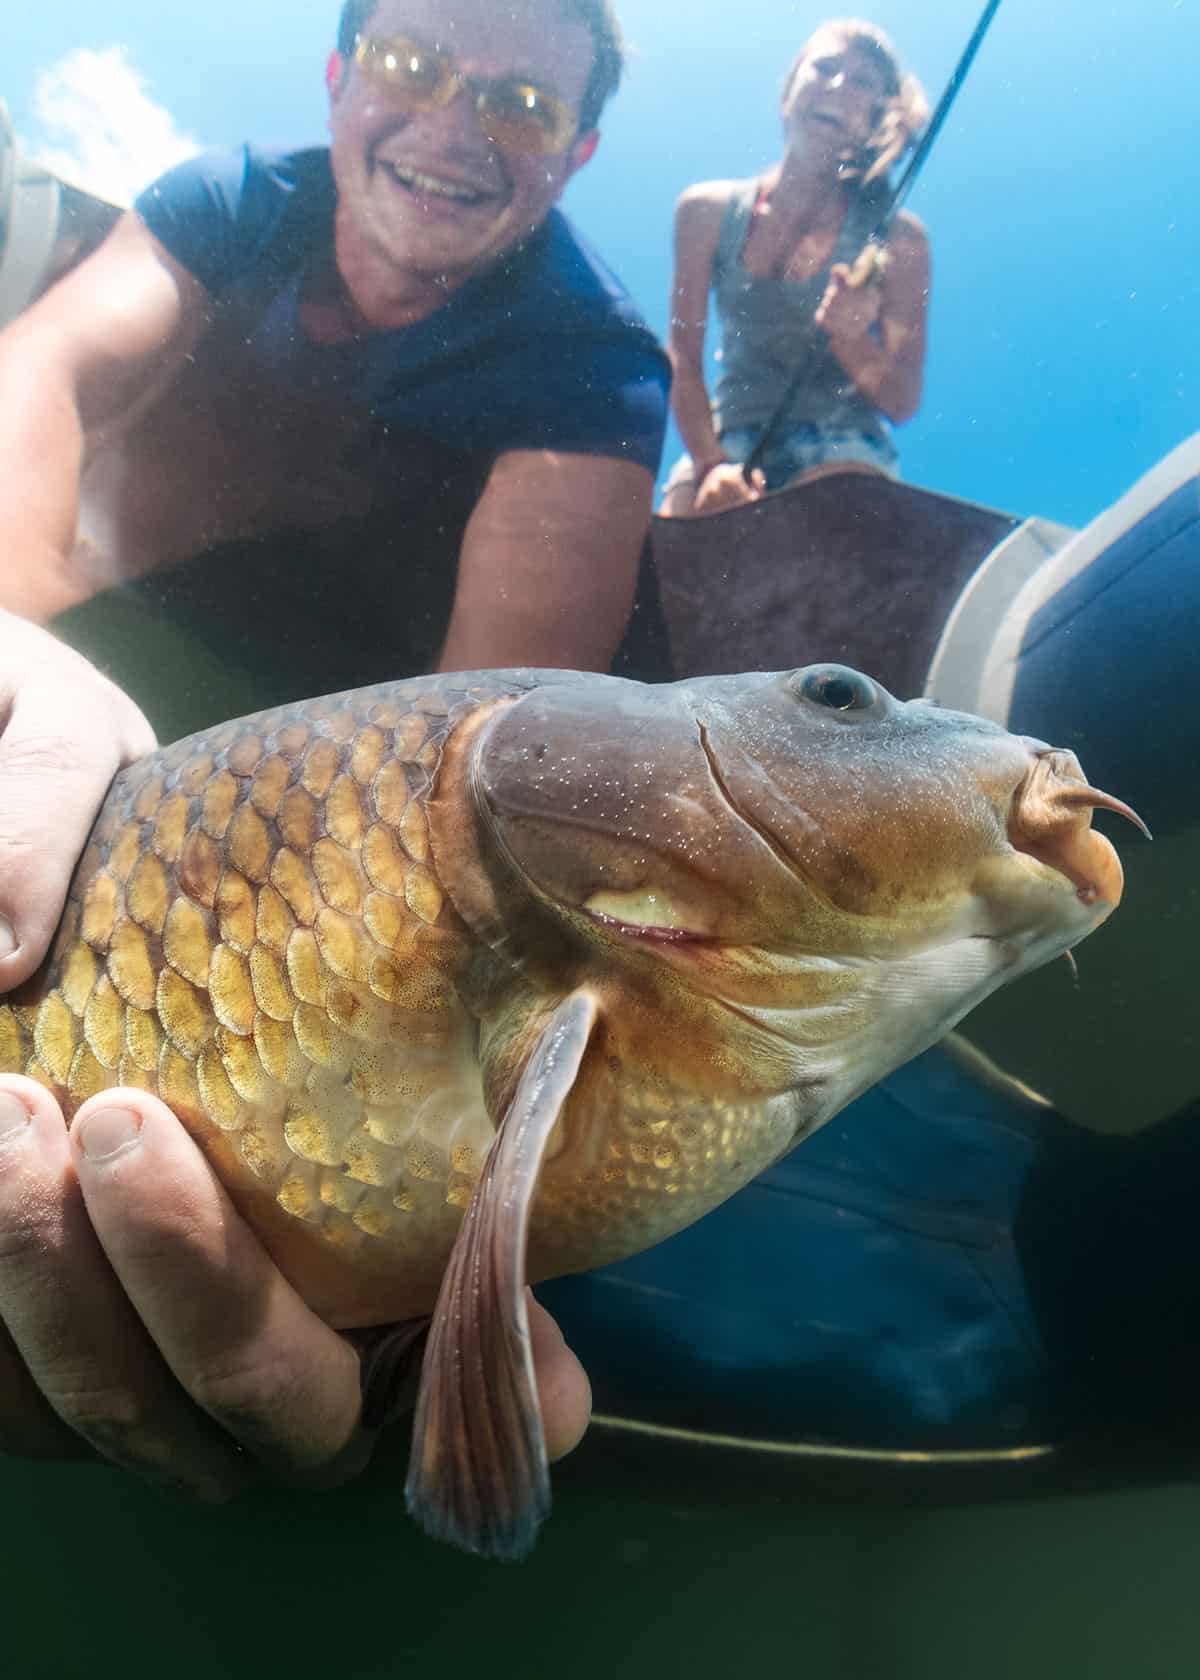
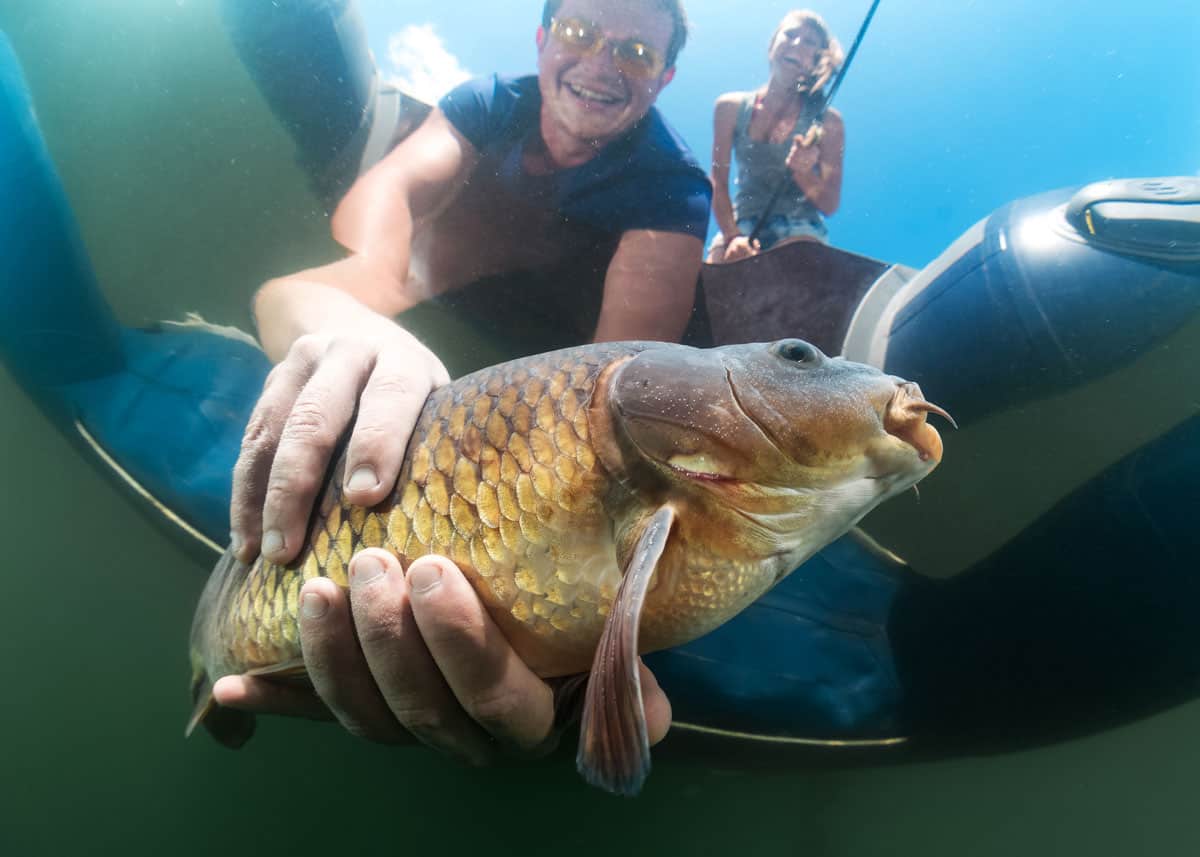
7. Remember to get some underwater footage
You’re going to be on the water, or at least near it while fishing, so it’s the perfect time to make the most of your GoPro’s underwater capabilities.
Whether you just want to get a glimpse of the underwater world, or you want to capture the catch or release of your fish, underwater footage can make your fishing videos much more interesting.
The following video is a perfect example of how incredible underwater fishing footage can be:
Here’s how to use GoPro WiFi underwater (2 options)
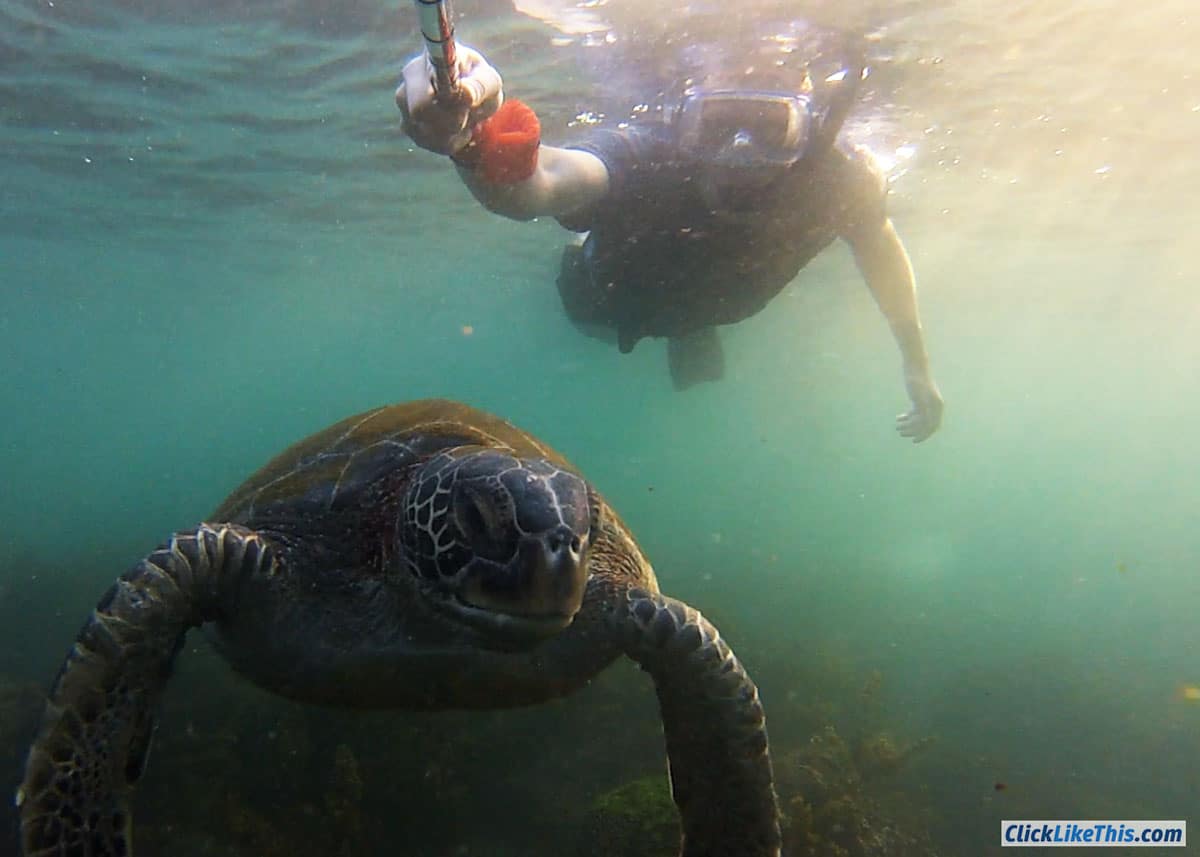
8. Use an extendable pole for underwater shots
So underwater shots are definitely worth getting, but you don’t want to plunge your hand underwater with the GoPro, so you need an accessory that will let you dip your GoPro underwater easily.
And for this, an extendable pole mount is perfect.
Using an extendable pole mount means you can film as shallow or as deep underwater as you like, without any difficulty. Plus, you’ll be able to use this accessory for other shots, like shots from above, or selfies.
A selfie stick will do wonders for your wildlife photography.
9. Experiment with different mounts
There are so many different angle possibilities when filming fishing days, so why not seize the opportunity to experiment with different mounts and angles? You’ll end up with much more varied footage – something much more compelling to watch.
Try mounting your GoPro on your fishing rod for some interesting casting shots, or on an extendable pole for underwater shots, or even fishing selfies.
If you’re fishing from a boat or a kayak, you can also try mounting your GoPro on different parts of the boat using adhesive mounts or the Jaws Flex Clamp. The possibilities are almost endless!
In the following video, you’ll see just how effective a video filmed from different angles, using different mounts can be.
There are point-of-view shots, still-life shots, and angles filmed from the boat, and all of these angles come together to create a fishing video that tells a story:
Head straps are the go-to mount for your GoPro when trying to capture point-of-view footage. But if you want your footage to be smooth, and not nauseating, try using a chest strap instead.
Your head moves around more than you probably realize whilst fishing, so head strap footage is likely to lack focus and stability.
Use a chest mount for POV shots. Using a chest mount instead can be a much more effective way to get point-of-view photos and videos. Your body doesn’t move as much or as quickly as your head, so your footage isn’t going to include any sudden jerks or turns. And while the GoPro will be mounted slightly lower down, you’ll still get some great shots looking out over the water.
Here’s a video showing just how stable point-of-view footage can be when filmed using a chest mount:
10. Avoid water droplets on your lens
![]() If you’re dunking your GoPro in and out of the water, it’s a given that you’re going to get the occasional water drop blurring your lens. But this can really mess with your footage, so you want to keep your GoPro free from water droplets as much as possible.
If you’re dunking your GoPro in and out of the water, it’s a given that you’re going to get the occasional water drop blurring your lens. But this can really mess with your footage, so you want to keep your GoPro free from water droplets as much as possible.
Coat your GoPro lens with Rain-X treatment, and whether you’ve just dunked your GoPro underwater, or it’s raining, the water drops are going to slide right off your lens, rather than lingering and blurring your shots.
Or if you need a quick fix when you’re out and about, give the lens a lick. This has the same effect, but it’s a much more short-term (and possibly unhealthy) solution.
11. Use anti-fog inserts
![]() It’s not just water droplets that can ruin the clarity of your GoPro fishing footage; it’s fog too!
It’s not just water droplets that can ruin the clarity of your GoPro fishing footage; it’s fog too!
When you leave your GoPro running for a long time (which you may well be doing while fishing!), it starts to heat up. This can then cause condensation to fog up your GoPro’s housing.
So to avoid foggy footage, use anti-fog inserts. They’re super easy to use, you just slot them into your GoPro’s housing, and they absorb all the moisture.
Here’s more about how to eliminate GoPro lens fog.

12. Edit and cut down your footage
By the end of your fishing trip, you’re going to have a lot of footage to sort through. So before you go showing anyone, spend some time having a look through your photos and videos, condense them down, and keep only the best shots.
With the best bits, you could put together a single fishing video and play around with different editing effects to make it more dramatic. Whatever editing software you use, try slowing down certain casts and catches to build suspense.
With just a little time spent editing, you could produce incredible fishing videos and photos that will keep your viewers engaged and interested.
I recommend “How to Shoot Video that Doesn’t Suck“ – this book fundamentally changed how I looked at video creation. It’s written like a reference book – you can jump into any chapter and get the skills you need.
6 Best GoPro Accessories For Fishing
If you want to capture the best possible fishing footage with your GoPro, you’re going to need a little help from some trusty GoPro accessories.
Using different accessories can help you capture your fishing adventure from different angles, and make your GoPro fishing experience much more enjoyable.
So here are the best accessories for filming fishing with your GoPro!
1. Jaws Flex Clamp
![]() With a Jaws Flex Clamp, you can mount your GoPro almost anywhere in no time at all. You just clamp the grip onto your boat, your rod, a jetty, or anywhere you like. It’s a great accessory if you want to get creative with your angles. You’ll have freedom of mount locations.
With a Jaws Flex Clamp, you can mount your GoPro almost anywhere in no time at all. You just clamp the grip onto your boat, your rod, a jetty, or anywhere you like. It’s a great accessory if you want to get creative with your angles. You’ll have freedom of mount locations.
This accessory is also super strong, so you know your GoPro’s not going anywhere.
2. Extendable Pole
![]() Extendable pole mounts are great for underwater shots, and selfies from up above.
Extendable pole mounts are great for underwater shots, and selfies from up above.
You can extend the pole to a length that suits you, so whether you want to plunge your GoPro a little deeper underwater, or you want to get a shot of your fishing setting from up high, you’ll be able to capture truly unique angles.
As well as lengthening the pole, it can also be shortened, so it doubles up as a shorter handheld mount.
3. Chest Mount
The chest mount, or Chesty, is the best mount for getting smooth POV footage.
You won’t have the same twists, turns, and jerks as you might get with a head mount, and you’ll be able to control your GoPro much more easily. You’ll also be able to see if the angle of your GoPro is right with a quick glance.
4. Rod Mount
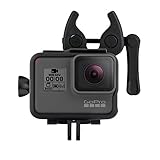
![]() This rod mount by GoPro is purpose-built for fishing rods, so if you’re an avid fisher, this is one for you.
This rod mount by GoPro is purpose-built for fishing rods, so if you’re an avid fisher, this is one for you.
You can mount it below or to the side of your fishing rod, so you can experiment with different angles.
The mount also has a non-reflective matte black finish, so if you’re fishing on a particularly sunny day, you don’t need to worry about the mount causing glare.
And if you’re lucky enough to be working with two GoPros, this mount lets you mount two GoPros – one front-facing and one rear-facing, so you’ll definitely get the best shots.
5. Color filters

![]() If you plan on doing a lot of underwater shots, it may be worth getting some color filters. These can help your GoPro record more accurate colors, and better set the white balance.
If you plan on doing a lot of underwater shots, it may be worth getting some color filters. These can help your GoPro record more accurate colors, and better set the white balance.
These are made to mount onto the dive housing – and not directly onto the camera.
6. Tripod
![]() A tripod is always a good mount to take on your fishing trips, as you’ll be able to get some distance shots. Set it up a short way away, and you’ll be able to capture your casts and catches from a more stable point of view.
A tripod is always a good mount to take on your fishing trips, as you’ll be able to get some distance shots. Set it up a short way away, and you’ll be able to capture your casts and catches from a more stable point of view.
More reading: 7 Best GoPro Kayak Mounts
We hope these tips and suggestions help you get some awesome footage of your next fishing trip. Have a tip to share? Please join us in the comments.
- About the Author
- Latest Posts
Hey, I’m Bryan! I’m a content creator and co-founder of Storyteller Tech.
Experienced GoPro Videographer: I’ve been shooting with GoPro cameras for over 11 years. My first GoPro was the Hero3 Silver, bought for a Galapagos work trip in 2012. Today I own 20+ action cameras, including GoPro, DJI, and Insta360 cameras.
Professional Creator: Dena and I have developed video and content marketing plans for numerous international travel brands. And we also run several content businesses.
Bryan also creates at Storyteller.Travel and is co-founder of Storyteller Media, a Canadian-based publishing company.
Chris Byers
Wednesday 27th of January 2021
Thanks for the information!!