Going hiking is all about seeking amazing views, getting unbeatable exercise, and creating lasting memories. But true adventurers know one other secret: documenting the experience is key to remembering and sharing every detail. This is why you should bring a GoPro hiking!
It’s not enough to bring your GoPro hiking. To get the most out of it, you need to bring the right accessories, use the best settings, and understand what it takes to create awe-inspiring videos and photos.
15 Tips for Awesome GoPro Hiking Footage
In this post, we’ll go over everything you need to know to bring your GoPro for hiking. When you’re ready to hit the trail, you can be sure to capture the memory perfectly to share and relive every moment in the future.
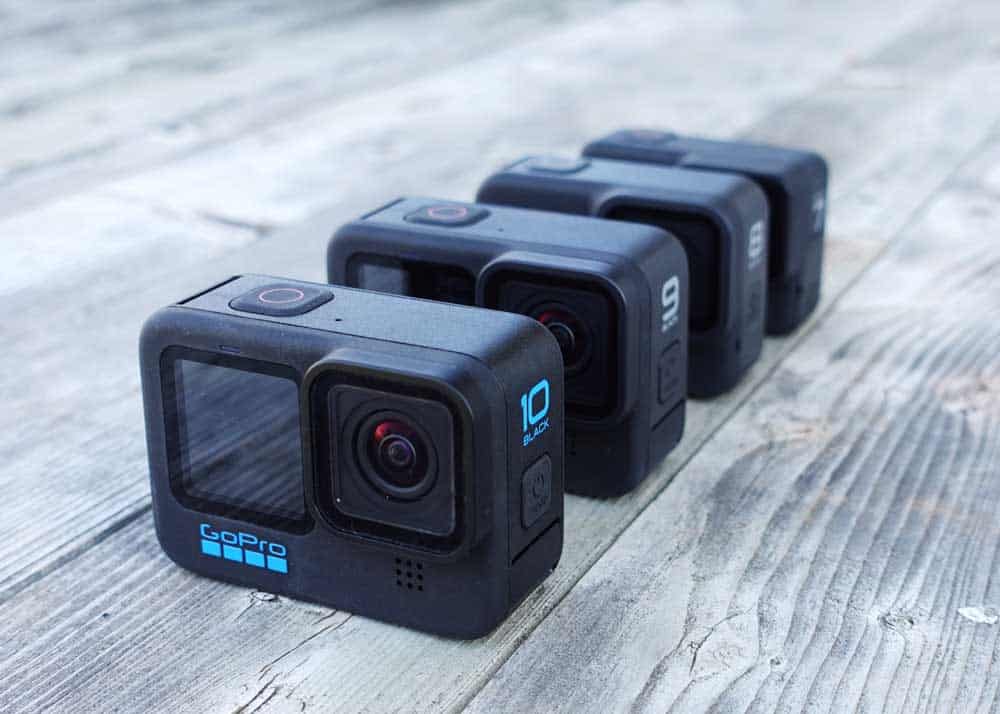
1. The Best GoPro for Hiking
The Starting Point: GoPro Hero11 The first step is figuring out which GoPro for hiking is best for you. While you can’t go wrong with any GoPro in their incredible lineup, we recommend the GoPro Hero11. It features stunning resolution, stabilization, and low-light capabilities.
Its 5.3K video will capture every detail, while the HyperSmooth 5.0 technology turns shaky video into professional-level smooth shots.
The built-in mount and intuitive menu make it easy to use, so you don’t have to be tech-savvy to get the most out of the GoPro experience.
Get your GoPro Hero11 Black on Amazon, B&H Photo, or Best Buy.
2. Make a Shots List: 9 Key Shots
Here are some hiking shots to consider shooting with your GoPro.
- Packing your bag and lacing up your shoes
- Timelapse of the drive to the trail. Here’s how to make a driving timelapse.
- Arriving at the trail
- Signage along the way
- The small details: a frog on the trail, a butterfly on a flower, refilling your water bottle, etc.
- Head or chest mount
- Overview of the trail – easily done with a long selfie stick
- Place the camera on the ground level and hike past, capturing the audio
- Underwater footage – lakes, streams, waterfalls
Next, let’s see some tips and shots for shooting cinematic footage.
3. GoPro Cinematic Tips for Backpacking
Here are some great tips for shooting cinematic footage with your GoPro on your next hike. Video by AdventureMuse.
4. Extra GoPro Batteries
Once you have your GoPro, you will quickly realize that battery power matters the most. Since GoPros are incredibly lightweight and small, the batteries are also relatively compact.
That means they aren’t designed to last all day. Instead, they are made to swap out in a few seconds.
I recommend at least one backup battery for day trips. But if you like to take longer trips, multiple batteries won’t hurt. Be ready for an adventure with your extra batteries before you hit the hiking trail with your GoPro.
I like to leave the house with 3-5 charged batteries. There’s nothing more frustrating than running out of juice while the adventure is still happening.
5. Charge on the Go
Getting a separate external charger can be a worthwhile investment too. If you don’t have one, the battery has to be inside the GoPro to charge, making filming a challenge.
The best part about most external chargers is that they can charge two batteries simultaneously.
If you want to charge batteries while filming, consider getting a power bank / external charger setup for your GoPro.
Here’s more about how to charge your GoPro battery.
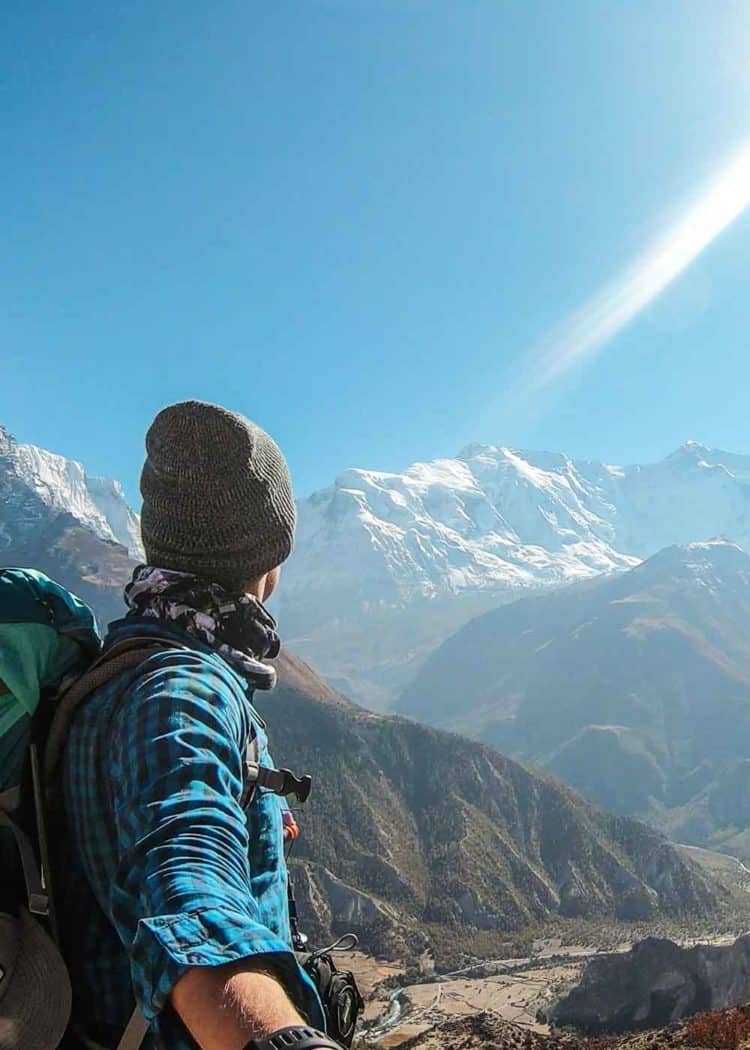
6. Play With Perspective
No one likes to see a boring video, even if it’s a precious memory you want to preserve. One way to give your videos a fresh spark is to play with perspective when you bring your GoPro hiking.
By getting video clips from different perspectives, you can fuse them after your hike and create thrilling videos.
Play with different camera directions and heights. Get some photos or videos of the ground below and the sky above.
Capture your feet moving over the varied surfaces, or take a moment to stop and slowly rotate in place.
7. Move the Camera: Shoot Sequences
Along with getting different perspectives, don’t forget to move the camera and its filming locations. Try hiking up a bit and placing the GoPro in a secure spot. Let it record from the stable location while you or your group walk past.
Another option is to move the camera in unique ways. Panning from side to side or up and down are two surefire ways to add a range to your shots. But you can attach your GoPro to almost anything, so don’t stop there!
8. Speed It Up With TimeWarp
GoPros are made to be versatile. After all, they come with a comprehensive arrangement of settings to choose from and use. TimeWarp is one that you should get familiar with right away.
TimeWarp will turn a long video into a shorter high-speed video. It’s a great way to pack a beautiful long hike into a shorter clip.
The 10x speed is a good setting to use for your GoPro for hiking. It will turn a five-minute video into just 30 seconds of footage.
Using a backpack mount is a great way to shoot a timewarp clip.
9. And Slow It Down
Balance is key. That’s why capturing some slow-motion footage should be part of your day too. Start by carefully selecting the right subject for slow-motion footage.
To get the best slow-motion shots from your GoPro while hiking, turn up the frame rate.
At most times, you can get away with 30 frames per second to make a high-quality video, but when you’re shooting for slow motion, crank the frames per second up to 240 fps.
The results can be spectacular.
10. Shoot 360-degrees with a GoPro Max
For some people, especially those who want to use their GoPro for hiking, the GoPro Max is worth checking out.
It has many of the same features as the Hero models, but it can also capture 360-degree video footage. Through a seamless blend of front and rear cameras, the GoPro Max collects spherical videos to capture the entire landscape.
So, you could turn it on, go for a hike, and select the best angle after the fact. No more worrying about where you point the camera!
You can also share the 360-degree video to provide a fully immersive experience to friends and family.
11. Get a 3-Way Grip
One of the must-have accessories to bring your GoPro hiking is a 3-way grip. This incredible device combines three devices into one.
It features a solid grip handle that is comfortable to use for extended periods. The multi-point arm extends out, acting like a handheld boom and selfie stick. As if that’s not enough, it also turns into an instant tripod and can capture everything from a fixed point.
12. Chesty and Head GoPro Mount for Hiking
Holding a GoPro for an entire hike isn’t so fun. Free up your hands and use a hands-free mount. There are a wide variety of mounts to choose from.
One of our favorites for hiking with a GoPro is the Chesty mount. Using a strap that goes around your chest and mounts the camera to an area near your sternum, keeps the camera stable and can capture a constant shot of whatever is directly ahead.
Head Strap GoPro Mount: If you’d like something to follow your eyes instead, the Head Strap is your solution.
By wrapping securely around your forehead, it turns your GoPro for hiking into a second set of eyes. The footage will look almost exactly as it does from your point of view.
13. Capture the Story
One way to take your GoPro hiking videos up to the next level is to focus on storytelling. It’s what the best directors do to immerse an audience in their work.
Capturing your hiking story doesn’t start at the summit. It starts while you’re getting ready. It begins to build as you park the car and hit the trail. The anticipation and turmoil happen along the hike up.
As you hit the incredible summit view, the video hits its own peak and brings forth the adrenaline in full force. On your way down, you cool off along with your viewers.
By capturing many moments throughout the day, instead of just the best one, you’ll be able to bring your friends and family along for the ride.
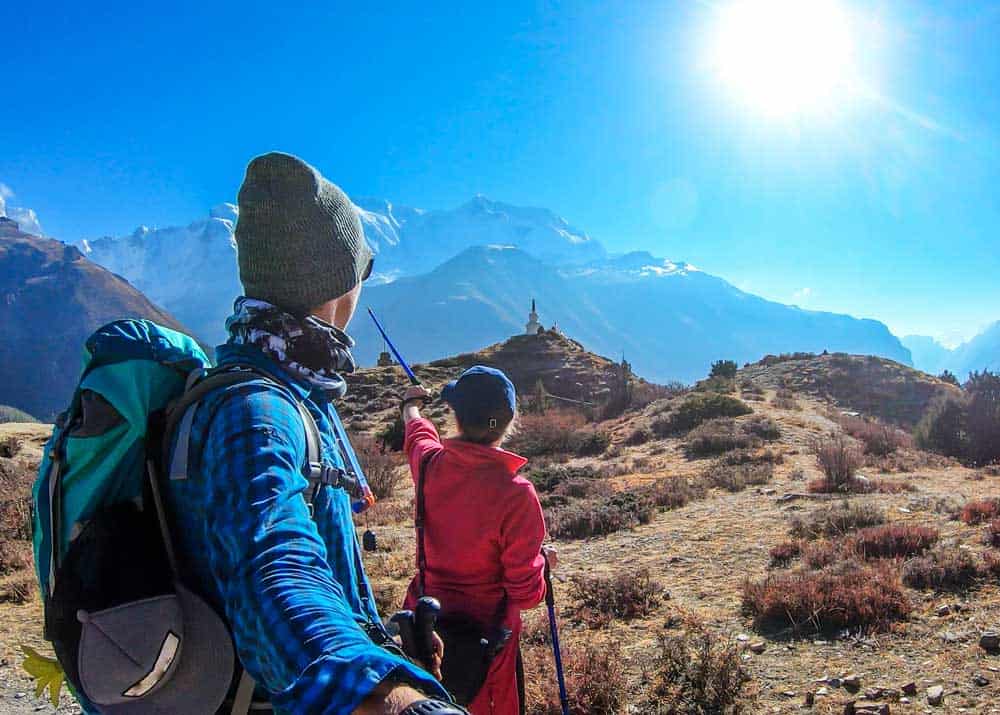
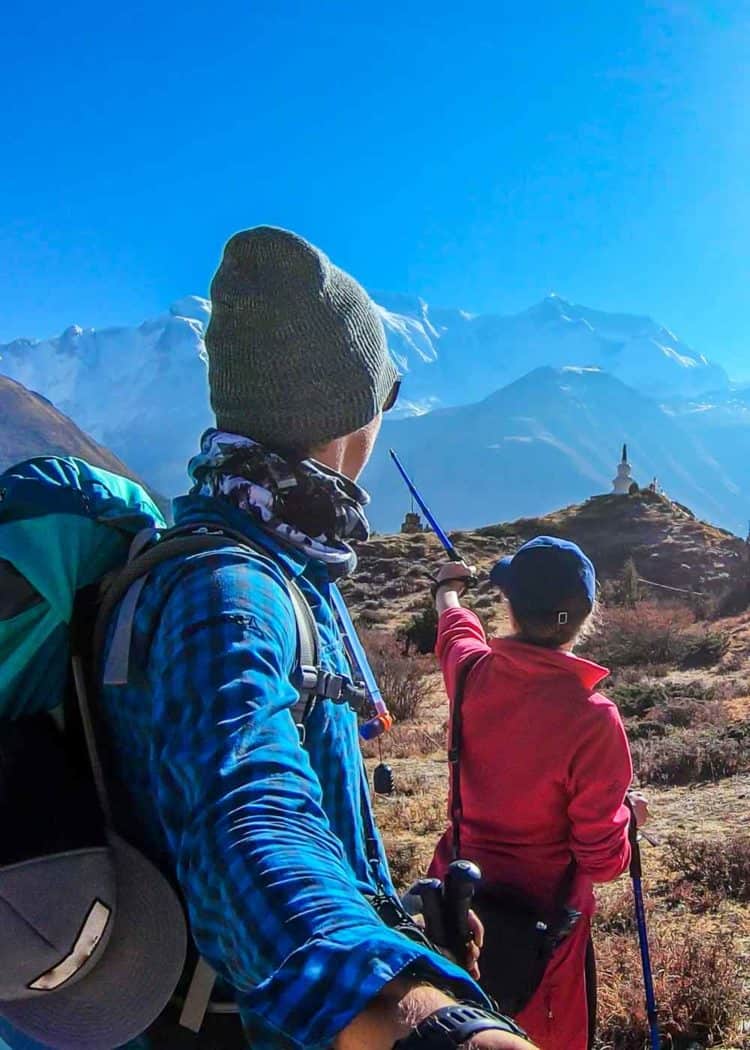
14. Don’t Forget the People
Sometimes, it may be tempting to focus only on the incredible landscape. But people connect with other people.
With that in mind, try to include yourself and other people in your shots when possible. It offers a personal touch amidst otherwise unreal views.
15. Don’t Forget to Use HyperSmooth
If there’s one tip that professional videographers give, it’s that a shaky video rarely works. It can be jarring and might even ruin an otherwise engaging video.
Thankfully, GoPros have this problem automatically taken care of through their incredible stabilization technology.
It’s called HyperSmooth, and if you want to get high-quality video, you need to make sure it is enabled before you take your GoPro hiking.
Keep reading: 13 GoPro Running Tips
GoPro Hiking Wrap Up
Do you have a favorite tip or accessory for your GoPro? Have any advice to share from your own experiences? Leave a comment below, as we’d be thrilled to hear from you!
Make sure you stock up on the right accessories to get through the shots and don’t forget to think like a true filmmaker by getting stable shots from multiple perspectives.
Most of all, use your GoPro for hiking to tell the story. We can’t wait for you to start your next adventure, all captured on a GoPro!
- About the Author
- Latest Posts
Hey, I’m Bryan! I’m a content creator and co-founder of Storyteller Tech.
Experienced GoPro Videographer: I’ve been shooting with GoPro cameras for over 11 years. My first GoPro was the Hero3 Silver, bought for a Galapagos work trip in 2012. Today I own 20+ action cameras, including GoPro, DJI, and Insta360 cameras.
Professional Creator: Dena and I have developed video and content marketing plans for numerous international travel brands. And we also run several content businesses.
Bryan also creates at Storyteller.Travel and is co-founder of Storyteller Media, a Canadian-based publishing company.