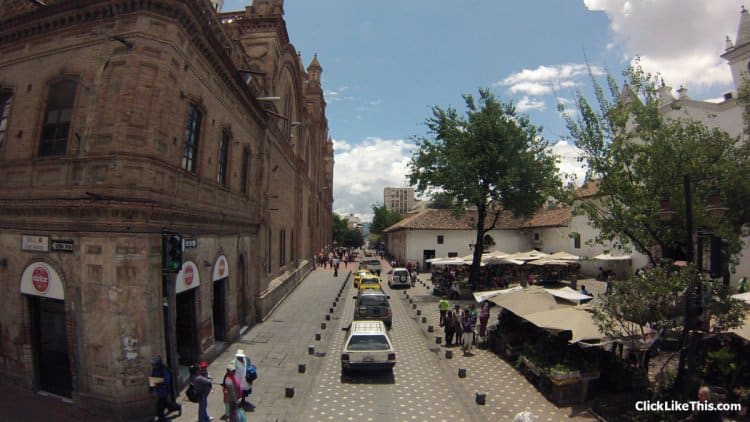
A few months ago my parents visited us in Cuenca, Ecuador and we took a city bus tour. To capture the feel of the city, I created a driving time-lapse with my GoPro camera clamped on the front of the bus.

In this post, I’m going to write about the five steps to shoot your driving time-lapse and the four settings to create your driving time lapse in GoPro Studio.
But first, here’s the finished product:
GoPro Driving Timelapse (Cuenca Ecuador)
As you’ll notice in the video, the bus loops around the main park (Parque Calderon) before leaving downtown.
How to Create a GoPro Driving Timelapse
There are two steps to time-lapse creation.
- Shooting the images: A time-lapse is created with a set of still photos.
- Post-production: Take these images and create the video with the software.
This is the longest driving time-lapse that I’ve created. It was shot over almost two hours.
Determining the correct playback rate was challenging. The video has both downtown streets and open highways. While slower frame rates looked good downtown, they were waaaaay too slow (boring) on the highway.
Shooting Your Driving Time Lapse
To create a great time-lapse – you will need some great images. Here are the steps I followed to shoot the images in this time-lapse video.
5 Steps To Shooting a Driving Time Lapse
- Camera settings: I shot one image per second (60 images/minute) at 5MP resolution.
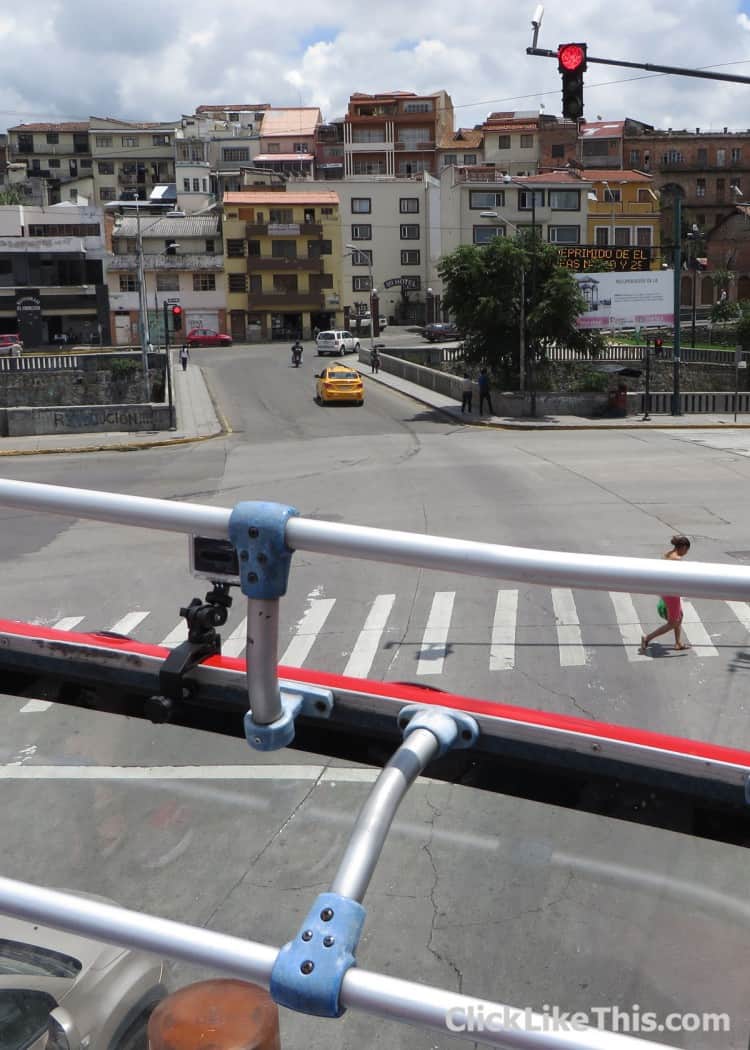
- Choose a great location: We were first to board the bus and chose the front seats on the upper level of the double-decker bus. I mounted the camera on the front of the bus, centered horizontally. I aimed the camera straight ahead, with a slight downward angle. Because it was at the front of the bus, there were no distracting people walking by.
- Gear Used: GoPro Hero3 Silver mounted on a Pedco Ultra Clamp. I used two Wasabi batteries during this shoot. The first lasted about 80 minutes. The second finished out the final 30 minutes of the tour.
- Mount the camera securely: To keep the camera steady, I rely on my Ultra Clamp mount. Read my Ultra Clamp review.
- Watch the battery: Don’t worry about sticking your head into the occasional image. It’s better to delete a few images than run out of battery and not realize it. It is easy to remove a few spoiled images – and it won’t affect the final product. I changed the battery while the bus stopped at a look-off point over the city.
4 Tips to Create a GoPro Driving Timelapse
When I returned home, I uploaded the images to my desktop computer. Using GoPro Studio (their free editing software), I created the video with the following settings:
- Although the images were shot at 2592 x 1944 (5 MP) I created the video at 1440p (1920 x 1440).
- After experimenting with a number of frame rates (from 5 – 60fps) I settled on 10fps. It seemed like the best balance of speed and detail. (See the video below for specifics). If this was for a travel site, I would have also rendered it at 5fps (like I did here) for anyone who wants to see all the detail of the city. This will double the video length from 7:30 to 15 min.
- I output the video at 1440p – perfect for YouTube.
- I didn’t edit color/contrast or zoom for this video because I took a few minutes to compose the shot before shooting, which saved a lot of editing in post-production.
What Frame Rate Should I Use?
Keep learning: Guide to Using Your GoPro
What I Learned From This Shoot
For my next driving time-lapse, I will shoot one image every 0.5 seconds. This will make the final product more fluid.
Of course, if I double the shooting frame rate, I’ll also have to double the frame rate in post-production. Otherwise, the video will take twice as long.
Learn more about shooting GoPro time lapse videos.
Your Turn
What do you think of this time-lapse? Please share your comments and suggestions below!
- About the Author
- Latest Posts
Hey, I’m Bryan! I’m a content creator and co-founder of Storyteller Tech.
Experienced GoPro Videographer: I’ve been shooting with GoPro cameras for over 11 years. My first GoPro was the Hero3 Silver, bought for a Galapagos work trip in 2012. Today I own 20+ action cameras, including GoPro, DJI, and Insta360 cameras.
Professional Creator: Dena and I have developed video and content marketing plans for numerous international travel brands. And we also run several content businesses.
Bryan also creates at Storyteller.Travel and is co-founder of Storyteller Media, a Canadian-based publishing company.