It can be pretty easy to fill your SD card with great footage when shooting with an Olympus camera. Now it’s time to upload your photos and videos. Here’s how to connect your Olympus camera to your computer. Including using it as a webcam and uploading your footage to your computer.
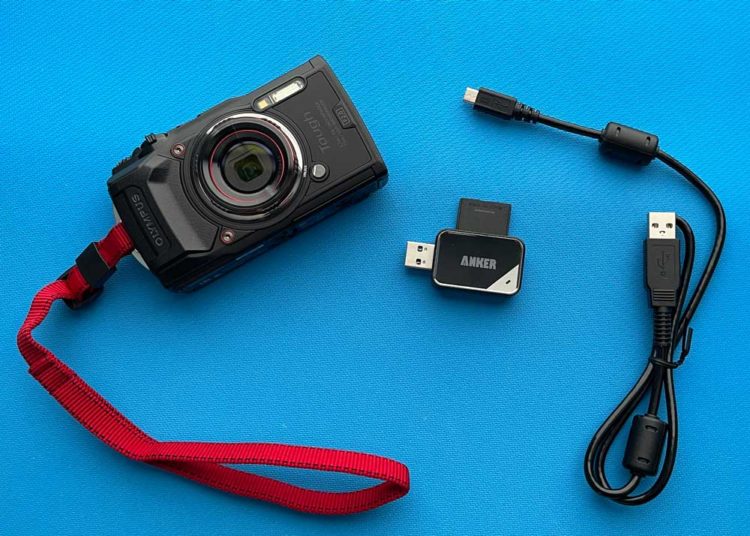
There are four ways to connect your Olympus camera to your computer. You can directly connect with the supplied USB cable, use an SD card reader, or wirelessly connect your Olympus camera. And you can use many Olympus cameras as a webcam. Here’s how in order of ease of use.
In this post, you’ll learn about each method with step-by-step instructions.
Connect Your Olympus Camera to a Computer
These methods of connecting your Olympus camera to your computer will work whether you’re shooting with the Tough TG-6, E-M1 Mark III, or E-M5 Mark III.
For this test, I used the Tough TG-6, which I own. It is both dustproof and waterproof, with an IP rating of IP68. Here’s more about IPX ratings.
Like most photographers, you probably have your favorite way to upload your files. Having more options can improve your workflow, and keep your files safe. Here are three easy methods to connect your Olympus camera to a computer.
1. Connect Your Olympus Camera via USB Cable
Using your USB cable will be the simplest method.
- Pro: You can use the supplied USB cable. No additional equipment is required.
- Con: You might need to find that USB cable. And it is slower than other methods.
If you can’t find the supplied cable (or want a spare one) Amazon Basics cable is a great choice. They are USB A to USB Micro B and come in lengths of 3 to 10 feet.
3 Steps: Connect Olympus Camera Via USB
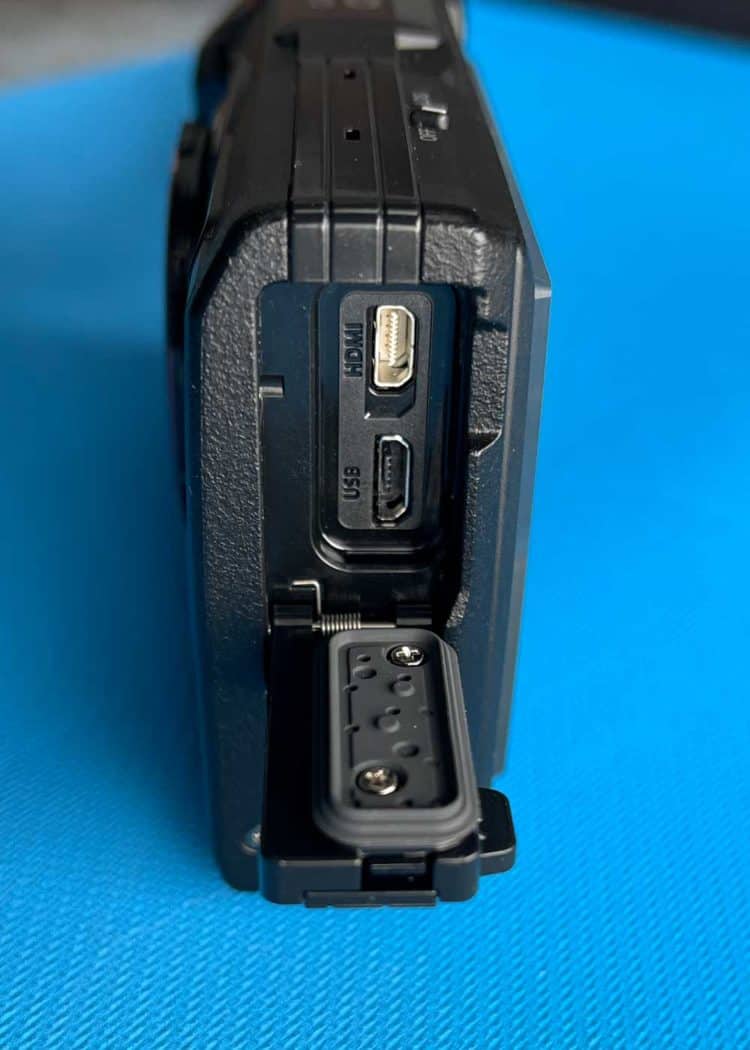
- Connect the micro USB end to your Olympus camera. The USB port will likely be labeled “USB”. The connector will be snug but will connect without requiring much force.
- Connect the USB A (larger rectangle) end to a USB port on your computer.
- Turn on your Olympus camera, and watch for the prompt on your computer.
Now you can view, upload, and delete your footage on your computer.
It’s as easy as moving your photos around on your hard drive. Select the images and clips and drag them to the desired folder on your computer.
2. Connect Your Olympus Camera via SD Card
This is how I prefer to upload my camera files. It is the fastest transfer method – especially with the correct card reader.
- Pros: File transfer is faster than via a USB cable. And you can continue to use your camera while you upload footage from the other SD card.
- Cons: If you don’t have an SD card reader, you’ll need to purchase one. That’s the only drawback to this method.
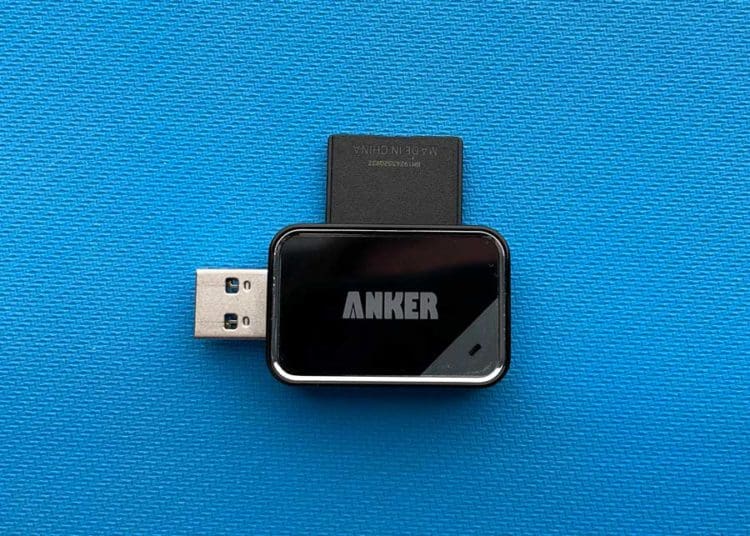
If you need a good card reader, I recommend the Anker 2-in-1 with USB 3.0.
The Anker 2-in-1 has USB 3.0. This means it has super fast file transfer. And it accepts both SD and micro SD cards.
We have three of these – one for each of us. We had some USB 2.0 SD card readers for years and thought they were okay. But then we upgraded to USB 3.0 and saw the difference.
How fast is USB 3.0? According to Macworld, USB 3.0 is 10x faster than 2.0.
USB 3.0 (also known as SuperSpeed USB) has a maximum bandwidth rate of 5 gbps (gigabits per second). That translates to 640 MBps (megabytes per second)—ten times faster than USB 2.0 (aka Hi-Speed USB).
Macworld
So that’s how to upload your footage. What about clearing the data off your SD card?
Once you upload (copy) your photos and footage to your computer, you should format your SD card.
This step will empty your card and prepare it for the next adventure. I prefer to format in-camera instead of using the card reader and formatting in-computer. This prevents any weird conflicts and errors.
3. Connect Your Olympus Camera Wirelessly (Mac and PC)
This is a great option for uploading footage. Once configured, it’s pretty seamless. No cables or card readers are required.
Just select
- Pros: Just tap and transfer.
- Cons: Because the transfer requires your camera, you won’t be able to shoot while uploading wirelessly. This probably won’t affect workflow too much, but it isn’t as flexible as using an external SD card reader.
It’s important to note that not all Olympus cameras have the ability to connect via WiFi to a computer. Just having the WiFi logo isn’t enough. Some will only wirelessly connect to your phone and not to your computer.
Note: If you want to wirelessly connect your Olympus camera to your phone, we’ll cover this in a section later in the post.
Configure Wireless Olympus Camera Connection
To connect your camera wirelessly, follow this sequence.
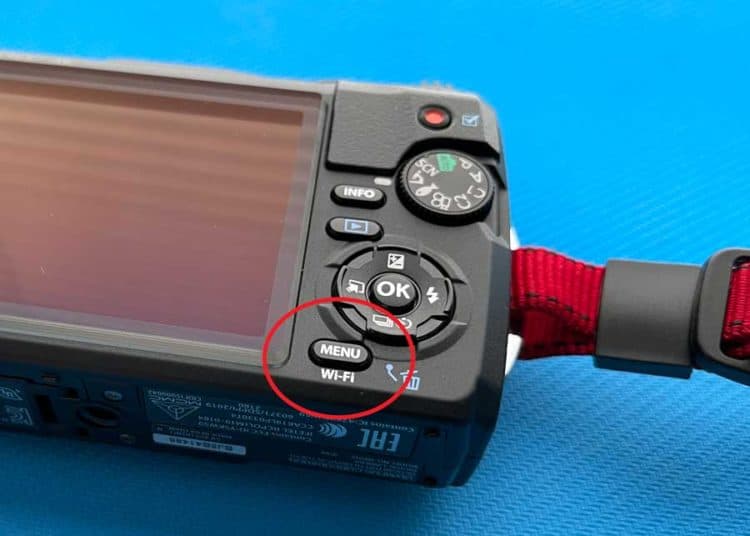
- Press Menu/WiFi Button
- You’ll see “Select WiFi connection” option
- Choose “Private Connection”
- Connect your computer to this SSID wireless network, as shown on your camera
Now you can transfer your camera files to your computer.
Wirelessly Connect Olympus Camera to Mac
Here’s a simple tutorial for connecting an Olympus camera to a Mac.
And here’s a simple video tutorial. It breaks down the specifics of connecting via WiFi and how to troubleshoot common problems.
4. How to Turn a Olympus Camera into a Webcam
This is a pretty request. Most webcams are notoriously bad quality. Why not use your Olympus camera as a webcam?
Here’s what you’ll need, according to Olympus:
- Compatible Olympus camera (see list below)
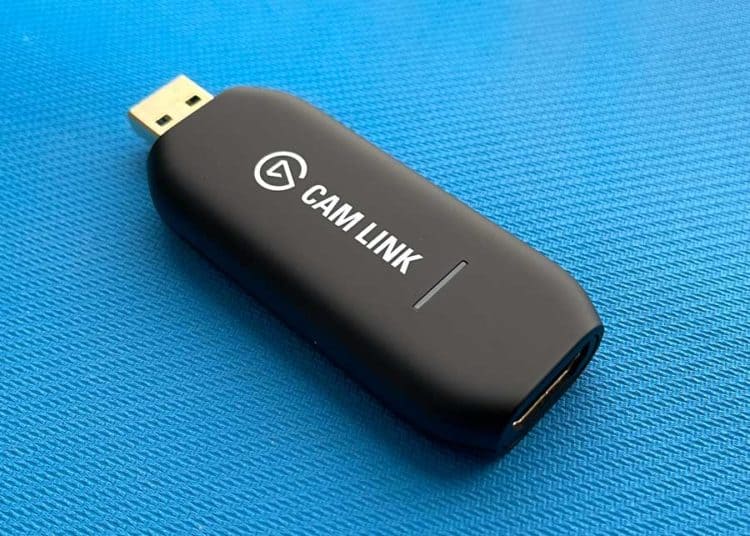
- Elgato Cam Link 4K (HDMI capture device)
- HDMI cable (micro HDMI)
- USB cable for power
Here’s the full guide.
Step-by-Step Webcam Setup
- Plug micro-HDMI into your Olympus camera and the other end into your capture device
- Connect the capture device to your camera
- Watch for a pop-up message noting that your webcam is ready to go
Elgato cam link works with Zoom, Facebook Messenger, Microsoft Teams, Facetime, OBS, and more.
Compatible Olympus Cameras
- OM-D E-M1 Mark III
- OM-D E-M1 Mark II
- OM-D E-M1X
- OM-D E-M5 Mark III
Here’s how to use a DSLR and GoPro camera as a webcam.
Olympus Image Share App: Connect to Smartphone
Another way to access your footage and control your Olympus camera is via the Image Share app.
- To begin, download the Olympus Image Share app for Android or iOS.
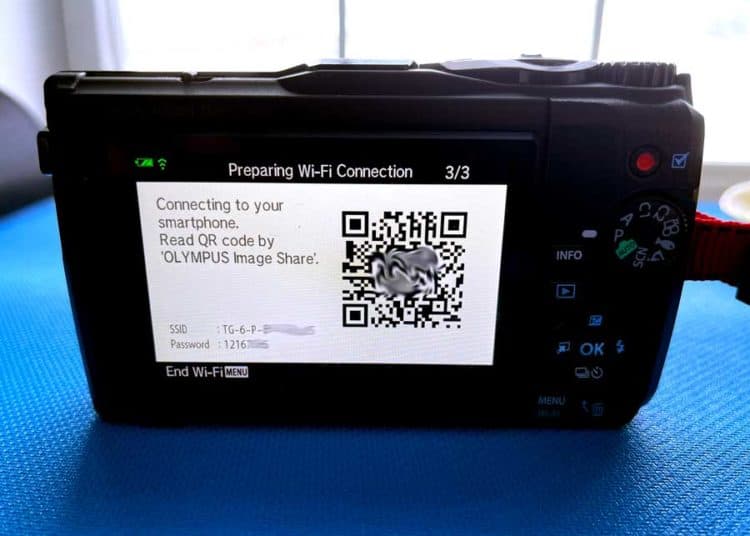
- Follow the instructions in-camera to initiate and connect to the app. The photo below shows what to expect.
- You can use the app to remote control your Olympus camera, import photos, and even edit them.
Here’s a video tutorial about how to get started.
Not working for you? Why won’t your camera connect to a computer? Here are 6 ways to get your camera to show on your computer.
Your Turn
How did it go for you? Have a tip or question? Let me know below! We want to keep this guide as current and helpful as possible.
- About the Author
- Latest Posts
Hey, I’m Bryan! I’m a content creator and co-founder of Storyteller Tech.
Experienced GoPro Videographer: I’ve been shooting with GoPro cameras for over 11 years. My first GoPro was the Hero3 Silver, bought for a Galapagos work trip in 2012. Today I own 20+ action cameras, including GoPro, DJI, and Insta360 cameras.
Professional Creator: Dena and I have developed video and content marketing plans for numerous international travel brands. And we also run several content businesses.
Bryan also creates at Storyteller.Travel and is co-founder of Storyteller Media, a Canadian-based publishing company.