In this post, you’ll learn the settings I use to create timelapse videos with my GoPro. Here’s how I make GoPro timelapse videos.
When I first ordered my GoPro camera, I couldn’t wait to use it.
We were booked for a press trip to the Galapagos (we had snorkeling on the brain) and a fully waterproof camera would be amazing.
But aside from the underwater function, I was excited about the timelapse function.
The GoPro shoots in 0.5, 1, 2, 5, 10, 30, or 60-second intervals. They also make free editing software called GoPro Studio Edit Software. It is specifically for creating timelapse and slo-mo videos.
In this post, I’ll break down what I learned, the settings, and the equipment I used.
What is a time-lapse video? Simply put, it is a series of photos of the same scene – shot over a period of time. The images are then combined into a video and it gives the appearance of time being sped up. It is great for showing a busy market, sunrises, sunsets, blooming flowers, etc.
6 Steps to Shooting the Timelapse Images
To create a great time-lapse video, you’re going to need some great images.
Here are six things you should do:
1. Frame It Up Well
The first time I used the GoPro to shoot a time-lapse series I was so excited about what I was doing (with the camera) that I forgot what I was actually doing (shooting images).
What I ended up with were 2000 poorly framed and poorly exposed images. Which I deleted after we returned home from the Galapagos.
It was a few hours of Galapagos midday sky and water activity – and it would have been beautiful if I had just taken my time setting up the shot.
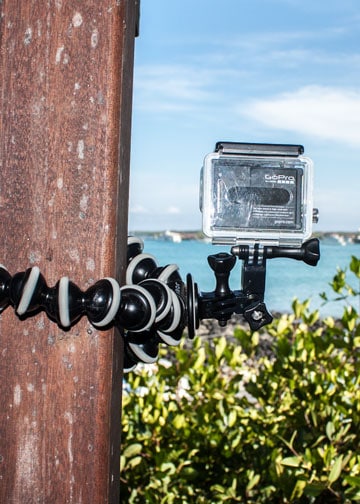
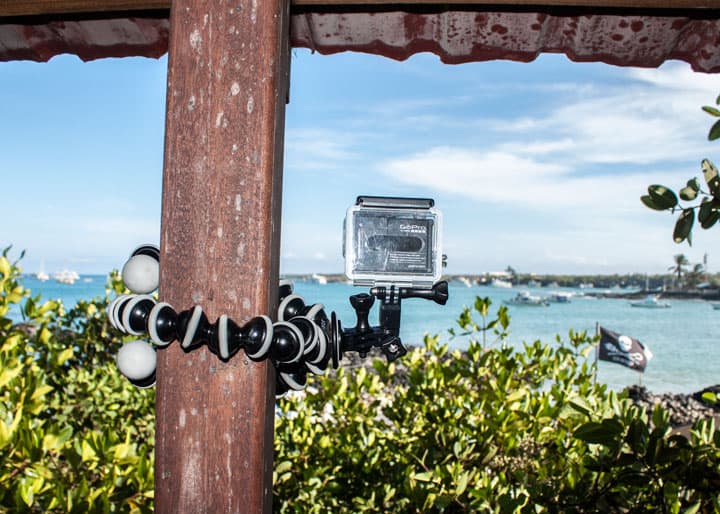
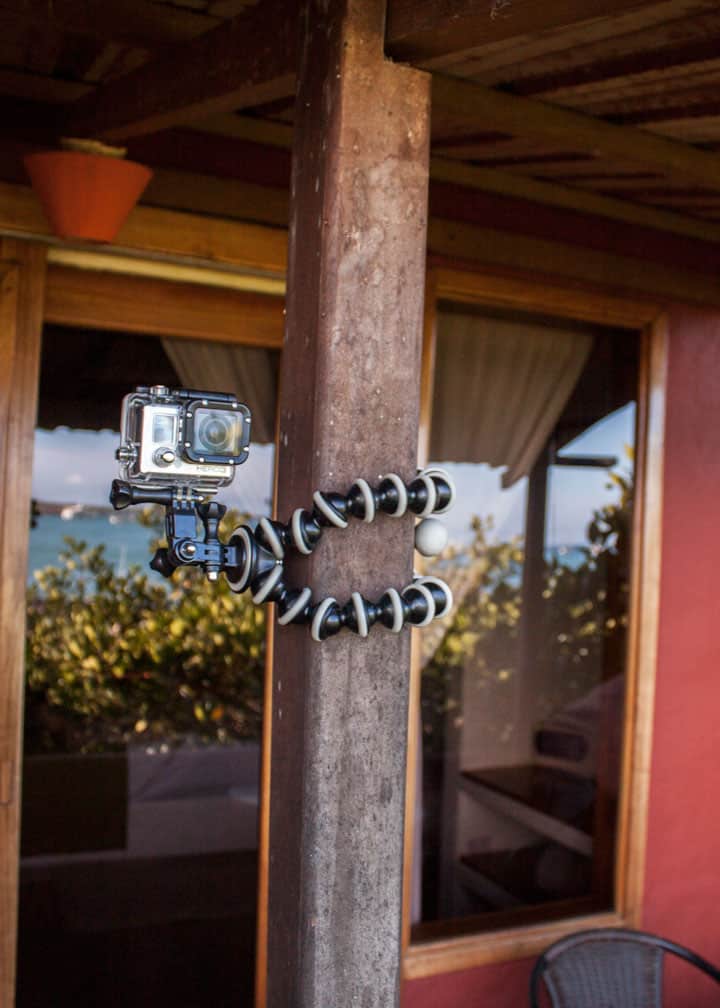
2. Use a Tripod
Without a tripod, your images will not blend properly into a watchable video. I travel with a Joby Gorillapod (the one for DSLR cameras) which works well for the GoPro and the much heavier DSLR cameras. This way I don’t have to carry two tripods.
The attachments and mounts come with the GoPro kit. To set up as I did below, you’ll just need the Gorillapod – and it’s worth every cent.
3. Don’t Worry About Every Image
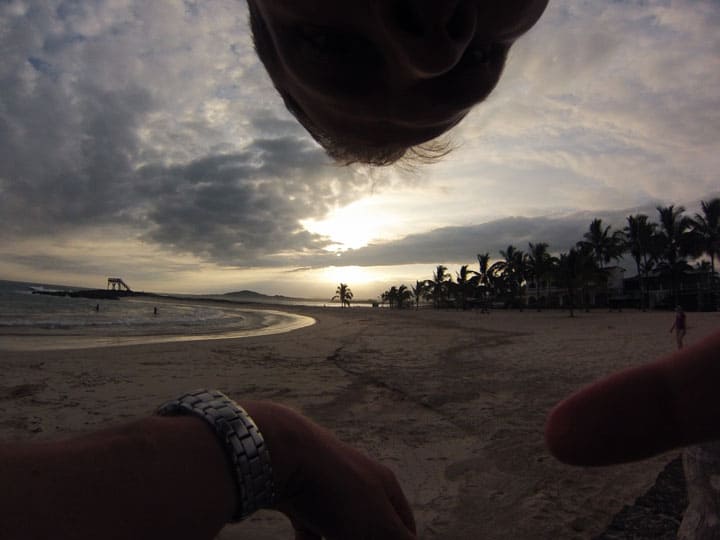
Not every image is going to be good. Don’t worry about it. When you sit down to create your video, you can quickly scroll through the images and delete any that have an extra object.
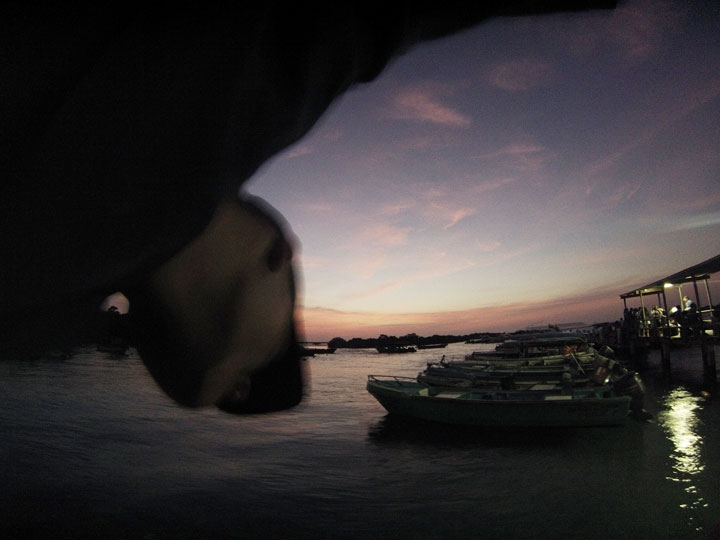
The first image below shows me grasping for a memory card as it fell into the water. The other 2 images show me checking on the GoPro display to make sure it still had enough memory and then taking a photo of the setup with another camera.
Because of the number of photos used, you can easily delete the ones that you aren’t happy with – and no one else will know.
4. Use a Large (and Fast) Memory Card
After reading about it on a number of blogs – I ordered a 32GB Class 10 memory card. While a slower card might be okay for a point-and-shoot camera, the GoPro is made to produce high-resolution images very fast.
A slower card probably won’t keep up with the incoming new images. And when you are shooting your time-lapse, the last thing you want to worry about is running out of memory.
5. Be Prepared to Wait
You will need to have patience. Don’t set up a time-lapse unless you have some time on your hands. The video below took 90 minutes of shooting to produce a 30-second video. The settings I used are below.
Because I used a good tripod, I was able to walk around, play in the sand with my daughter and walk in the waves with Dena. I’m in a number of the shots.
6. Take Your Time Editing
Every time-lapse is different. There is no rule that determines what your frame rate playback should be. I have had good success with 15 fps for clouds and sunsets. But this frame rate makes road traffic look like it is hyperactive.
Experiment and have fun. You might need to output each set of images in a few different ways to see what looks best.
And choose some appropriate music. Because a time-lapse is just a bunch of photos, there is no sound.
You will need to add something to the clip to keep it alive.
What I Used: My GoPro Setup
To shoot the time-lapse, here is the equipment that I used.
- GoPro Hero3 (Silver Edition)
- Tripod: Joby Gorillapod SLR Zoom This is the strongest, most adaptable tripod I own. I trust it with my heavy DSLR – there is no question that it can handle the lightweight GoPro. I recommend this for time lapses because it mounts anywhere.
- GoPro Tripod Camera Mount: you’ll need this to connect the GoPro to any standard tripod. GoPro has its own unique mounting system – made to be strong and quickly changeable. You’ll need this little mount. They sell for $9.99.
- Memory Card: SanDisk Ultra 32GB microSD Class 10
- Wasabi Batteries: to get a proper timelapse, you’ll need something a little more powerful than the standard GoPro battery. These Wasabi batteries last longer and come with their own charger.
There are many ways to do this. I would love to hear what you are using.
Settings I Used On My Time Lapse Shoot
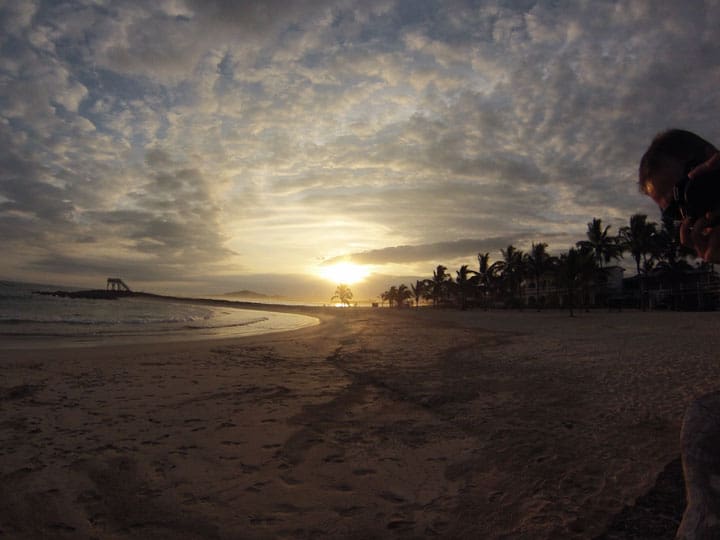
On our last trip to the Galapagos, I shot a few sets of time-lapse images.
For the time-lapse video at the end of the post, I shot the images at:
- 11MP (3840px x 2880px) images at a 10-second interval
- A total of 484 images from 5:30 pm to 7 pm
Inside GoPro Studio, I output the images at 15 frames per second and added a filter to bring out the colors a little.
While I could have uploaded the output video straight from this tool, I moved the output MPEG file into Sony Movie Studio to add some music, my watermark, and the concluding frames. I then rendered the video for the web and uploaded it to YouTube.
Here is the final product:
Galapagos Sunset on Isabela Island
Watch on YouTube.
Now It’s Your Turn
What success/troubles have you had with time-lapse? Please share your questions, tips, and links in the comments below.
- About the Author
- Latest Posts
Hey, I’m Bryan! I’m a content creator and co-founder of Storyteller Tech.
Experienced GoPro Videographer: I’ve been shooting with GoPro cameras for over 11 years. My first GoPro was the Hero3 Silver, bought for a Galapagos work trip in 2012. Today I own 20+ action cameras, including GoPro, DJI, and Insta360 cameras.
Professional Creator: Dena and I have developed video and content marketing plans for numerous international travel brands. And we also run several content businesses.
Bryan also creates at Storyteller.Travel and is co-founder of Storyteller Media, a Canadian-based publishing company.
Tom K
Friday 10th of July 2020
Howdy from Texas Bryan! I have a slight problem. I have two identical GoPro Black 5 cams. I'd tried to do time lapse videos on both, while attaching the cams to my WWII jeep and going for a ride. One of the cams did a great time lapse video, but the other came back with individual photos taken for the entire trip. First, is there an editor that will "stitch" the pics together making it into a time-lapse video? Secondly, what setting isn't being set to create a proper time-lapse video? I will look at the settings on both cameras, as I know which one did it properly and which one didn't (I always write the camera # on each of the micro-sd cards when I take them out of the cams.) I'm using identical everything, so I'm guessing it's a set-up that I'm missing.
Many thanks & glad you are able to help so many people! ~Tom
David
Sunday 22nd of December 2019
Hello from the UK Bryan. I'd like to say that your Time-lapse tutorial is the best I have come across by far. As you explain everything so clearly. I bought or should I say bought two GoPro hero's A silver and a black. I sold them both because I was a total numpty and an old person who did not understand all the tech speak. I do know there are two(possibly more) ways of capturing time-lapse on a go pro. The first method is where one takes a video. It gets downloaded in a series of hundreds of individual pictures that One edits via an editing app. IE GoPro Quik. I believe GoPro studio is no more,Correct? ? The other method is the Time-lapse Video. Where the time-lapse video automatically is converted to a video without having to do anything else. Just watch the finished video. That's all I want to do. So what I am asking for Bryan is an explanation of how I set this up. Firstly can you please try to see me as a person who has just landed on this earth. Who has never ever seen a computer or camera? Can you explain from the word go how I do a time-lapse video without having to stitch hundreds of pictures together first with no tech speak?. You may well have covered this section before. But not in such simple terms as I require. Please help me Bryan.I've just purchased a brand new still in the box GoPro here 4 Black, so I can try to get my head around this for one more time. I don't want to sell this one. Kind regards David in the UK. Aged nearly 68 and a bit. And slowly losing the plot !!
Daniel
Wednesday 21st of December 2016
Hi! Thank you for your great article about gopro and timelapses. I just tried to shoot a 24h timelapse with a gopro hero 4 black from the skyline of Frankfurt, Germany. I shot with an interval of 15 seconds between the shots. I'm quite happy with th outcome but during the night the sky got really cloudy and I hope that I can give it another try when the weather is better. I would be happy about some feedback on my video:
KR Daniel
Ken
Monday 5th of December 2016
Thanks for the information, Ive used my GoPro Hero 3 White edition to shoot a time lapse of building a project, now what do I use to edit the footage all together?
Bryan Haines
Thursday 8th of December 2016
I use GoPro Studio. Check the first video in this post for a detailed tutorial about how to put it together.
Hope you'll share a link to your finished edit!
Philip
Thursday 8th of September 2016
The best explanation of how to use TL with GoPro I've yet to read. Thank you for taking the time to share.
Bryan Haines
Thursday 8th of September 2016
Thanks Philip!