So you want to film your next climb? There’s no question – GoPro is your best choice. In this guide to GoPro rock climbing, you’ll learn the settings, gear, and composition to consider so you can capture your full adventure.
We also cover the best GoPro camera and mounts for climbing. Ready? Let’s get started!
GoPro Rock Climbing Guide: Tips, Settings, Gear
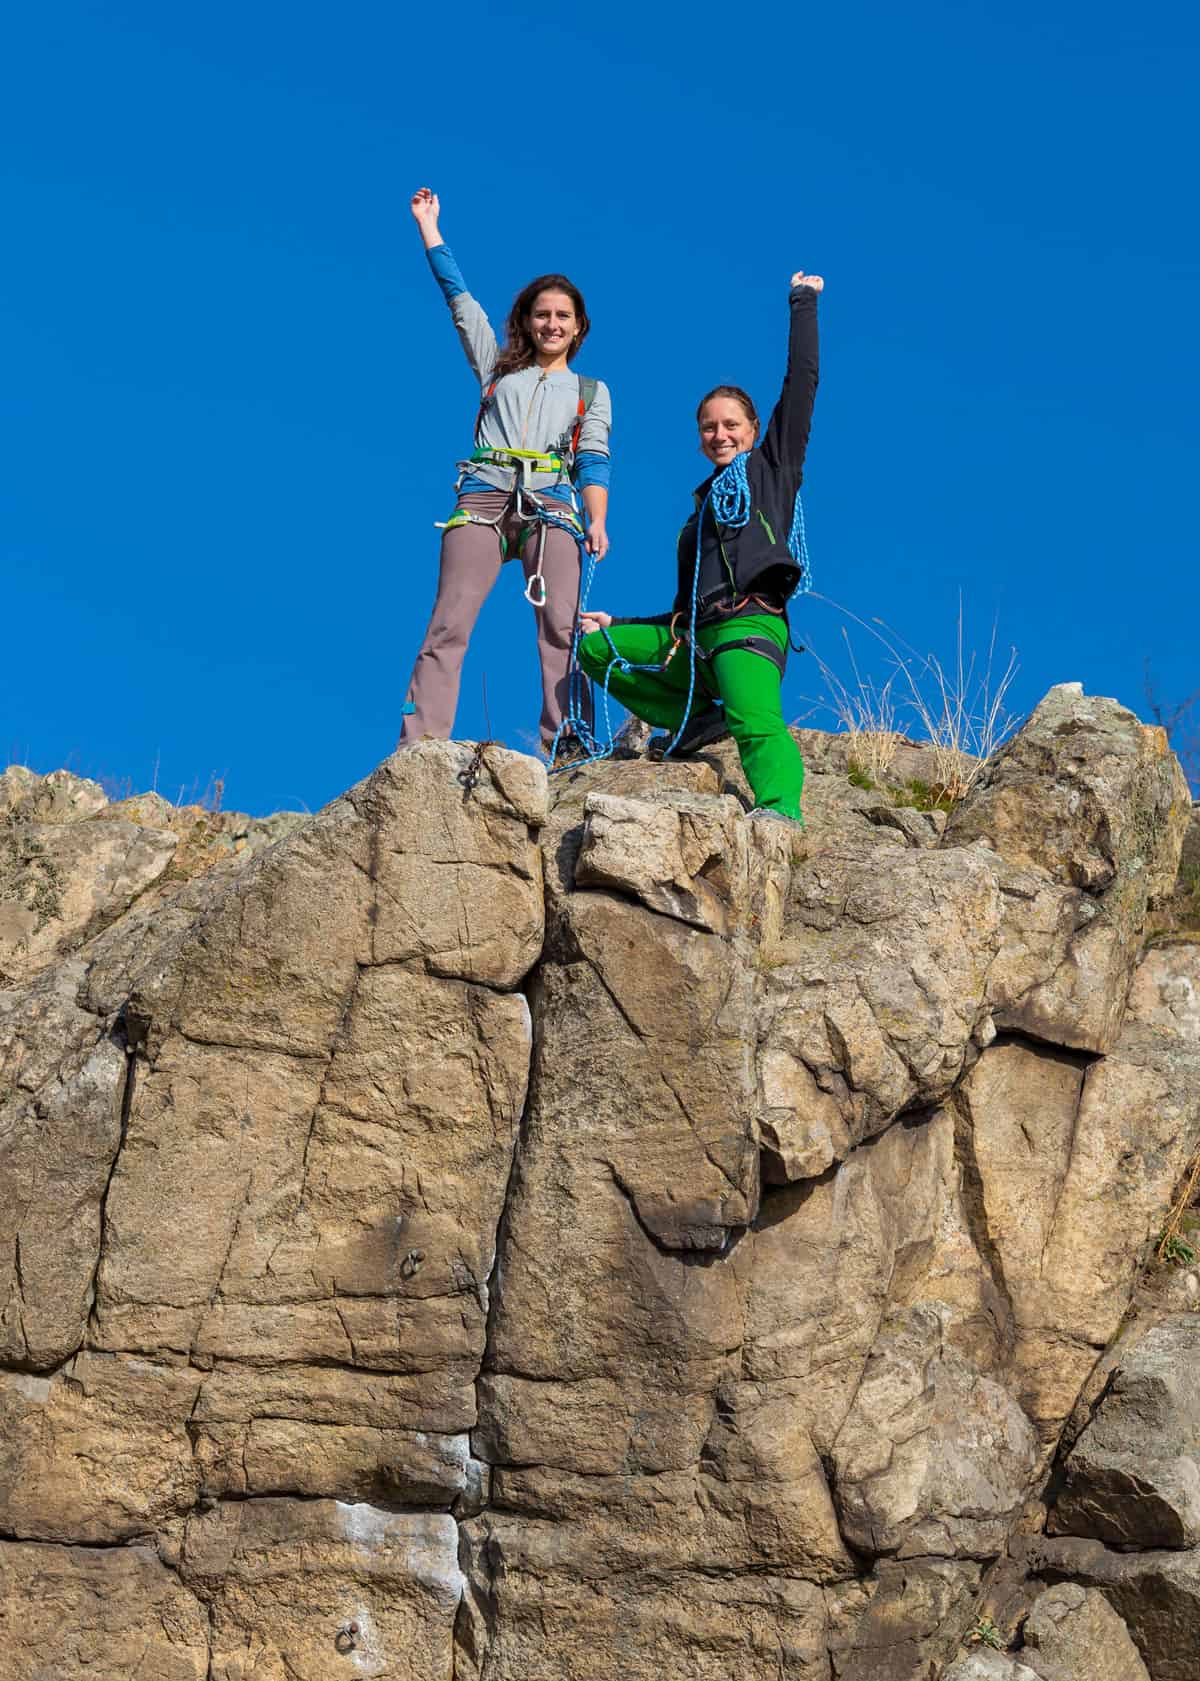
Rock climbing is a test of both physical and technical abilities, so climbing generally looks great on video.
But whether you’re planning on undertaking some serious rock climbing challenges or you’re just starting out as a rock climber, one thing’s for certain: you don’t want to carry a bulky camera with you.
A trusty GoPro is the perfect camera to take with you on your rock-climbing adventures. It’s small and lightweight and capable of filming quality footage.
But before you start your ascent, you need to know that your GoPro is set upright and ready to film. The last thing you want is to be worrying about your GoPro’s settings when you’re halfway up a climbing wall, or even worse, halfway up a mountain.
This post is divided into 3 sections:
- Best GoPro for rock climbing
- 12 GoPro tips for rock climbing
- 6 GoPro accessories for rock climbing
But first, here’s a taste of the kind of GoPro footage you can get while climbing. Watch Sasha DiGiulian summit the North Six Shooter in Moab, Utah.
Here are 12 GoPro rock climbing tips, to help you not only find the best GoPro and accessories for the job but also to help you pin down the best settings for your climbing activities.
Best GoPro for rock climbing?
![]() Rock climbing can be an extreme sport, but it’s not particularly fast (unless of course, you’re into speed climbing). But for most climbers, the pace isn’t so fast that a higher frame rate is required.
Rock climbing can be an extreme sport, but it’s not particularly fast (unless of course, you’re into speed climbing). But for most climbers, the pace isn’t so fast that a higher frame rate is required.
This basically means that any GoPro model is going to produce great climbing videos.
Ideally, you want a GoPro that can shoot in a high resolution and one that’s versatile. So I’d suggest any one of the newer GoPro cameras, either the Hero11 Black or Hero10 Black.
Get your GoPro Hero11 Black on Amazon, B&H Photo, or Best Buy.
Both of these models can shoot in 5K at a frame rate of up to 60fps, which is more than adequate for climbing videos.
All of these GoPros also have good slow-motion capabilities, so if you wanted to capture anything in slow motion you could easily do so.
12 GoPro Rock Climbing Tips
1. Steer clear of Protune settings
Typically, Protune settings can offer more control over settings and can help you create more professional-looking videos.
When you leave Protune off, your GoPro goes into auto mode, so things like white balance and color contrast are adjusted depending on your environment.
When you’re climbing, the chances are you’re going to be filming a mixture of shadowy rock surfaces and bright backgrounds, so you don’t want to have to change the settings every time you move your GoPro to a new position.
So steer clear of Protune settings for this activity, and you’ll save yourself a lot of time and hassle.
Even if you’re filming on an indoor rock climbing wall, the default settings and auto ISO settings (400) are still going to produce quality climbing footage. What is Protune on GoPro?
2. Keep point-of-view shots to a minimum
It’s tempting to just put your GoPro on a head mount and film all of your climbing endeavors from that perspective, but that’s one of the biggest mistakes you can make.
Don’t get me wrong, it’s definitely worth filming some of your climb from a point of view perspective, but when you’re climbing, you tend to look around and up and down all the time.
There’s nothing wrong with that, you need to take in your surroundings and discover where your next hold is, but on film, this can be quite disorientating.
So rather than a video that’s solely from a point of view perspective, with sudden head turns and off-center glances, try to mix up your angles and perspectives.
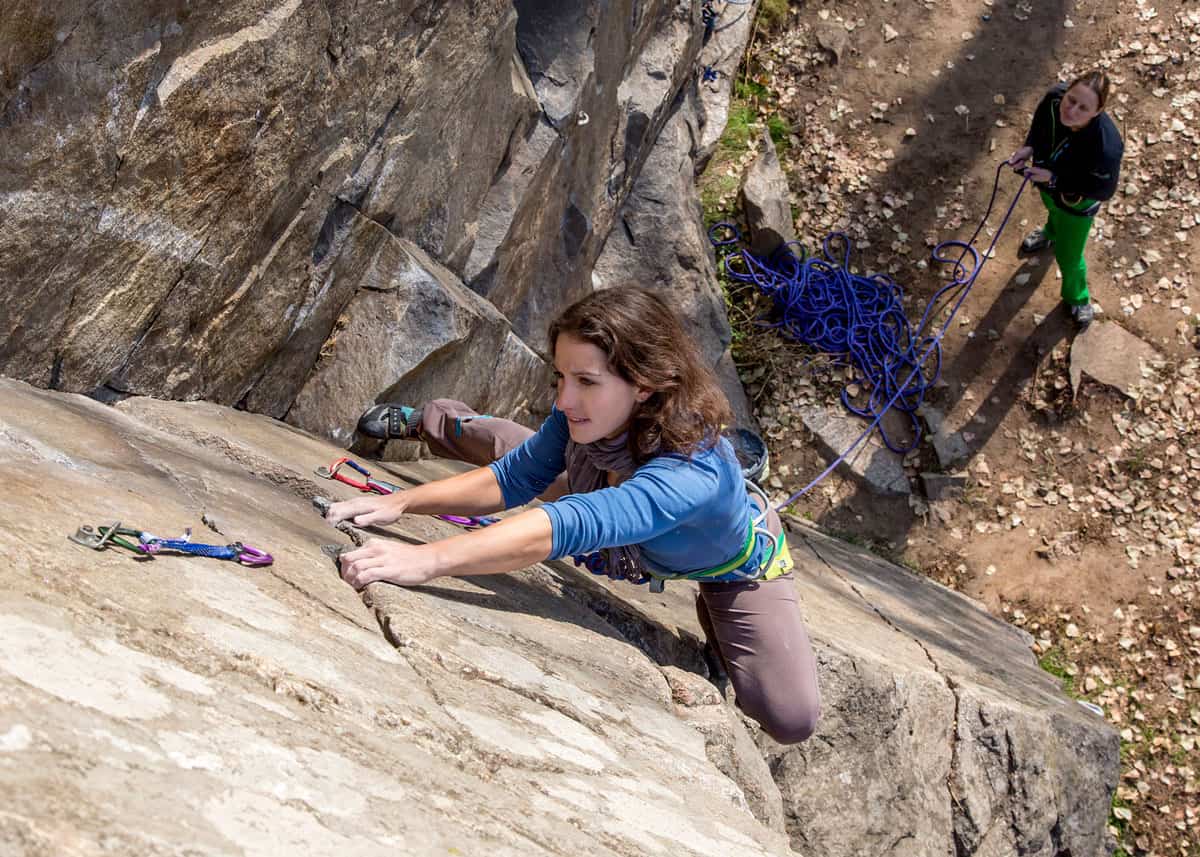
Use different mounts that can be mounted further away for a third-person perspective, or use a chest mount instead of a head mount for point-of-view shots.
Mixing it up like this can also give viewers the impression that you were working with multiple GoPros. A backpack mount is versatile and can clamp on straps and ropes.
In the following video (a great compilation with Lonnie Kauk) you can see just how professional climbing videos can look when captured from multiple angles.
3. Use a tripod or clamp mount
![]() People don’t often think of tripods as suitable for filming rock climbing, but there are actually some really useful purpose-built climbing tripod-like mounts.
People don’t often think of tripods as suitable for filming rock climbing, but there are actually some really useful purpose-built climbing tripod-like mounts.
Take the clamp mount for example, this can be clamped on rock surfaces, with the GoPro angled toward you or another climber.
And you’ll be able to then film third-person perspectives.
4. Climb the same route multiple times
It can take a lot of practice to get the perfect GoPro footage, so if there’s a route that you particularly want good footage of, climb it more than once with your GoPro.
This will give you the chance to reflect on the footage you managed to record on your first try, and then you can climb again, capturing footage from any angles or perspectives that you think you missed the first time.
By doing this, you’ll also start to learn more about where you can mount your GoPro, and how to capture the best possible footage.
5. Give your GoPro a clean every now and then
This tip is especially important if you’re climbing outside. If you’re climbing on a dusty or dirty surface (which let’s face it, most of them are), your GoPro is probably going to get a little dirty.
So every now and then, make sure to stop and give your GoPro’s lens a wipe.
You don’t want to finish your day of filming, only to find that all of your footage has been shot through a film of dirt and dust. It’s going to ruin the clarity and overall quality of your videos.
6. Invest in the GoPro smart remote
If you’re mounting your GoPro in different places, you won’t always be able to reach it easily to start/stop recording or change the settings.
So investing in the GoPro smart remote means that you’ll be able to mount your GoPro up to 180 meters away and still be able to control it without any issues.
7. Grab photos from your videos
Climbing photos and action shots can look incredible. But you don’t really want to spend time trying to capture the perfect shot – you could be there a while.
So if you want to snap some still shots, we’d suggest ‘grabbing’ photos from your videos using the GoPro app.
It’s easy to do, and this way you’ll have hundreds of possible photo options. Plus, you’ll be able to grab photos that you might not have been able to initially capture as a still.
8. The best field-of-view settings
GoPro has a few different field-of-view settings, and for rock climbing, it’s often best to stick with a wide field of view.
This way you’re going to capture everything, and your videos will have that classic, but not too extreme, GoPro fisheye effect.
Superview can be another good choice, as this uses the full sensor, but the fisheye effect with this field of view is much more extreme, which isn’t to everyone’s taste.
9. Plan out your GoPro rock climbing videos
If you jump straight into climbing without planning what you want to capture with your GoPro, and what story you want to tell with your videos, chances are your videos won’t look as good as you’d hoped.
Plan your route, and plan where you want to mount your GoPro, so that you can capture footage that does your climb justice.
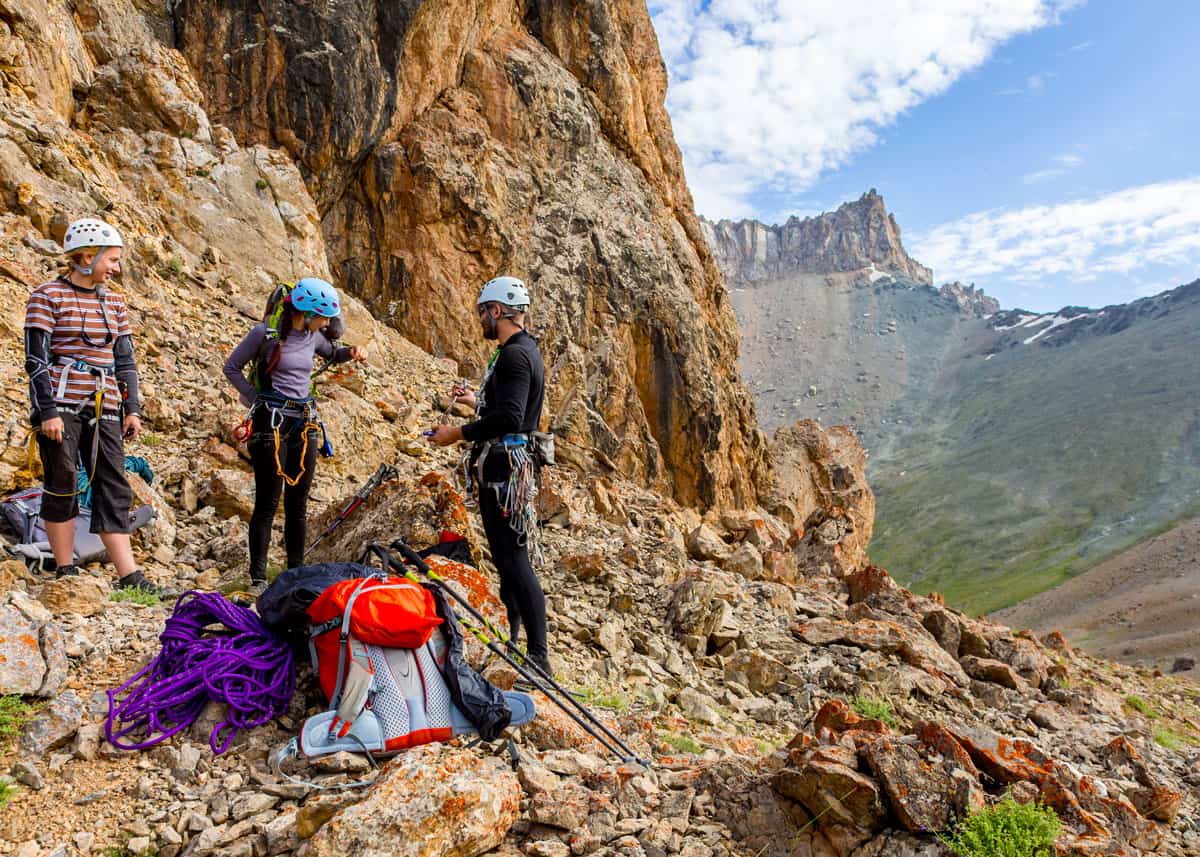
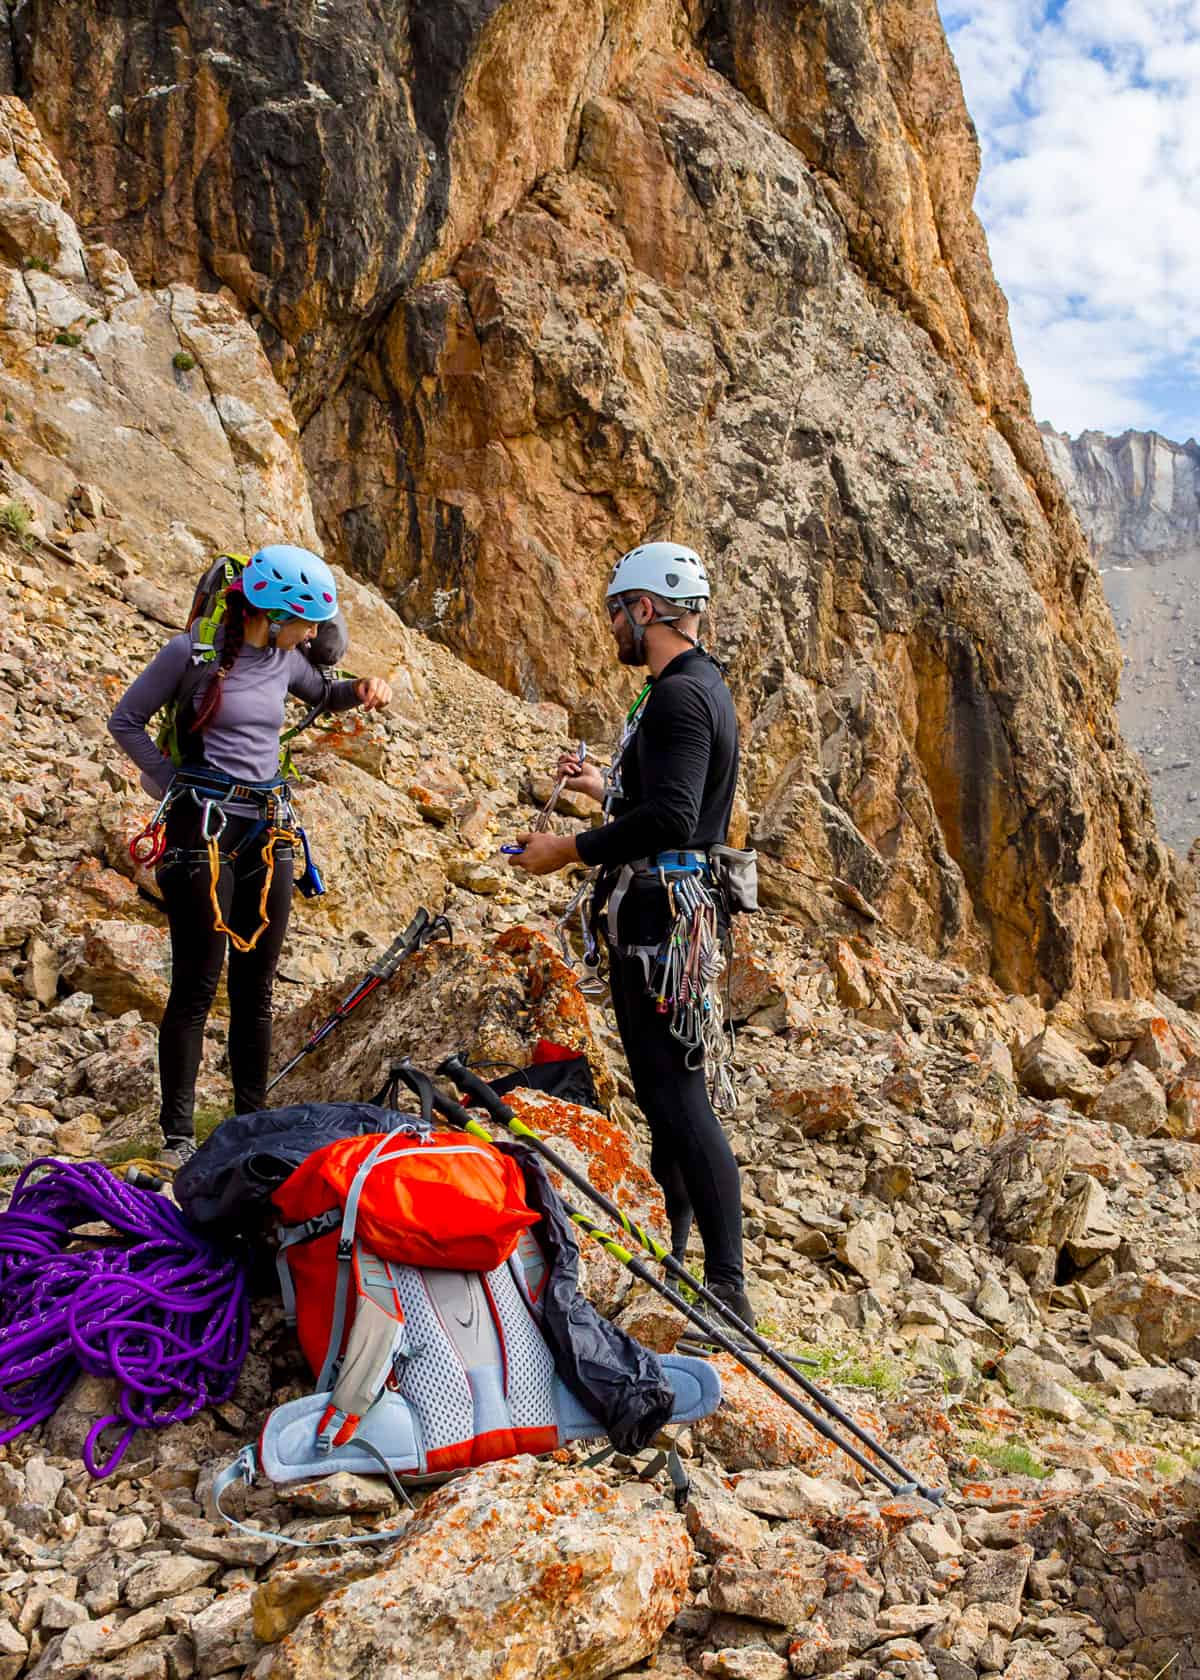
Think about filming not just the climb, but also the preparation, to create a build-up of suspense about the climb to come. To viewers, the preparation of kit and ropes is almost as interesting as the climb itself.
You should also plan where you’ll be mounting your GoPro, and think about the kind of shot that’s going to give you. This way, you can have a plan of action ready, so you won’t have to waste time during your climb thinking about your videography.
I recommend “How to Shoot Video that Doesn’t Suck“ – this book fundamentally changed how I looked at video creation. It’s written like a reference book – you can jump into any chapter and get the skills you need.
10. Try and capture some audio
The extremity of rock climbing can be emphasized if you include the original audio.
The clink of carabiner clips, your heavy breathing, or even the audio of slips and falls caught by the rope can all add drama to your videos.
Viewers will feel like they were there, and they’ll get to see and hear how the climber in the video coped with the climb.
11. Capture your victory at the end of your climb
Rock climbing is of course about the journey, the climb itself, but there’s nothing more satisfying than reaching the destination. So why not try capturing this victory and including it in your rock climbing film?
People like to watch videos that come to a conclusive end, and a victory shot is a perfect way to sign off your video.
If you’re climbing your route multiple times, you could place your GoPro on a tripod-style mount at the top of your climb, so that when you next reach the top, your GoPro will be ready and waiting to capture the final moments of your journey.
Or if you’re climbing with a friend, get them to take the GoPro and film you as you reach the top.
And if you really want to dramatize the end of your climb, you could finish with a cheesy shot of you punching the air, or if you’re climbing with a friend, a happy embrace.
It can get windy on the ascent. Here’s how to fix GoPro wind noise while on your adventure.
12. Don’t skip the editing process
For climbing videos, editing is super important. Chances are, you’ll end up with a whole load of footage that quite frankly, isn’t great. Climbing videos aren’t the sort of videos that are instantly ready for an audience.
So after your day of filming your rock climbing excursions, allow yourself some time to go through your footage and pick the best bits. This way you can create a video that has a perfect balance of different angles and perspectives, and you can start to put together different clips so that they tell the story of your climb.
During the editing process, you’ll also be able to adjust the speed of certain clips, so if you think something would look better slowed down or sped up, you can create the dramatic effects that suit you.
As well as visual editing, you may want to add music during the editing stage. If you’ve watched a lot of rock climbing videos before, you’ve probably noticed that most of them are put to music that matches and emphasizes the extreme nature of certain climbs.
House music, dubstep, or even rock music are all popular choices of music for climbing videos because it’s the sort of music that really gets your heart going.
If you’ve recorded some great audio for your video, you may want to play around with adjusting the balance between music and the original audio.
You don’t necessarily have to choose between one or the other, in fact, it can be really effective to have the two working together.
More reading: 13 options for GoPro editing software

6 Best Accessories For Filming Rock Climbing
If you want to capture as many different angles as possible whilst rock climbing, you need to have the right accessories to do so.
So here are some of the top accessories for filming rock climbing with your GoPro!
1. GoPro head strap
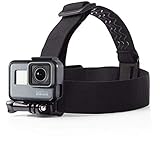
![]() Whilst we’d suggest keeping head mount shots to a minimum, this is a useful mount to have, and it’s always good to include some classic point-of-view shots.
Whilst we’d suggest keeping head mount shots to a minimum, this is a useful mount to have, and it’s always good to include some classic point-of-view shots.
The head mount is also a lightweight and inexpensive mount, so it’s one that you can easily add to your kit.
Check current price for this AmazonBasics head strap
2. GoPro chest mount
![]() If you want some point-of-view footage that’s not quite so badly affected by your looking around, the chest mount is the next best option.
If you want some point-of-view footage that’s not quite so badly affected by your looking around, the chest mount is the next best option.
With this mount you’ll get to see the movements and hand motions of the climber.
3. GoPro backpack mount (with extension arm)
![]() If you’re going to be wearing a backpack while climbing, you should try filming from a backpack mount.
If you’re going to be wearing a backpack while climbing, you should try filming from a backpack mount.
This is going to give you some good close-up shots, but from a slightly higher angle, so you’ll have a clearer view of hand movements.
You could also angle it so that your GoPro takes in your surroundings as you climb.
You can see how footage filmed from a backpack mount looks in the following video:
4. GoPro jaws flexible clamp mount

![]() This is the perfect mount for tripod-style shots. You can clip the mount onto rock surfaces and holds and get shots from a distance.
This is the perfect mount for tripod-style shots. You can clip the mount onto rock surfaces and holds and get shots from a distance.
The flexible neck means you can clamp to anything and still get a well-composed (level) shot.
See current prices on Amazon and GoPro
5. GoPro smart remote
![]() If you do plan on getting shots from a distance, you’ll want to invest in the GoPro smart remote. With this, you can control your GoPro from a distance of up to 180 meters.
If you do plan on getting shots from a distance, you’ll want to invest in the GoPro smart remote. With this, you can control your GoPro from a distance of up to 180 meters.
So even if your GoPro is out of reach, you can quickly and easily stop and start recording and adjusting settings.
6. Drone: DJI Mini 2 or Mini 3
Tossing a Mini 2 drone into the ![]() air will capture some truly incredible footage of outdoor climbs.
air will capture some truly incredible footage of outdoor climbs.
The DJI Mini 2 is an impressive bit of gear and one that you can use to capture aerial shots of your climbing journeys.
It shoots 4K video, has a 3-axis gimbal, and it is surprisingly easy to use out of the box.
You can see in the following video just how impressive drone footage of rock climbing can look:
Pro Tip: With this drone you’ll also be able to film your route before you’ve even attempted it, giving viewers an overview of what you’re about to attempt.
Your Turn
Have a tip to share? What’s your favorite climbing video? Please join me in the comments.
- About the Author
- Latest Posts
Hey, I’m Bryan! I’m a content creator and co-founder of Storyteller Tech.
Experienced GoPro Videographer: I’ve been shooting with GoPro cameras for over 11 years. My first GoPro was the Hero3 Silver, bought for a Galapagos work trip in 2012. Today I own 20+ action cameras, including GoPro, DJI, and Insta360 cameras.
Professional Creator: Dena and I have developed video and content marketing plans for numerous international travel brands. And we also run several content businesses.
Bryan also creates at Storyteller.Travel and is co-founder of Storyteller Media, a Canadian-based publishing company.
Simon Wyndham
Friday 4th of September 2020
Some good tips there, although I disagree regarding Protune. Protune on the GoPro still allows the use of the default GoPro colour setting, and it also still does autoexposure and white balance (although the latter is something everyone should learn. If you're filming outdoors in the day it's basically a set it and forget it affair and prevents colour shifts).
The main thing Protune gives you is a much higher recorded bitrate and the ability to dial down the digital sharpness of the footage. For a more cinematic look you'll want the sharpness set to low. Some people falsely think this looks soft and with less detail. The reality is that the picture is no less detailed, but it does look a *lot* more natural. It also means the compression system inside the camera has an easier time of things.
The higher bitrate recording does use more space on your SD card and when you transfer to your computer. But in the grand scheme of things it's not an issue. Storage is very cheap these days and you can get quite large capacity SD cards for low prices. What you get in return is noticeably better quality images, especially if you want to pull stills from the video. This also helps make the final image quality of your edit better for when it goes to YouTube etc.
Protune isn't just for experts. Anyone can benefit from it.
Bryan Haines
Sunday 20th of September 2020
Thanks Simon.