In this post, you’ll learn about GoPro night shooting. This includes settings, setup, composition, and gear. There are lots of ways to shoot at night – we’ll cover: timelapse (night lapse), driving, photography, and more.
GoPro Night Shooting Guide
It’s not just action shots that GoPros are perfect for, they’re also great night cameras. When the Hero4 GoPro model came out, the new night photo and night lapse features were announced, and they’ve since made GoPros even more popular.
So whether you’re hoping to snap some great shots after the sun has set, or you want to film an all-night-long night lapse, GoPros are the perfect cameras for the job.
But if you plan on capturing some great night photos or videos, you’ll want to know how to make the most of your GoPro’s nighttime abilities.
So here are 13 GoPro night shooting tips:
13 GoPro Night Shooting Tips
1. Best GoPro for Night Shooting: Hero11 Black
The best thing about using a GoPro for shooting at night is that the newest models now have night modes. So as long you’ve got a GoPro Hero5 or newer (even the Hero4 has a night setting), you’re set.
Hero11 Black: (Premium) The newly released GoPro Hero11 Black shoots both Night Photo and Night Lapse. These features alone are enough reasons to get the Black.
- The Night Photo setting automatically adjusts your shutter speed. This is great for dark and low-light settings. This requires a tripod or other mounting setting.
- The Night Lapse setting is for shooting time-lapse video in low light and dark settings. The shutter speed is automatically adjusted for the best results. The camera should be mounted and not handheld with this setting.
Get your GoPro Hero11 Black on Amazon, B&H Photo, or Best Buy.
![]() Is the latest model really necessary? No. We still shoot with older models, and they are okay. But the newer models – like the Hero9 Black and Hero10 Black – have improved immensely.
Is the latest model really necessary? No. We still shoot with older models, and they are okay. But the newer models – like the Hero9 Black and Hero10 Black – have improved immensely.
If you have your heart set on shooting quality nighttime footage, I recommend the Hero11 Black.
And as with most tech, it’s best to buy the latest model. It doesn’t cost that much more – and it will be supported for longer – both firmware updates and accessories (batteries and replacement parts).
A GoPro with a screen may be better suited to night photography, as you’ll probably want to check you’ve got the settings right before filling up your memory.
So by choosing one of the standard Hero models, you’ll be able to quickly glance and check that you’ve got the lighting right.
2. Make the most of night photo and night lapse mode
If you’re kitted out with a GoPro with night modes, make the most of them!
While it’s possible to take photos with your GoPro in low light without these modes, night photo and lapse offer much more control over settings like shutter speed, which can help you perfect your night photos and videos.
There’s also a slightly different range of interval settings with the night lapse mode, so you can capture photos of the night sky from every 4 seconds to 60 minutes, depending on how quickly the light changes.
Learn how to improve your GoPro photography.
3. Include a light source when taking photos
When taking still photos, it’s a good idea to include a light source in your pictures. This way, you can keep your ISO as low as possible and avoid overexposed and grainy pictures.
If you’re taking night photos in an urban setting, try using light pollution to your advantage.
Include lit-up buildings, bridges, or even street lamps.
4. Use a lower frame rate
When filming at night, it’s best to use a lower frame rate, as the lower the frame rate, the more time your camera has to capture light.
And if you’re filming at night, the last thing you want is a picture that’s so dark you can’t make anything out.
It’s also much easier to tone down overly bright footage and images during editing than to brighten dark footage and add detail to the shadows.
5. Use the GoPro app to check the quality of your images
GoPro screens aren’t the biggest, and while their small size contributes to the compact and portable nature of GoPros, they’re not the best for checking the quality of your images.
Sure, you’ll be able to see a small version of what your photos and footage will look like, but for checking that your images aren’t grainy or noisy, it’s often better to use the GoPro app.
If you haven’t attempted night photography before with your GoPro, using the GoPro app is a good idea.
You’ll be able to check the quality of your images, and if they’re not quite up to scratch, you can tweak the settings until you’re sure your photos and videos will look great.
You don’t want to find out after your night shooting session that your settings weren’t quite right or your pictures aren’t as clear as you’d have liked them to be, so use the GoPro app to view your test shots.
6. Use the maximum resolution for photos
When choosing your settings, choose the maximum resolution possible. This will depend on what GoPro model you’re working with, but you don’t want to choose a resolution lower than 1080p.
Night photos and videos lack the clarity of daytime shots, so keep the resolution high and you’ll be able to take sharp videos and images and avoid blurriness.
The following night lapse video was shot in 4K and is a perfect example of how incredible night footage can look when using a high resolution:
By choosing a maximum resolution, your images and videos will also have more information, making them easier to crop and edit post-production.
7. Always take a few practice shots when shooting at night
If you don’t have much experience shooting at night with your GoPro, it’s worth taking a few practice shots before you fill up your memory card with night photos and footage that might not be as good as you expected.
Set your GoPro up so it’s ready to go, but before you get into the full swing of your nighttime shoot, just make sure the settings you’ve chosen are right for your environment.
If your test shots are too dark, grainy, or blurry, you’ll be able to adjust the settings to ensure your images are just right. You might need to take some test photos and keep tweaking your settings, but it will be worth it.
And once you’ve sussed the best settings to use at night, shooting after sunset will be much easier in the future.
8. Choose the right ISO settings
When shooting during the day, it’s okay to leave your ISO settings on auto. But at night, you will have much better results if you manually choose the right ISO for your night shooting location.
For shooting where there’s not that much light pollution, and you’re filming the night sky, try setting your ISO to 800.
If you’re shooting somewhere with lots of light pollution, a city, for example, you want to ensure the ISO is as low as possible without making your image too dark. You can figure this out with test shots.
Start low, and if the shot’s too dark, gradually increase the ISO until you’ve got the perfect image.
9. Shoot in Protune flat
Protune flat is a better option than GoPro Color when shooting at night.
More often than not, you’ll want to edit the material from your nighttime shoot to reduce grain or fix incorrect exposure. So if you’re going to be editing anyway, it makes sense to shoot in Protune flat.
Learn more about Protune on GoPro.
While the unedited pictures and videos shot using Protune flat will look a little washed out in terms of color, your GoPro actually captures more details in the shadows and highlights when using this color mode.
So during the editing process, you can bring out the color and balance the dark and light areas.
In the following video, you’ll see the difference between Protune flat and GoPro Color night footage. Throughout the Protune flat footage, there is much more detail in the shadows of the footage:
10. Pay attention to the shutter speed
Shutter speed is one of those settings you don’t need to fiddle with too much on a GoPro. But when shooting at night, it becomes one of the most important settings.
GoPros have a whole range of different shutter speeds, and which shutter speed you choose will depend largely on what you’re trying to capture, how much light pollution there is, and how quickly the light is changing.
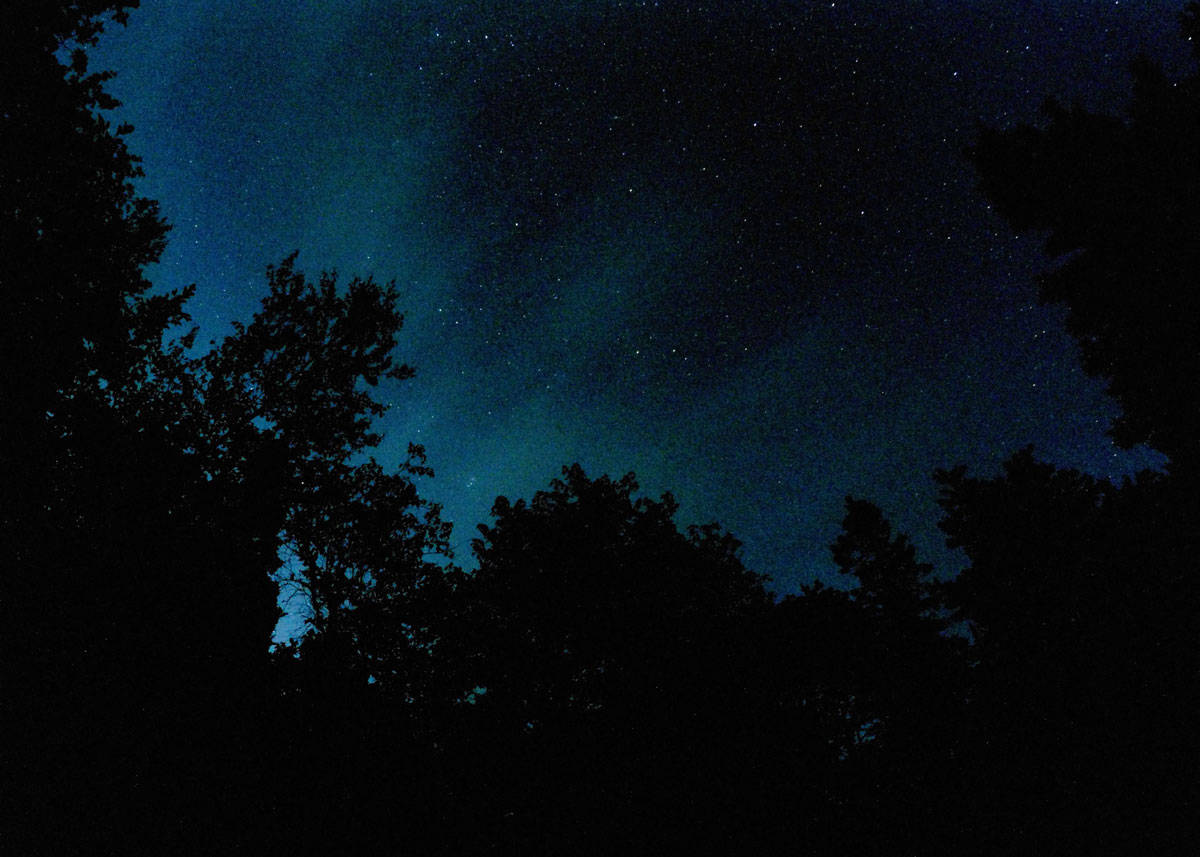
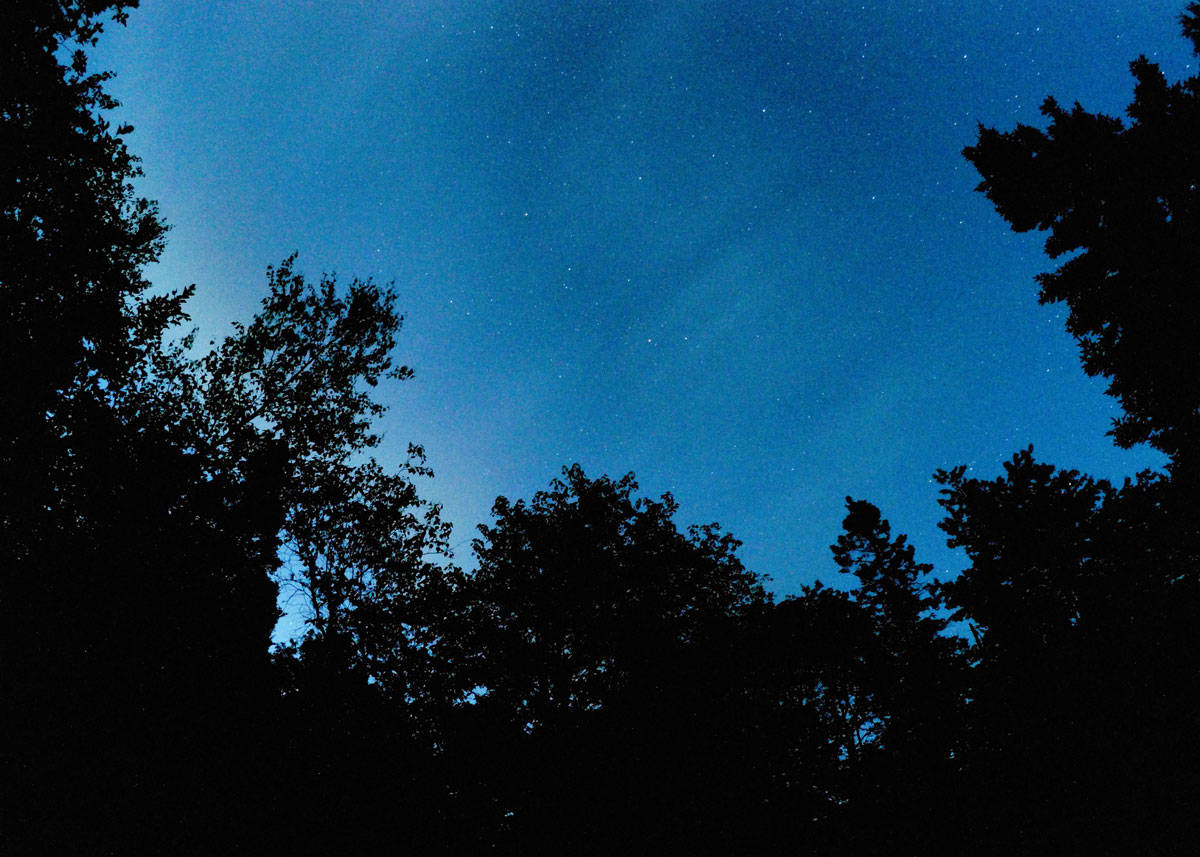
To capture the starry night sky when there’s little to no light pollution, set your shutter speed to 30 seconds. Stick to this when shooting in complete darkness unless the test shot comes back overexposed.
20 seconds is a good setting if you’re shooting somewhere that’s not completely pitch black or if you’re trying to capture a moonlight sky. This is also a good setting if you’re hoping to capture not just the night sky, but the milky way.
For changing light times, like twilight, dawn, or dusk, use a faster shutter speed, like 2 or 5 seconds. These shutter speeds will also work for capturing light trails and creating light paintings.
11. Adjust the white balance for color temperature
Most of the time, the auto white balance is great, but if you want to give your night photos and videos a certain warmth or coolness, it’s worth adjusting the white balance manually.
Shooting with a 3000K white balance setting will add a cool blue tone to your night photos. This creates a typical nighttime temperature and is often the preferred white balance setting for GoPro night shooting.
The following video is a compilation of night lapses shot with a 3000K white balance setting, so you can get a good idea of how your photos and footage will look:
However, if you wanted your night photos and videos to look a little warmer, with the same color temperature as a sunset/sunrise, set your white balance to 6500K.
12. Keep your GoPro steady
Keeping your GoPro steady while shooting is more important at night than any other time. Even the slightest of movements can create a huge amount of blur, ruining the quality of your night photos and images.
So when heading out to capture the night with your GoPro, pack accessories that will keep your GoPro steady. If you just want to capture photos and footage from a stationary perspective, a tripod is perfect.
You can set your GoPro up and take photos or night lapses without the shake you’d get with handheld footage. The jaws flex clamp, or 3-way mount, is also a good option.
13. Don’t forget to edit your photos and footage
The editing stage is your final chance to bring your night photos and footage to life. It’s your chance to correct any exposure issues, highlight the color, and reduce noise in your material. So don’t skip out on the editing process!
You can transform your GoPro snaps into professional photographs and create interesting and artistic night movies or slideshows from your footage.
If you’ve been shooting in Protune flat, you’ll want to make sure you spend some time editing.
Protune flat captures more detail in the shadows and highlights of an image, so post-production, you’ll want to find a balance between detail and dark and light. You’ll also be able to help colors stand out a little more.
3 Best GoPro Night Accessories
1. 3-Way Mount
![]() The GoPro 3-way mount is one of the best all-around accessories, so no surprise that it’s great for helping you stabilize your GoPro when shooting at night.
The GoPro 3-way mount is one of the best all-around accessories, so no surprise that it’s great for helping you stabilize your GoPro when shooting at night.
The main selling point of the 3-way mount for budding night photographers is that one of its functions is to be a tripod.
Check current price on Amazon or GoPro
You want to reduce shake and keep your GoPro as steady as possible when filming at night, or you’ll end up with blurry images. This is where a tripod comes in handy. And the 3-way mount is a perfect compact accessory that you can use as a tripod.
2. Jaws Flex Clamp
![]() The jaws flex clamp is another accessory that keeps your GoPro steady in a stationary position.
The jaws flex clamp is another accessory that keeps your GoPro steady in a stationary position.
With this accessory, you won’t be limited to mounting your GoPro on the floor.
You’ll be able to get creative with where you mount it and rest assured that your GoPro will be kept stable.
Check current price on Amazon or GoPro
3. External Power Source
![]() For any amount of night shooting – especially night lapse or night driving lapses, you’re going to need an external power source.
For any amount of night shooting – especially night lapse or night driving lapses, you’re going to need an external power source.
If you are driving, you can plug it into your car. But if you are outside, you’ll need additional batteries or a power bank.

Here’s my setup from a shoot last summer.
- GoPro Hero4 Black
- 10000mAh SunJack PowerBank
- GoPro Joby Gorillapod
Setting: Shot 12MP image every 2 seconds. Compressed 7 hours into 26 seconds.
Here’s more about how to use your GoPro camera.
Your Turn
Have a question about shooting at night? What type of shoot are you planning? Join me in the comments!
- About the Author
- Latest Posts
Hey, I’m Bryan! I’m a content creator and co-founder of Storyteller Tech.
Experienced GoPro Videographer: I’ve been shooting with GoPro cameras for over 11 years. My first GoPro was the Hero3 Silver, bought for a Galapagos work trip in 2012. Today I own 20+ action cameras, including GoPro, DJI, and Insta360 cameras.
Professional Creator: Dena and I have developed video and content marketing plans for numerous international travel brands. And we also run several content businesses.
Bryan also creates at Storyteller.Travel and is co-founder of Storyteller Media, a Canadian-based publishing company.
alan
Thursday 24th of September 2020
Whats the best power bank for Hero 7 Night Lapse for about 12- 14 hours ?
Monica
Saturday 18th of July 2020
I have a hero 7 black. I did a night time lapse but it only lasted 8 seconds 🤧.
Can I record a time lapse video without the night mode and have that effect? I don’t see any settings of ISO or the settings you have in night lapse.
Kelsey Edwards
Thursday 4th of July 2019
Hi Could you advise me as to whether I can download (easily) from the GoPro Hero 7, to my MacBook Air (2019) to edit and create short documentary films in the Apple theatre app? Thank you Kelsey
Nischal Kumar
Wednesday 26th of June 2019
Very informative! Gave lot of insight for begineer like me. I just bought Hero 7 Black and struggling with night setting. This post will help me for sure. I want to shoot July 4th Fireworks in Boston and my camera would be facing boston skyline with very dim light. Kindly suggest the best settings.
Roslyn
Saturday 4th of May 2019
Hi. I have a GoPro hero 4 and would like to shoot glowworms in a tunnel. Is this possible and do you have any recommendations. Thankyou.